|
Let's talk about why it is important to make your own chicken stock. Whenever you make soup or sauce, the foundations of those sauces/soups come from stock. Therefore, the quality of your stock will directly effect the flavor of your soup and sauce.
Most people feel that making stock takes too much time and there are some very good stocks available in a box. Don’t be fooled. The difference in taste between the box stock and homemade stock is tremendous. So, I make large batches of homemade chicken stock and freeze them in quart-sized containers. Now, let's talk about chicken -- I will only buy organic, free range natural chicken, which many of you know is more expensive than the grocery store stuff. So, to save some money (and hone my knife skills), I will buy a whole chicken and butcher it myself. Chicken stock is relatively easy to make: Ingredients:
Directions: Clean and cut up your chicken, then place the pieces in a 16 quart stock pot with 6 quarts of water. Let the water come to a boil and then skim off all the fat and scum that floats to the top. Then add the remaining cup of water and bring it back to a boil. Next add your chopped veggies, herbs, salt and bay leaf. If you have shiitake mushrooms, they are a wonderful addition. Bring back to a gentle boil – just above a simmer – and cook partially covered for 3+ hours. Strain the liquid. Discard the veggies. Reserve the meat for soup or lunch! I recently bought an InstantPot, which I now use primarily to make chicken stock. I cook the stock on high pressure for 1 1/2 hours and strain. Regardless of the method you use (stovetop or pressure cooker), make sure that when you strain your liquid, make sure you are first using a mesh strainer lined with linen, and then again in a fine mesh strainer when you pour it into your storage container. If you don’t use the stock within three days. Then freeze it. Otherwise, refrigerate the stock and remove any remaining any fat solids that form on top before using.
0 Comments
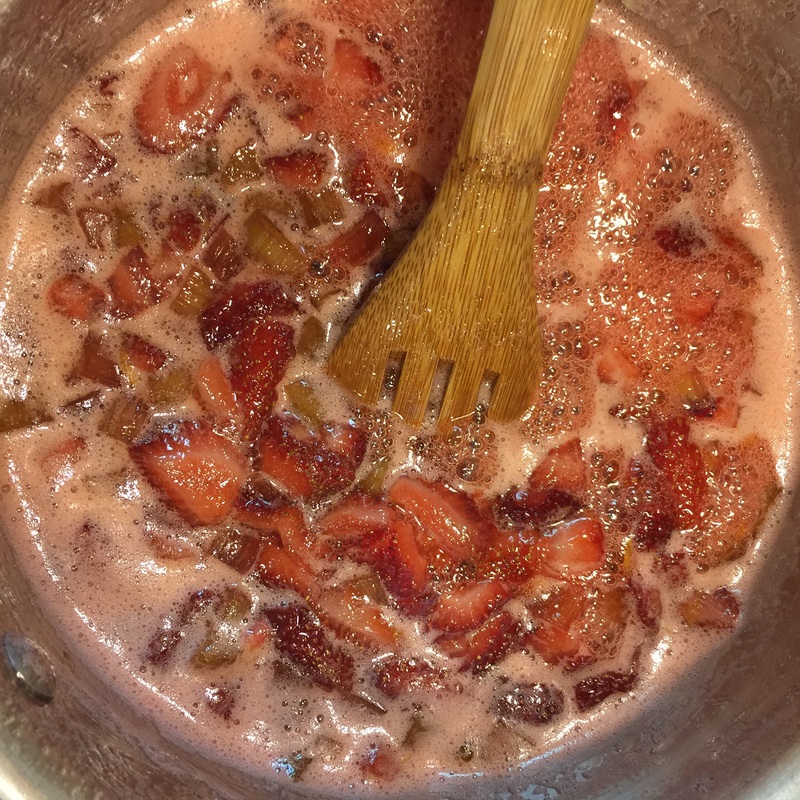 Strawberry Rhubarb Jam in the making Strawberry Rhubarb Jam
Ingredients:
Instructions:
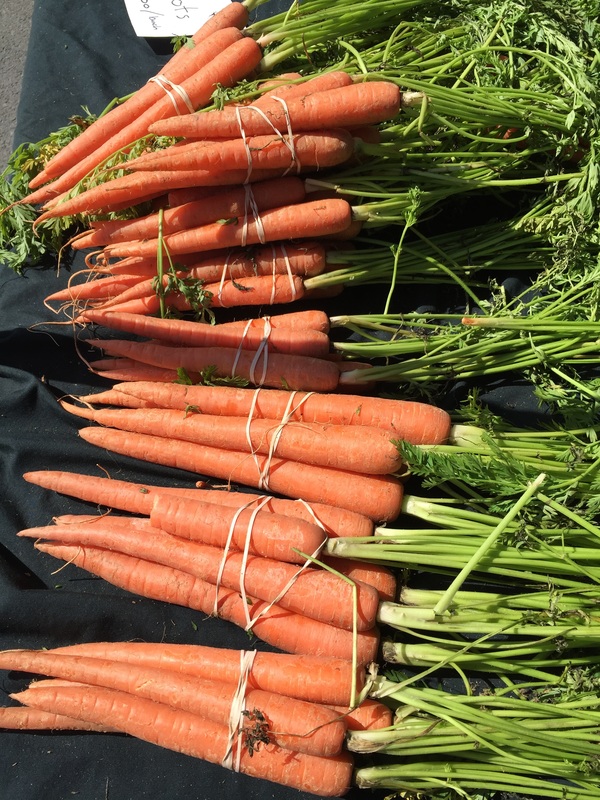
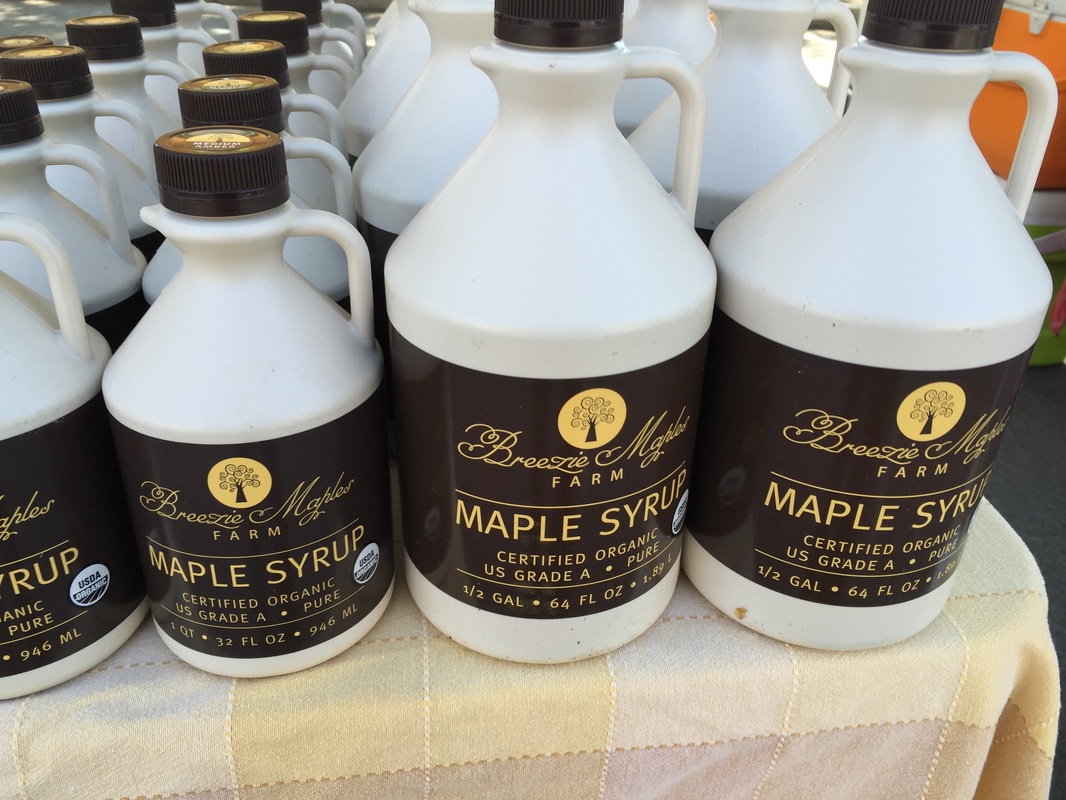
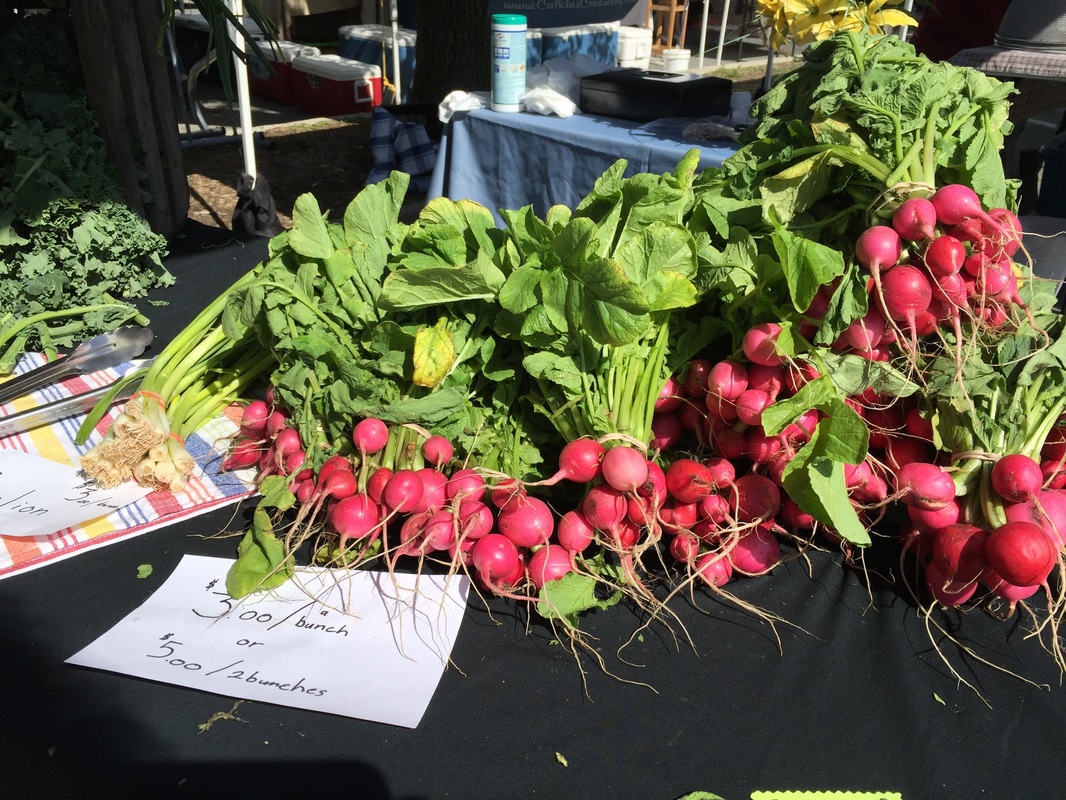
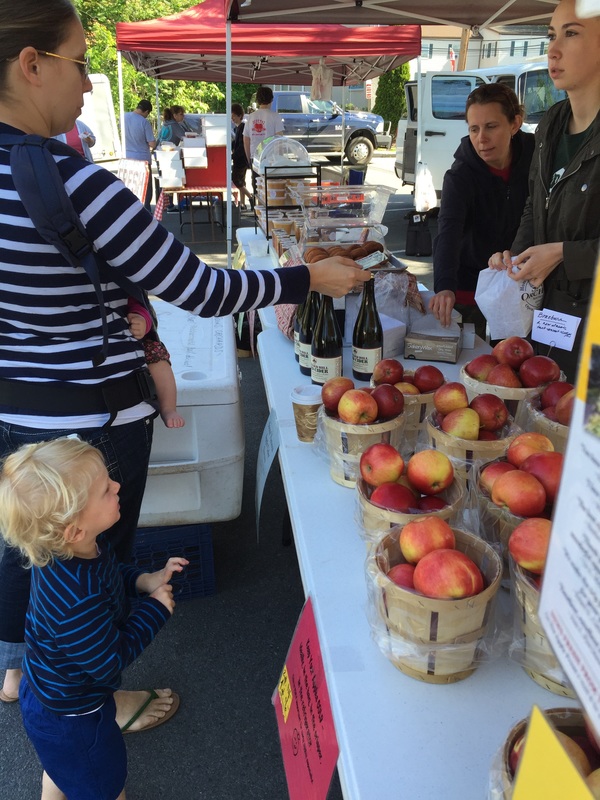
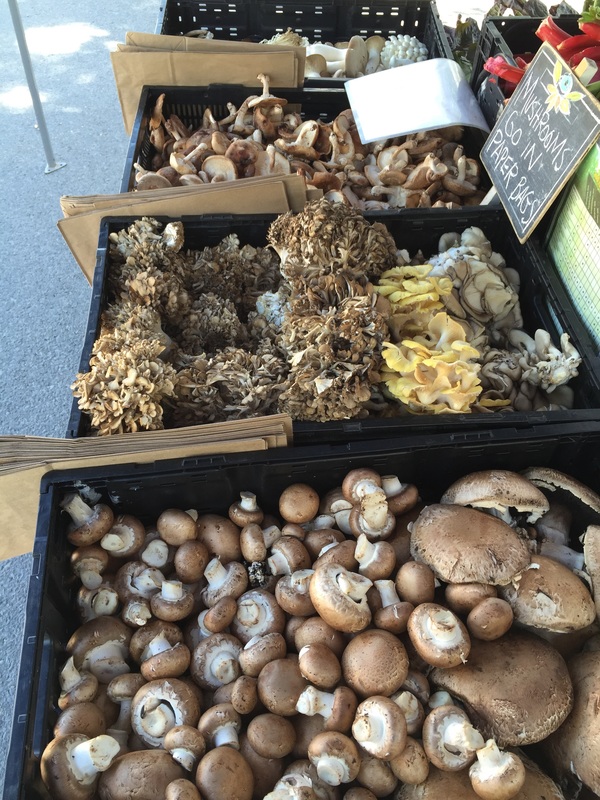
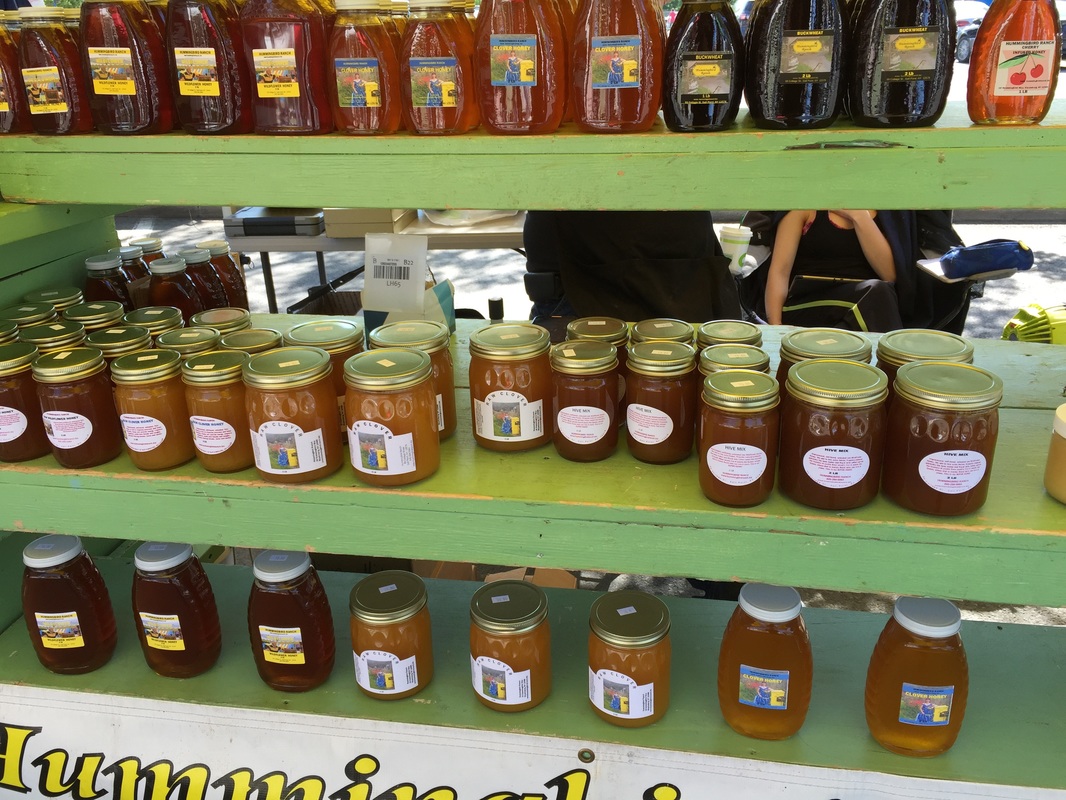
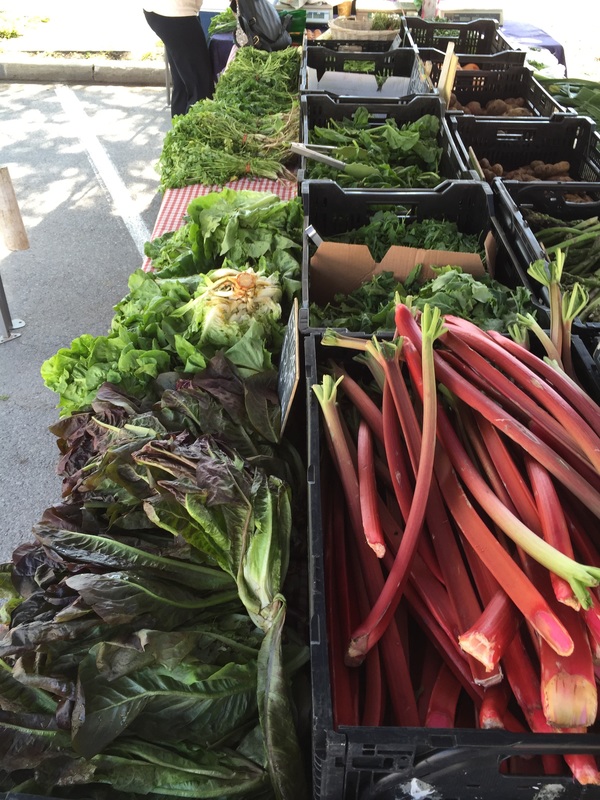
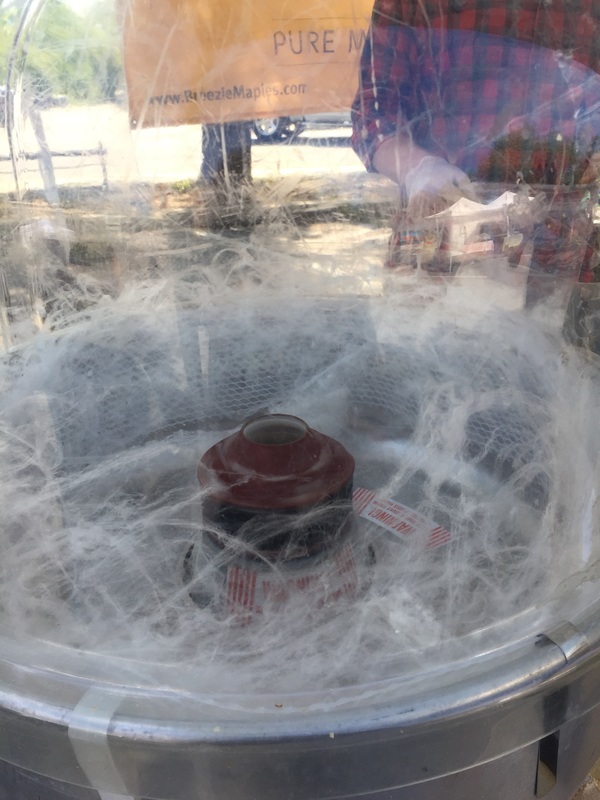
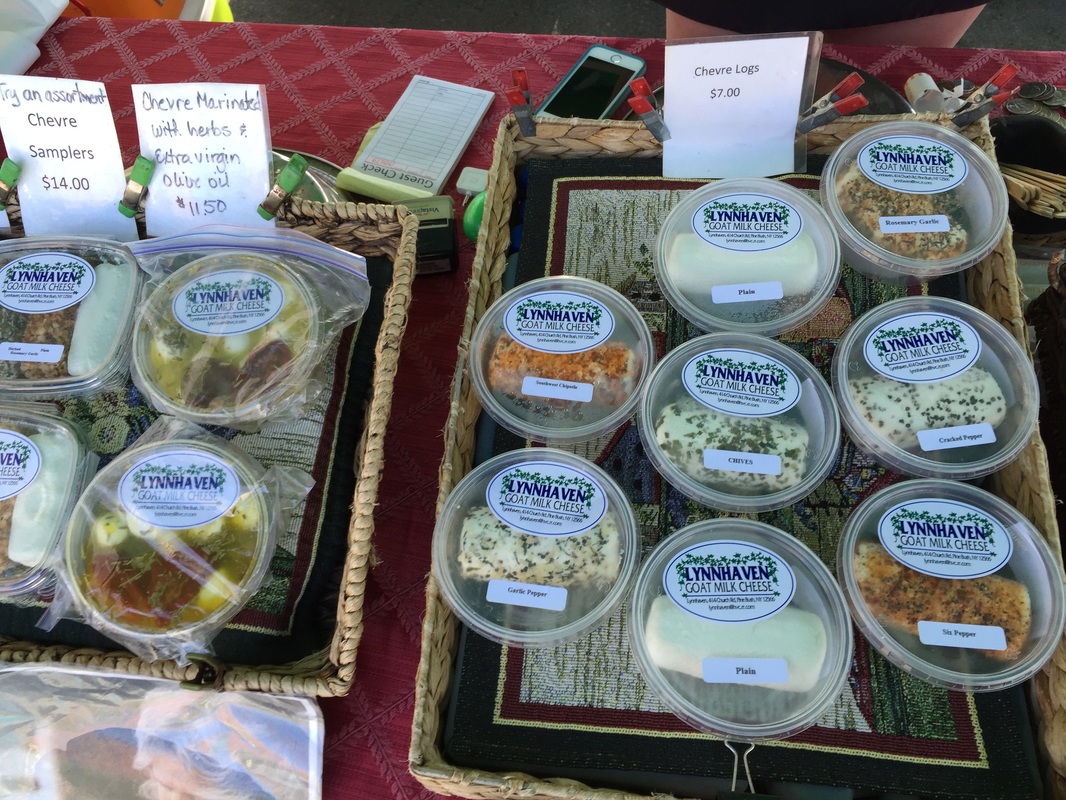
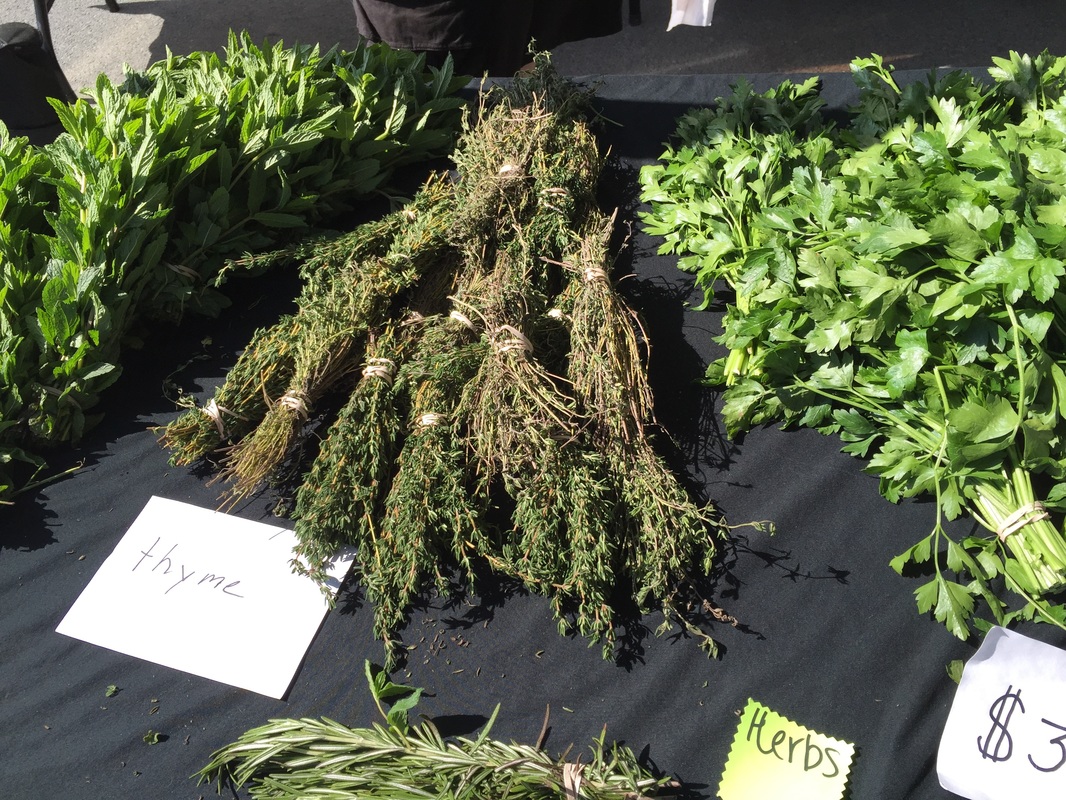 Herbs for sale Every Sunday morning from Mother's Day through Thanksgiving, I go shopping at my local farmer's market. Nothing gives me greater joy than to visit the market each week and see what fruits and produce are ready that day. It keeps me in tune with the season and how it progresses. Farmer's markets are the best way to support local, sustainable agriculture. Farming is very hard work. For that one pepper that you buy in August, there is a farmer planting a seed in a greenhouse in March. He or she is nurturing that seed bed until a little green pops up - watering whenever the soil dries out (can be 2-3x a day depending upon the weather). Then, they transplant it carefully into a bigger seed bed, with fresh soil, fertilizer (organic or otherwise) and some type of mold prevention. That tray is then watered for about a month, until the plant is just about too large to fit in the tray, and the danger of frost is gone. From there, the farmer will have tilled the soil and created a bed - some use plastic, some use mounds, but whatever the method, they work the soil so it's ready to accept that little plant that they have nurtured along until now. I have helped my friend Sue at Pine Hill Farm to seed, water, transplant seedlings, lay plastic and transplant into the ground. Let me tell you - a tremendous amount of work goes into getting your food from seed to ground. Then the real work begins, they lay drip tape along the fields, and make sure to water several times a day, every day. They weed constantly, to keep the plants from getting strangled out - this is back breaking work. They nurture the plants along until they begin to bear fruit/vegetables. One frost, all that work is gone. Too cold, the plants don't thrive. Too hot, they scorch. Farmers have to fend off all manner of critters, like deer, rabbits, groundhogs, birds, and so many others. Months later, when the food is ready, they go out to harvest. Picking is also back-breaking work. It requires enough skill to know when to pluck and when to leave them on the vine. So, by the time the produce makes it to market, and see that this produce is a little more expensive, you know why. Someone has put months of back breaking labor into growing you a perfect, delicious tomato or pepper. There aren't giant machines doing all the work in an environment that has been sprayed with so many chemicals that you need a mask to walk through the fields. There aren't massive government subsidies going to small independent farmers (certainly not at the scale that agribusiness receives). When you see how your food is grown, you know what you want to eat - and what you don't. The same is true of locally made cheeses, eggs (see my egg blog for more), beef, bison, chicken, ostrich, and goat (all available at my local farmer's market). Different regions have different types of specialities too. We are fortunate enough to have an unbelievably delicious local maple syrup called Breezie Maples Farm. We often have a range of local bee keepers that make and sell raw honey. Raw honey is incredibly good for you. If you take a spoonful of local raw honey every day in the spring, it will lessen your seasonal allergies because you will build up an immunity to the pollens in the area. When honey is heated, all of it's goodness is gone and you are left with a sweet syrup. What's more, when you buy local, from your local farmer's market, you are supporting local, independent businesses - people - not corporations. Most major cities these days have at least one market, and if you live in a rural area, you likely live near farmers of some sort or another. So, visit your local market! 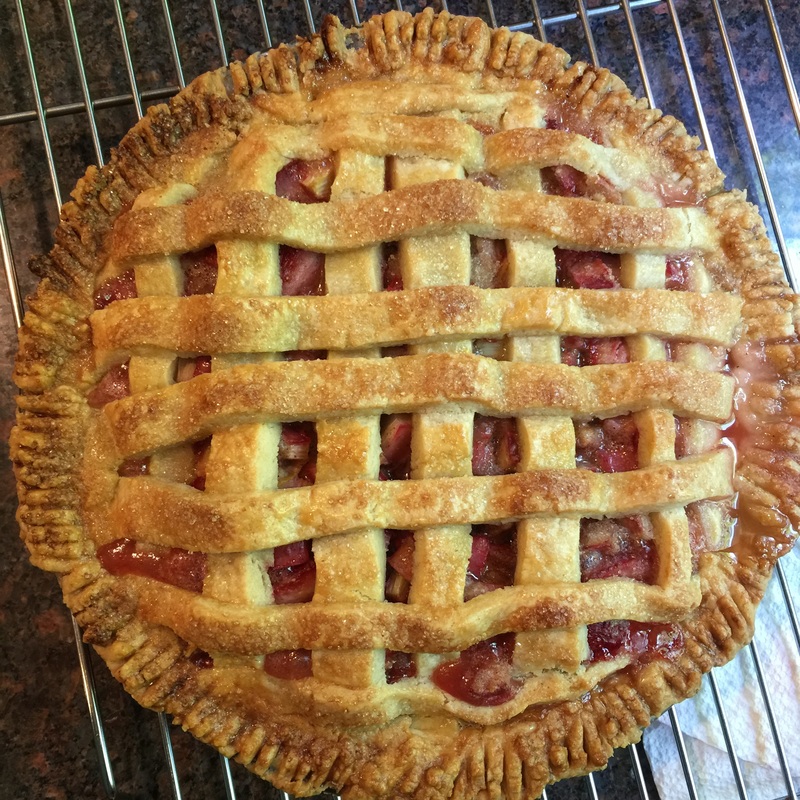 Rhubarb is a wonderful springtime plant that signals that summer is on its way. Rhubarb makes a fantastic pie. It also makes a wonderful jam. Here is my take on an American Classic. The filling for this pie is modified from Nancie McDermott’s recipe.
Piecrust for a 9” pie with lattice crust 190gms (approx. 16 tablespoons) butter or Earth Balance Buttery Sticks 36gms 8 all-purpose flour ½ teaspoon salt 5 tablespoons of ice water Cut the butter up and put back into the fridge, to keep it cold until you are ready to use it. Add the flour, butter, salt and 3 tablespoons of the water to a food processor and pulse until it begins to form a ball – if it doesn’t add more water 1 tablespoon at a time. Divide the dough in half (I like to weigh it to make sure it’s the same in each packet. Or – you can halve the recipe and make two batches to be sure. Pour the dough into plastic wrap and wrap it up. I like to press it into a disc shape so it’s easier to roll out later. Put the discs into the fridge for at least an hour and up to 36 hours. Pie filling Pie dough for a 9” Lattice pie
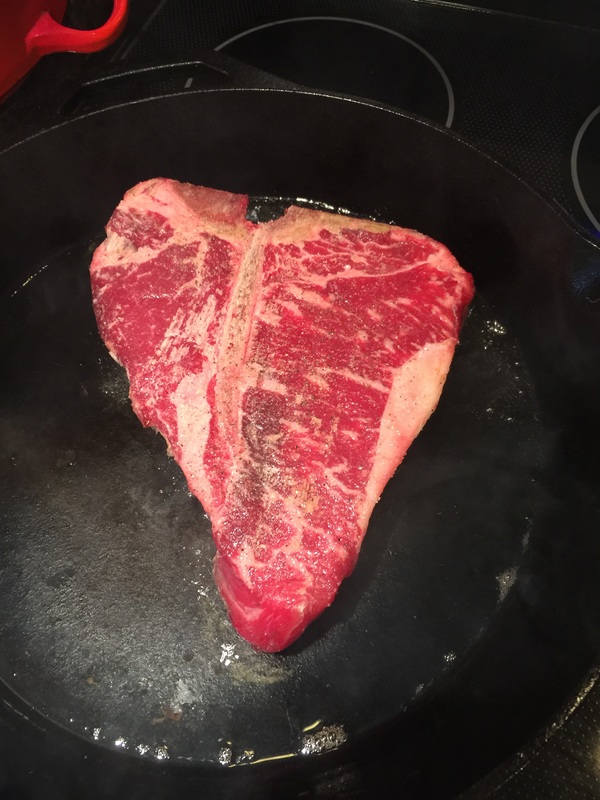
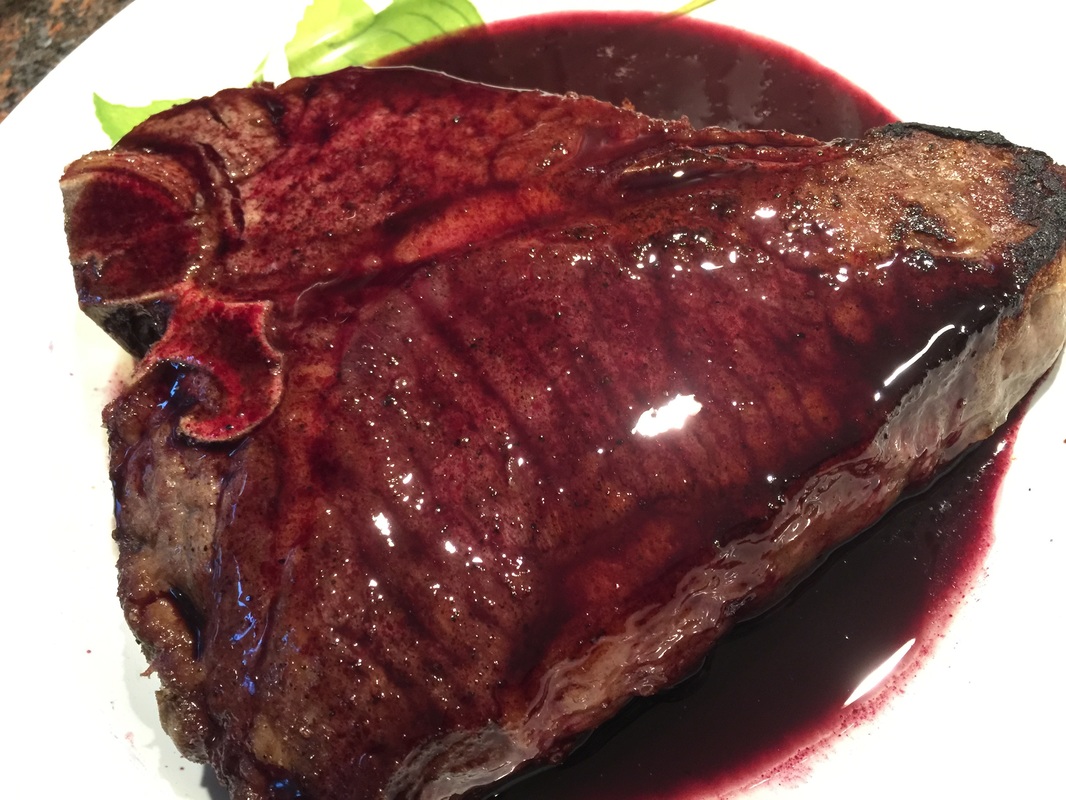
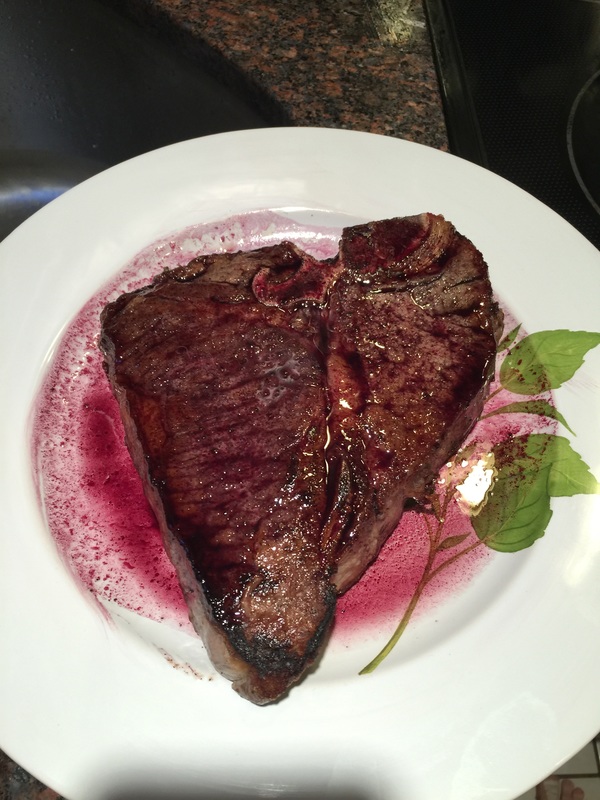
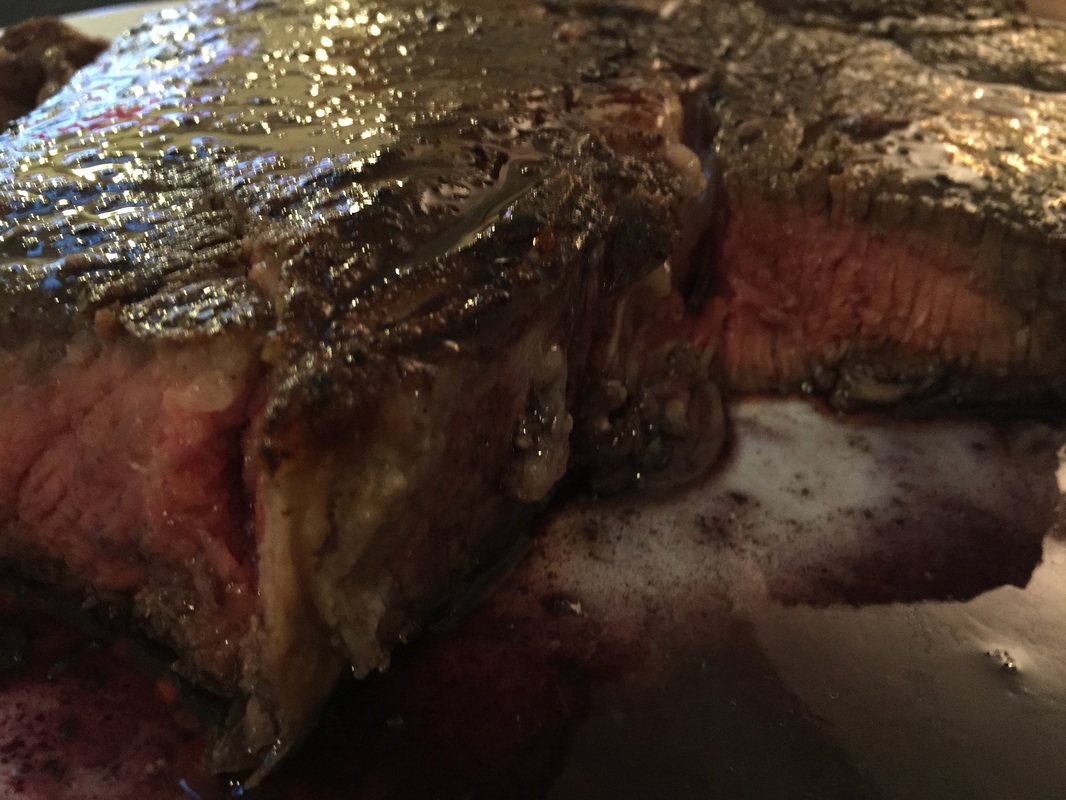
Preheat the oven to 400 degrees. First roll out one of the discs. I like to roll it inside the plastic because it doesn’t stick to anything and it doesn’t crumble on you. Then I like to place the pie plate over the piecrust and flip it over, so I don’t have to handle it too much. Next, mix the cut fruit with the sugar, salt, cinnamon, lemon, and flour. Mix gently to combine. Pour the filling into the piecrust, dot with earth balance/butter, and put it into the fridge while you roll out and cut the lattice top. Roll out the crust inside the plastic wrap the same way. Then cut the dough into long strips. Now, I did not weave my lattice this time, although you can certainly do that. Instead, I lined the pie with strips vertically, and then I lined the pie with strips horizontally in a checkerboard pattern. From there, pinch the ends of the dough down and press with the tines of a fork. Before I put the pie into the oven, I brush it with an egg wash, then sprinkle granulated sugar on top. Bake at 400 degrees for the first 15 minutes, then drop the temperature down to 350 and bake for another 45 -50 minutes. Let it cool before your serve it. 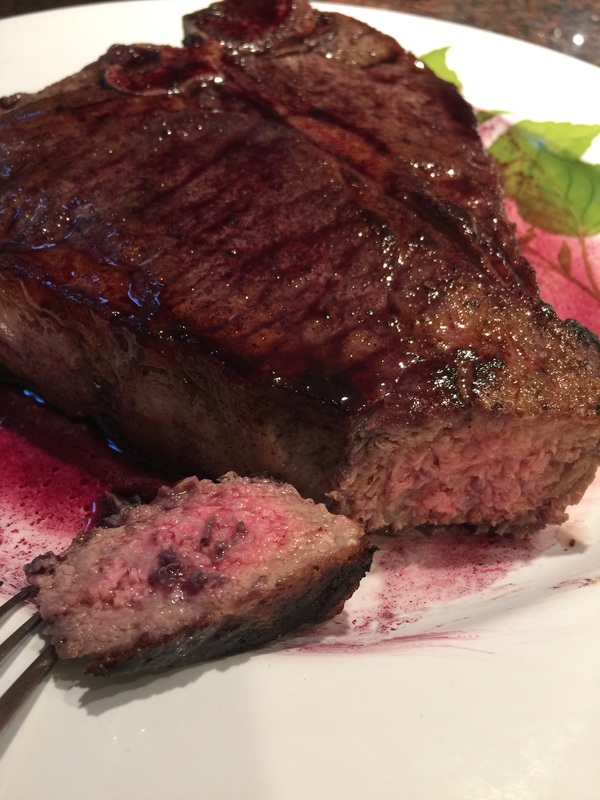 Pan Seared Porterhouse Steak Let's talk about steak. There are so many ways people cook steaks... on the grill, in the broiler, in a skillet, in a sous vide with a a reverse sear, in a smoker, the list is endless. One of my favorite ways to cook a steak is in a cast iron skillet. I preheat my oven to 500 degrees with the skillet inside. While the oven is preheating, I take the steak out and season it with salt and cracked black pepper. Now, let's talk about fats. Not all fats are created equal. Cooking a steak in butter is delicious but butter burns at the type of temperatures that we need to get a great sear going. Olive oil also has too low of a smoking point - so that leaves us with a few choices... high heat vegetable oils (and they are great) or rendered animal fats (they are awesome). If I have it, I like to sear my steaks in rendered duck fat. Because duck fat is such a silky, delicious, wonderful fat. Optional - if you have enough, you can coat your seasoned meat in the rendered fat before cooking for extra awesomeness! So, now, the oven has come to temp (I always let it sit at temp for an extra 15 min) and you have seasoned and taken the chill of of your meat (there are different schools of thought on this too - some people believe that it's better to sear from cold. I've tried both, I like the results I get when it comes to temp first. Try it and see which works better for you). It's time to take the skillet out of the oven and put it on a burner at the highest setting. Add your fat to the pan. Then place the steak in the middle of the pan and let it sear. I leave it alone for about 4-6 minutes, depending upon how thick the steak is, and how quickly it cooks (supermarket meats have a lot of preservatives in them so they will cook faster). Then, flip the steak over and put the pan back into the oven. I like mine medium rare. My boyfriend prefers them medium well. The best way to check them is with a probe thermometer. I tend to check based on the pressure it gives me when it bounces back because I don't like poking extra holes in the meat while it's still cooking but if you are new to this, use the thermometer. When it comes out of the oven, it's going to smell awesome! Don't touch it. Take the steak out of the pan and let it rest on a warm plate while you decide what kind of pan sauce you want to make. You have all this beautiful fat that the bottom of your pan -- why waste it. The options are endless. You can saute mushrooms and onions in it. You can add red wine (as I did below) and reduce it to a syrup. You can add a touch of flour and some beef stock and make a gravy, or you can just dab the top of the steak with butter and let it soak in while it rests. After 15 - 20 minutes of resting in a warm place, you can serve your steak and eat! 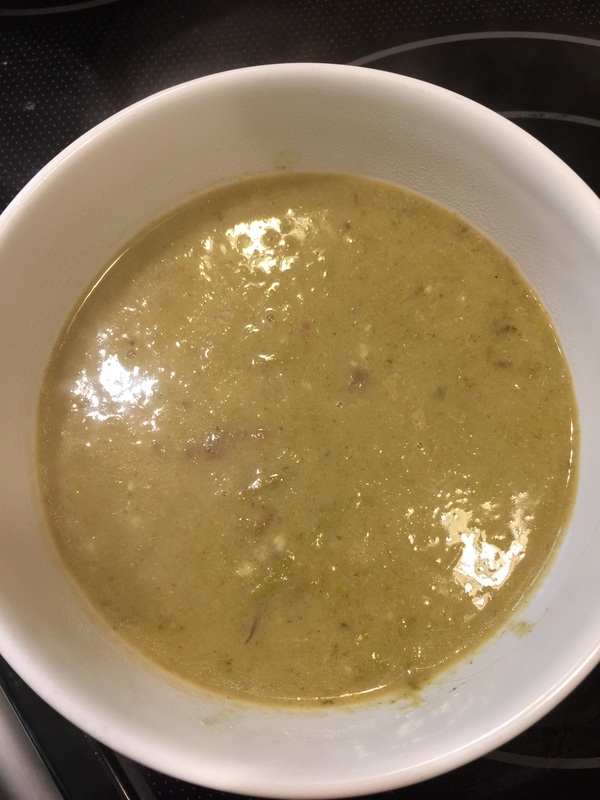 Vegan Asparagus and Sorrel soup When the weather is cool in the spring, a bowl of soup is in order. One of my favorite spring soups is a an asparagus and sorrel soup. The sorrel adds a lovely lemony zing to this otherwise creamy soup. Asparagus and Sorrel Soup
Prep:
Cook
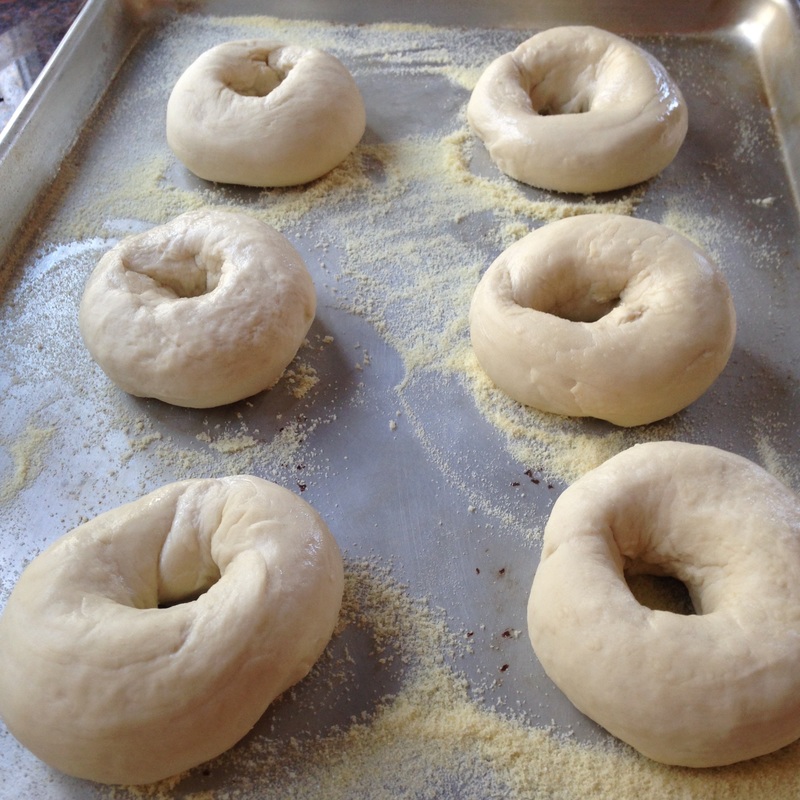
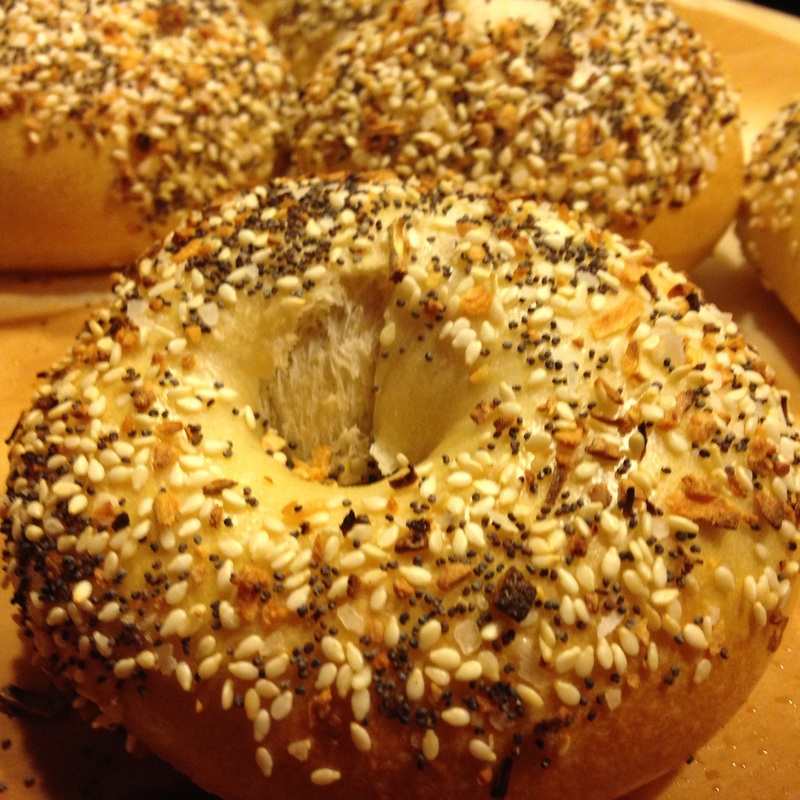
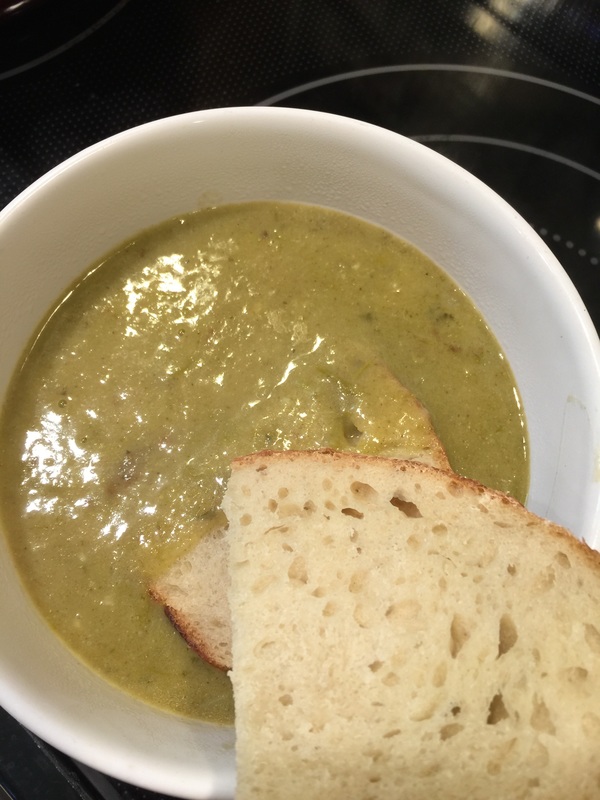 Vegan Asparagus and Sorrel Soup with Homemade sourdough bread  Homemade Everything Bagel with Plain Omelet and Grilled Garlic Salami There has been a lot of internet chatter these days about New York style bagels and how to recreate them at home since Cook’s Illustrated posted their test results and evaluation. Well, in order to compare a formula to a New York bagel, you have to have eaten enough of them to know what the ‘real deal’ actually is. If the comparison is to a major chain like H&H then you are not really achieving greatness. I grew up in a neighborhood next to Coney Island in Brooklyn. The area was a mix of Irish, first and second generation Sicilian, second and third generation Jewish immigrants. If there were two things we knew well, it was pizza and bagels! The best bagels came from a bagel bakery at the end of Cropsey Avenue called, unsurprisingly, Cropsey Bagels. Unfortunately, they are no longer in business, which is a huge loss to bagel fans everywhere. They made the perfect bagel. First, these bagels had height! They sat at least five inches from the table. They had a beautiful, shiny, golden glow. The crumb was light, soft and tender, and the taste! They had a complex flavor profile that reminded me of a mild yet malty sourdough. The only other bagel I have had that came close to this bagely perfection came from Bagel Train, in Suffern, New York— Thankfully, they are open and doing quite well. There are many places to buy bagels around my home. None of them come close the magic of Cropsey Bagels. I knew, if I wanted it, I had to try to recreate them at home. I tried a number of recipes, but, so far, the one I like the best comes from The Culinary Institute of America’s Artisan Breads At Home book by Eric Kastel. However, I made a few small modifications. First, I make the malt-boil, I add more malt syrup than the recipe calls for (by 2 Tablespoons). Next, I put the bagels into an ice bath when they come out of the boiling water, then I will roll them in my toppings (my "everything" topping comes from King Arthur Flour) I ALWAYS proof overnight. The longer they rest, the more the flavor profile will develop. So if I want them on Sunday morning, I start Saturday morning and let them proof for like 15 hours in the fridge. I’ll take them out about one hour before baking, and I bake them directly on top of a hot steel in a 500-degree oven. Rolling them is a bit tricky, but after a few tries, you get the hang of it.  I was looking in my pantry at a package of macadamia nuts that I brought back from Hawaii this winter and thinking about cookies. I made a Cranberry Macadamia Cookie a few years ago that I really loved, but I couldn't remember where I wrote down the recipe. So I decided to try Epicurious' version instead.
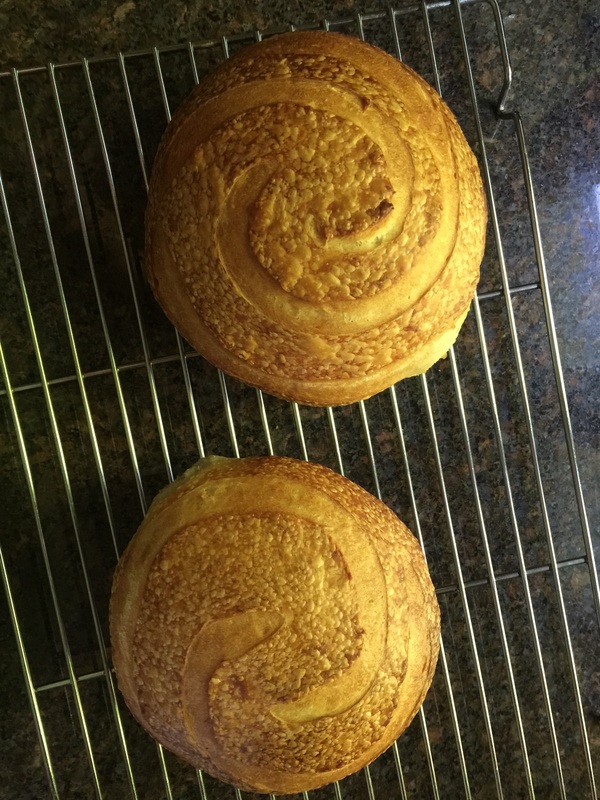
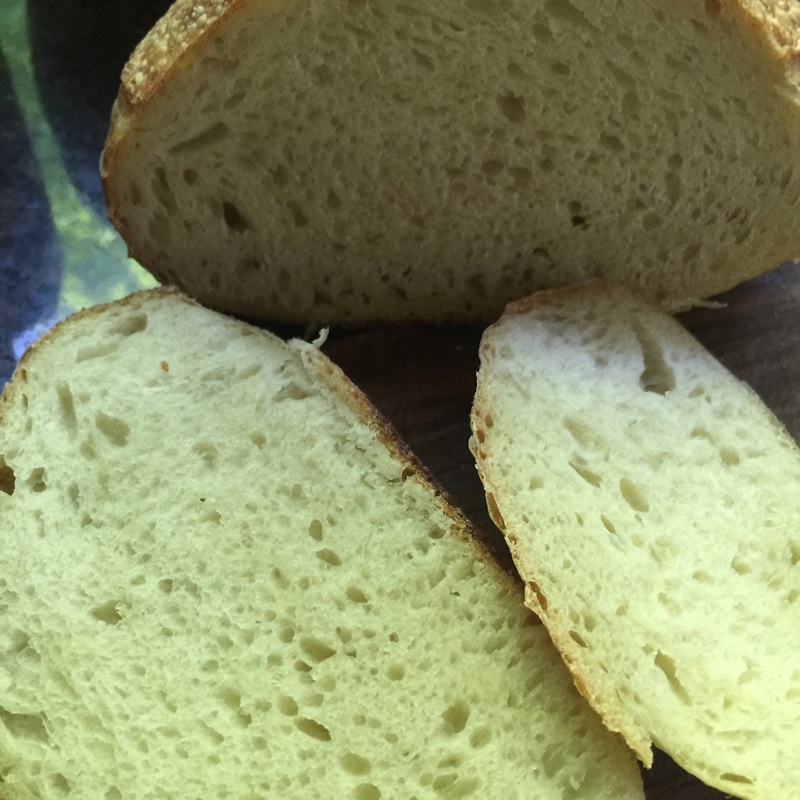
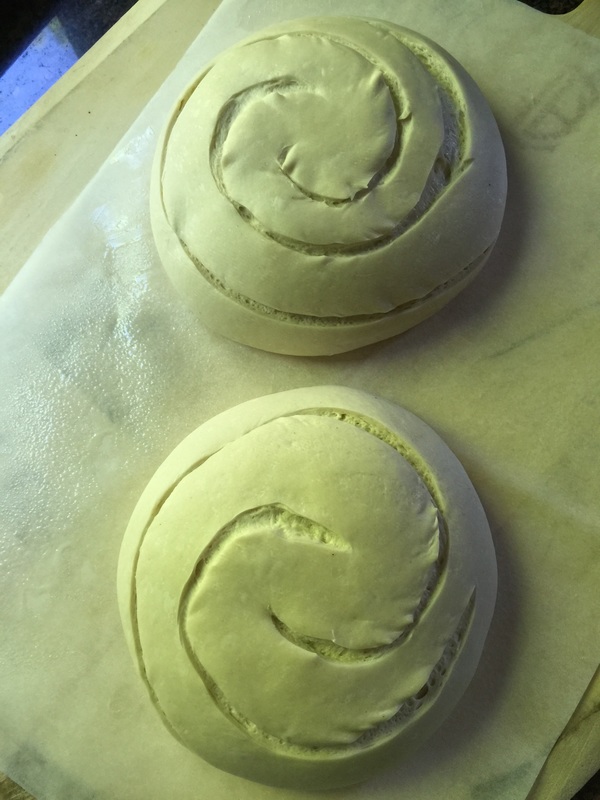
I replaced the butter with Earth Balance Baking Sticks and omitted the white chocolate chips (it's almost impossible to find dairy free white chocolate). The cookie dough itself has a nice balance of chewy:crispy. They spread a little more than I'd have liked in the pan, but overall - it's a good cookie. 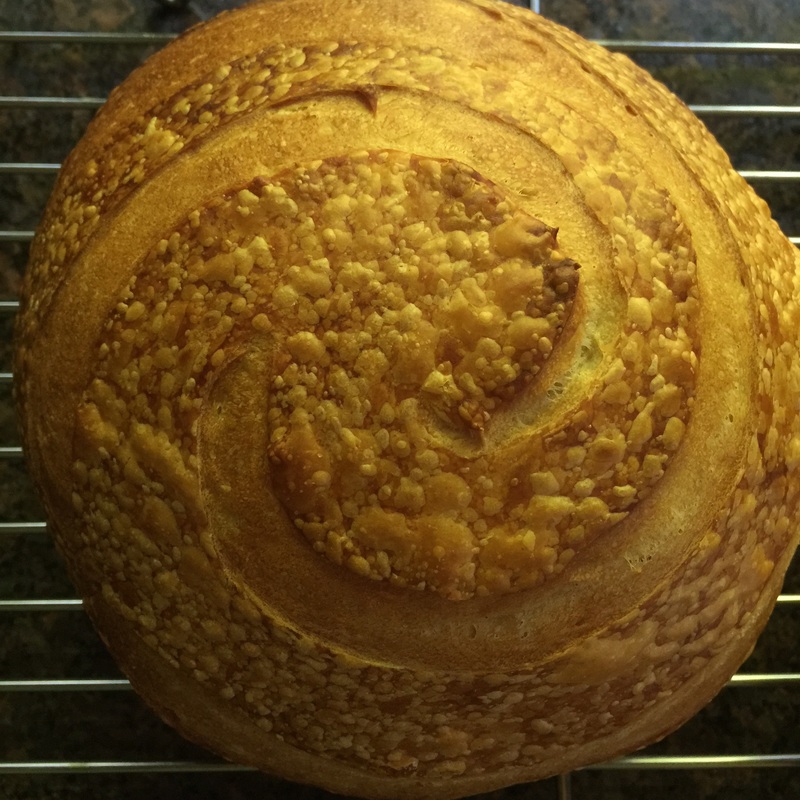 Sourdough Boule with Double Spiral Scoring Every week, I bake a batch of sourdough bread to eat during the week. Lately, I've been using Peter Reinhardt's Bread Baker's Apprentice recipe, which is a 3-day formula. I love this recipe because it gives me a deliciously flaky crust with a soft but structured crumb and a complex "sour" flavor. For this morning's loaf, I decided to have fun with the scoring. I channeled my inner Tim Burton and decided to play with double spiral patterns. I'm really pleased with the results. It even gave me a hint of an ear on the loaf. 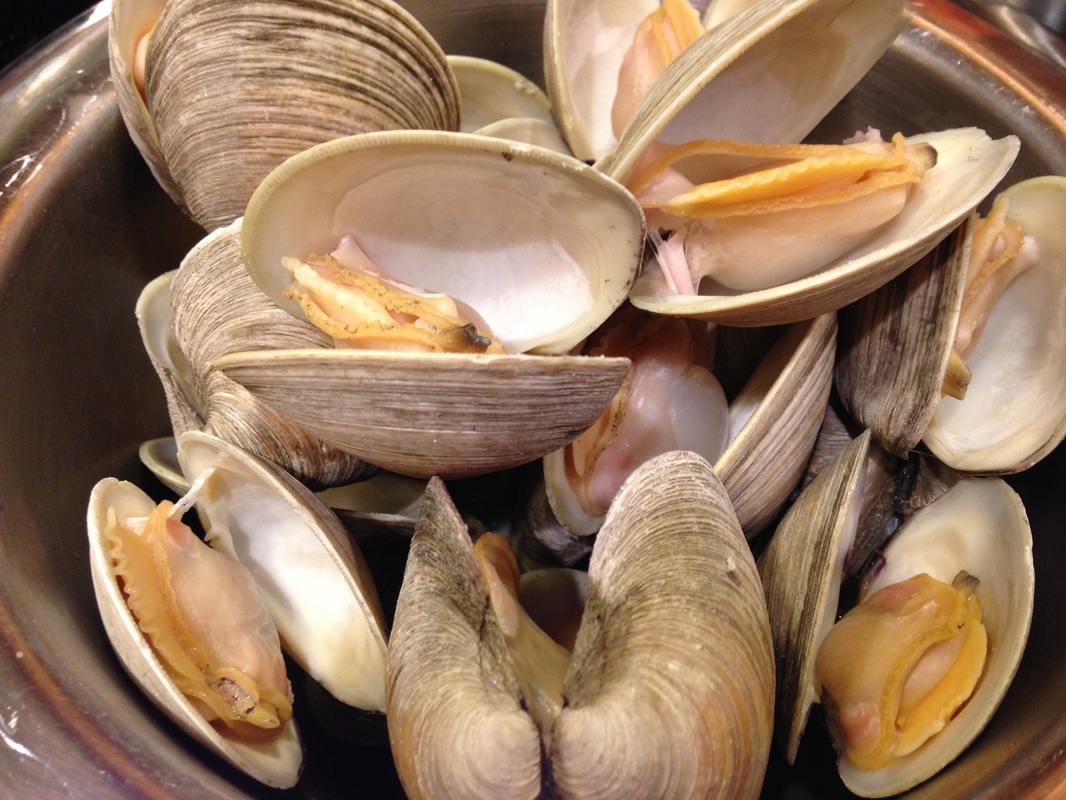 Steamed Clams
Wash the clams thoroughly in cold water. The clams should be closed tightly. If one is open a touch, tap on it. If it closes again, it’s fine. If not, toss it. In the bottom of a six-quart sauce pan, add the wine, clam juice, butter, garlic and herbs (reserving some of the parsley to garnish the dish at the end). Season the liquid (remember to go light on the salt with clams) Add the clams into the bottom of the pot. Cover and bring to a boil. Have a clean bowl ready and next to the stove. Start checking the clams at about 6 minutes. Remove any that have opened. At this point, I watch them – uncovered, because they are going to start opening. You don’t want to leave any clams in the pot once they have opened because they will overcook and get leathery. Discard any clams that don’t open after 10+ minutes. Once all of the clams are out, pull out the garlic from the liquid and add it to the bowl with the clams. Then line a strainer with a cheesecloth or a paper towel and pour the liquid through the strainer into your bowl with the clams. You do this to remove any sand that may have come from the clams when they opened. I like to finish them with a dab of butter/Earth balance, fresh parsley and some freshly grated black pepper. If I were to serve this over pasta, I’d reduce the strained liquid down into a slightly thicker sauce, and then pour it over the clams/pasta. I love to eat this with some crusty bread to sop up the liquid. 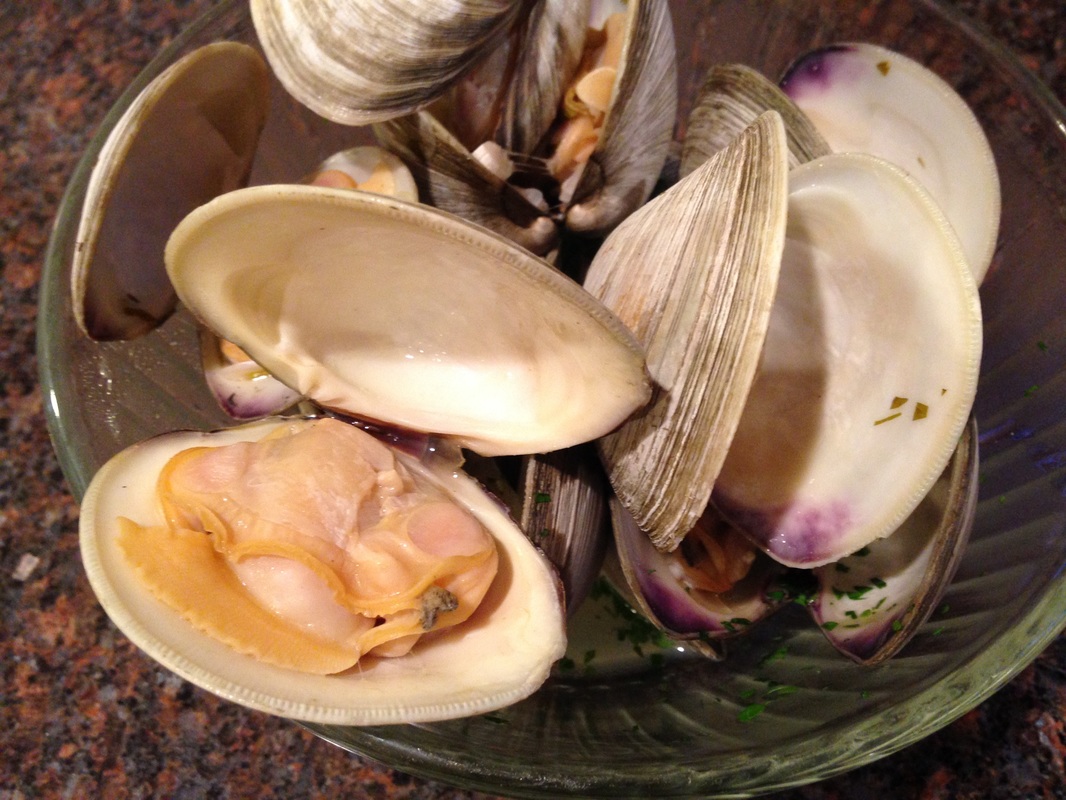 Steamed clams right out of the pot |
DebI'm a home cook with a lifelong passion for learning, exploring and experimenting in my kitchen. You can find me at @Debs1 on Twitter and @Debs121212 on Instagram. Categories
All
Archives
July 2020
|


 RSS Feed
