|
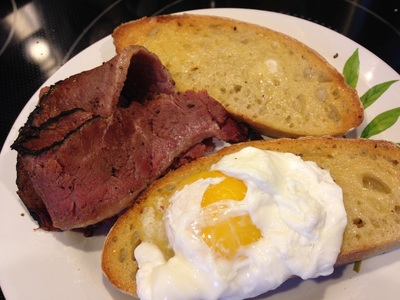
What do you do with leftover steak (I know, how often do you have steak leftover?) Well, one of the benefits to making steak medium rare is that if you need to reheat it, you have room to work with it before it gets overcooked.
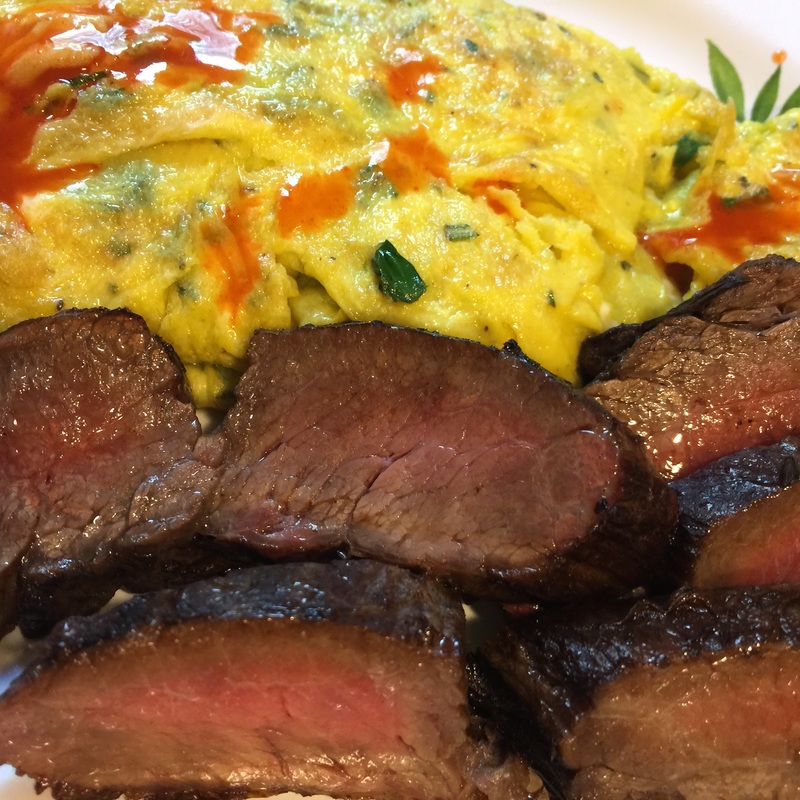
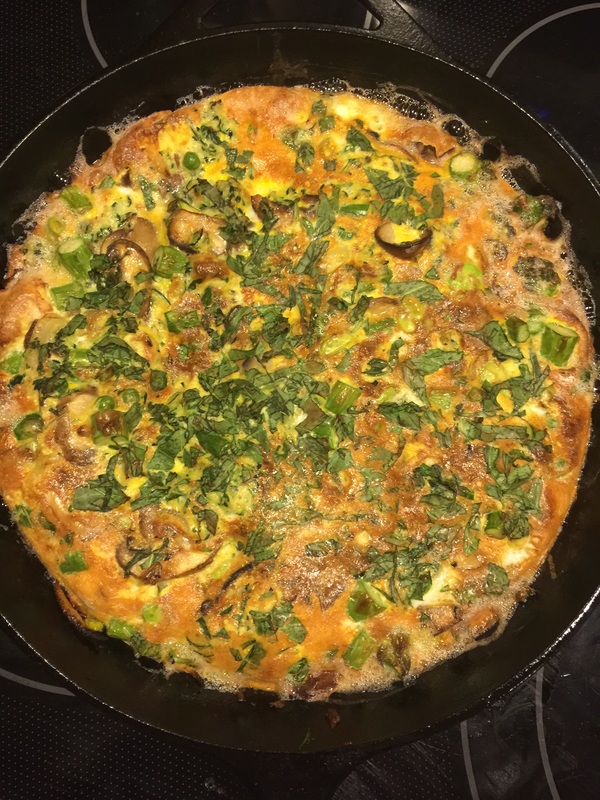
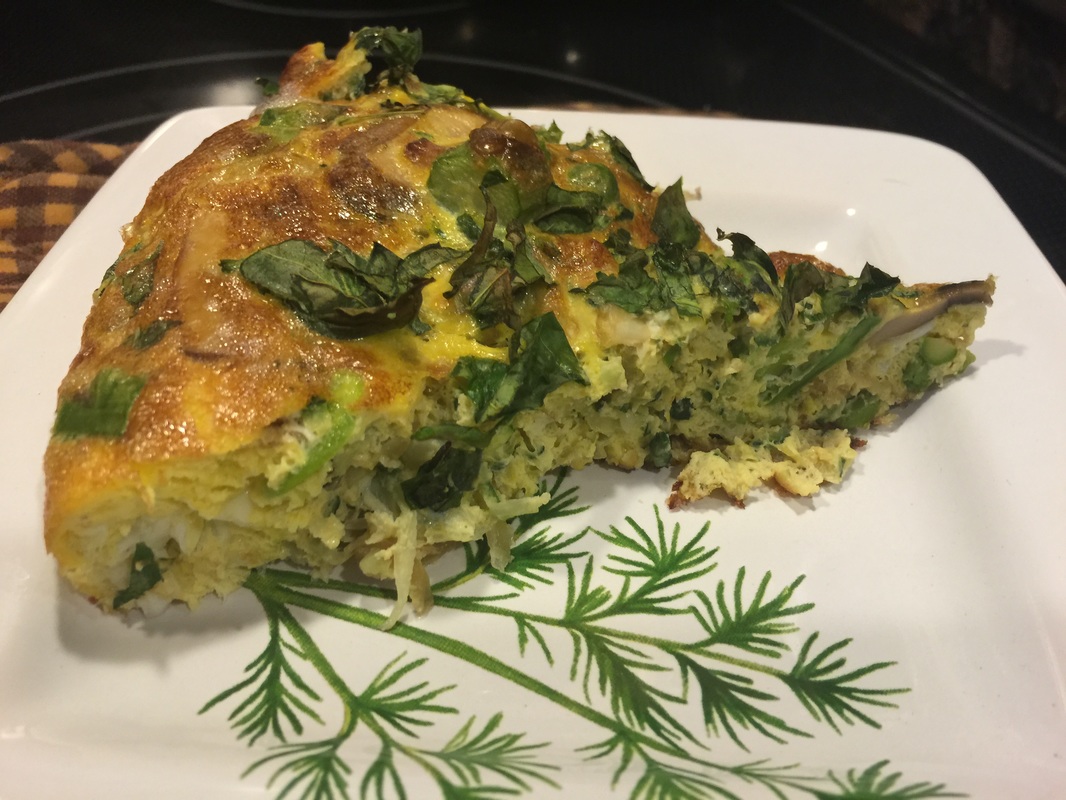
I happened to have some flank steak leftover from lunch the other day, so I sliced it thin and placed it into an oven proof pan and put it under the broiler for about 6-8 minutes (until it was hot). While the steak was heating up, I made my omelet. For this omelet, I freshly minced basil, rosemary and thyme. Once my omelet was done, I took out the steak and lined the plate with it, topped it off with some hot sauce and garnished the dish with some fresh star fruit, which added a sweet citrus flavor to the dish. It was delicious and the whole meal took about 15 minutes to prepare.
0 Comments
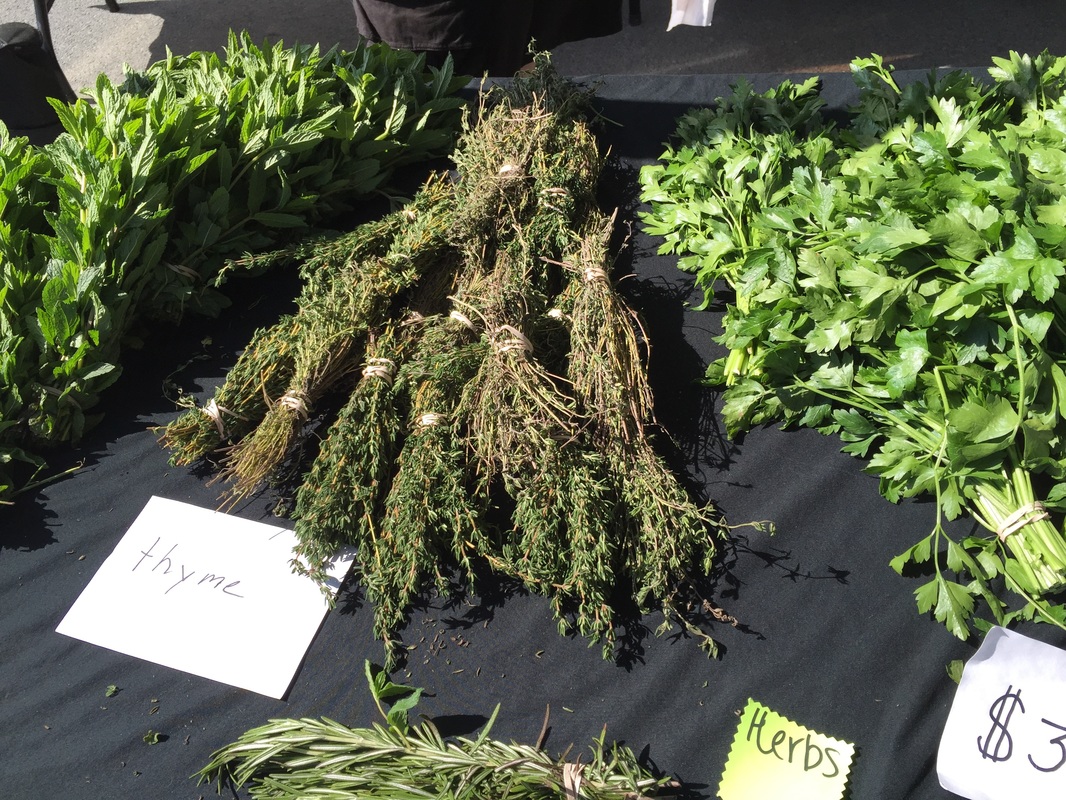
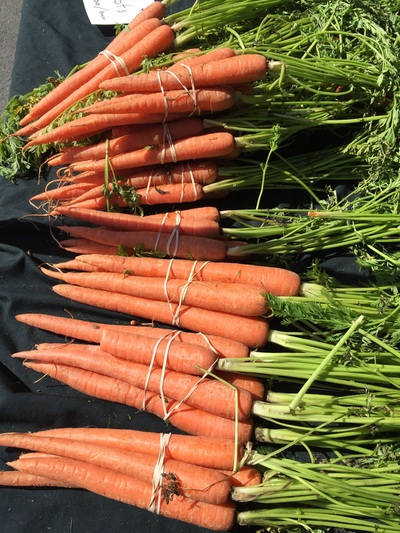
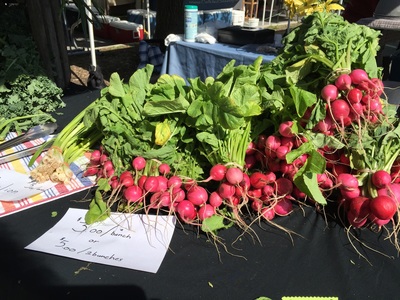
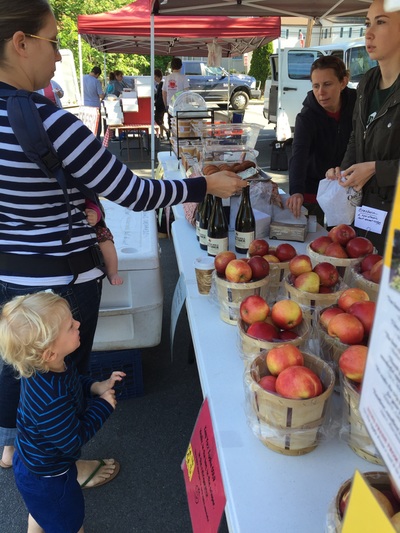
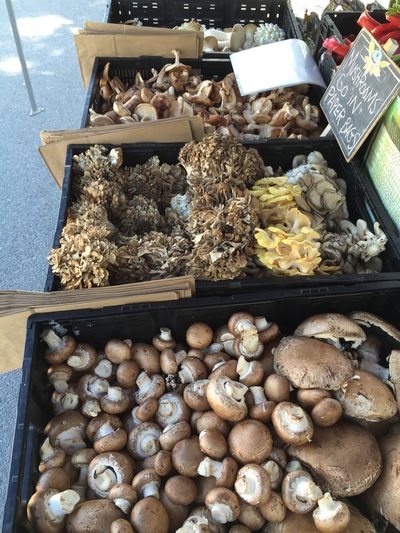
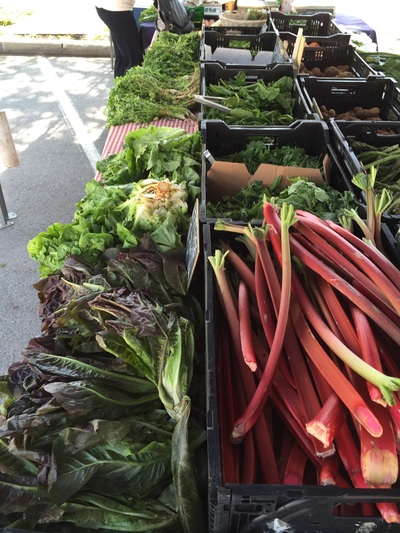
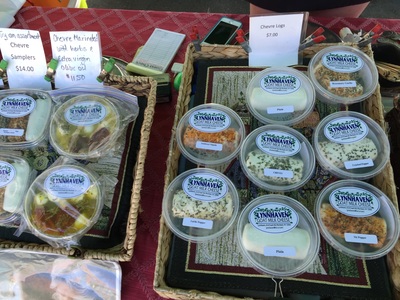
Every Sunday morning from Mother's Day through Thanksgiving, I go shopping at my local farmer's market. Nothing gives me greater joy than to visit the market each week and see what fruits and produce are ready that day. It keeps me in tune with the season and how it progresses.
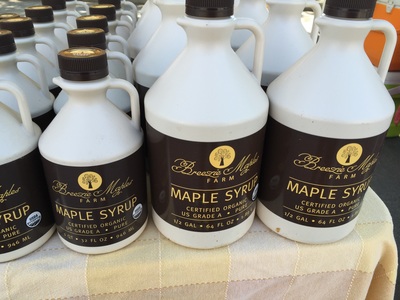
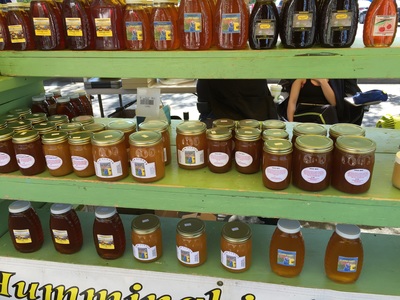
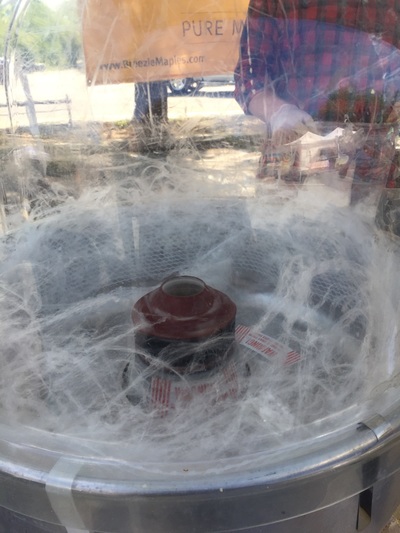
Farmer's markets are the best way to support local, sustainable agriculture. Farming is very hard work. For that one pepper that you buy in August, there is a farmer planting a seed in a greenhouse in March. He or she is nurturing that seed bed until a little green pops up - watering whenever the soil dries out (can be 2-3x a day depending upon the weather). Then, they transplant it carefully into a bigger seed bed, with fresh soil, fertilizer (organic or otherwise) and some type of mold prevention. That tray is then watered for about a month, until the plant is just about too large to fit in the tray, and the danger of frost is gone. From there, the farmer will have tilled the soil and created a bed - some use plastic, some use mounds, but whatever the method, they work the soil so it's ready to accept that little plant that they have nurtured along until now. I have helped my friend Sue at Pine Hill Farm to seed, water, transplant seedlings, lay plastic and transplant into the ground. Let me tell you - a tremendous amount of work goes into getting your food from seed to ground. Then the real work begins, they lay drip tape along the fields, and make sure to water several times a day, every day. They weed constantly, to keep the plants from getting strangled out - this is back breaking work. They nurture the plants along until they begin to bear fruit/vegetables. One frost, all that work is gone. Too cold, the plants don't thrive. Too hot, they scorch. Farmers have to fend off all manner of critters, like deer, rabbits, groundhogs, birds, and so many others. Months later, when the food is ready, they go out to harvest. Picking is also back-breaking work. It requires enough skill to know when to pluck and when to leave them on the vine. So, by the time the produce makes it to market, and see that this produce is a little more expensive, you know why. Someone has put months of back breaking labor into growing you a perfect, delicious tomato or pepper. There aren't giant machines doing all the work in an environment that has been sprayed with so many chemicals that you need a mask to walk through the fields. There aren't massive government subsidies going to small independent farmers (certainly not at the scale that agribusiness receives). When you see how your food is grown, you know what you want to eat - and what you don't. The same is true of locally made cheeses, eggs (see my egg blog for more), beef, bison, chicken, ostrich, and goat (all available at my local farmer's market). Different regions have different types of specialities too. We are fortunate enough to have an unbelievably delicious local maple syrup called Breezie Maples Farm. We often have a range of local bee keepers that make and sell raw honey. Raw honey is incredibly good for you. If you take a spoonful of local raw honey every day in the spring, it will lessen your seasonal allergies because you will build up an immunity to the pollens in the area. When honey is heated, all of it's goodness is gone and you are left with a sweet syrup. What's more, when you buy local, from your local farmer's market, you are supporting local, independent businesses - people - not corporations. Most major cities these days have at least one market, and if you live in a rural area, you likely live near farmers of some sort or another. So, visit your local market! Ingredients:
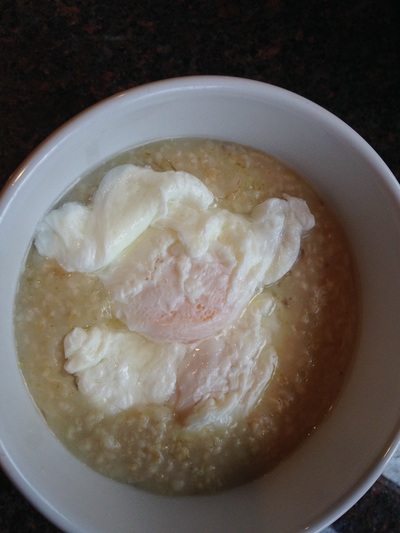
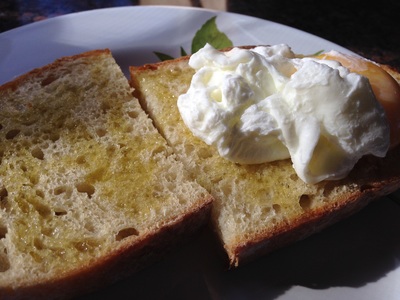
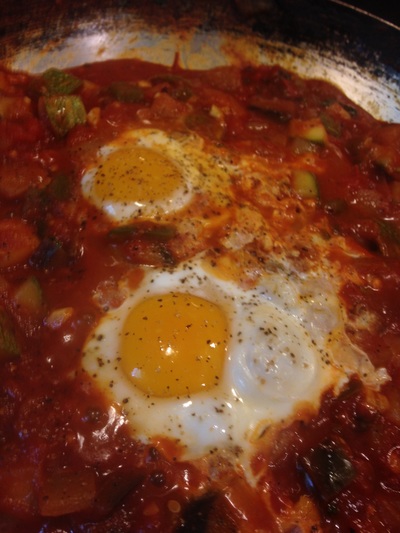
Perfectly Poached Eggs
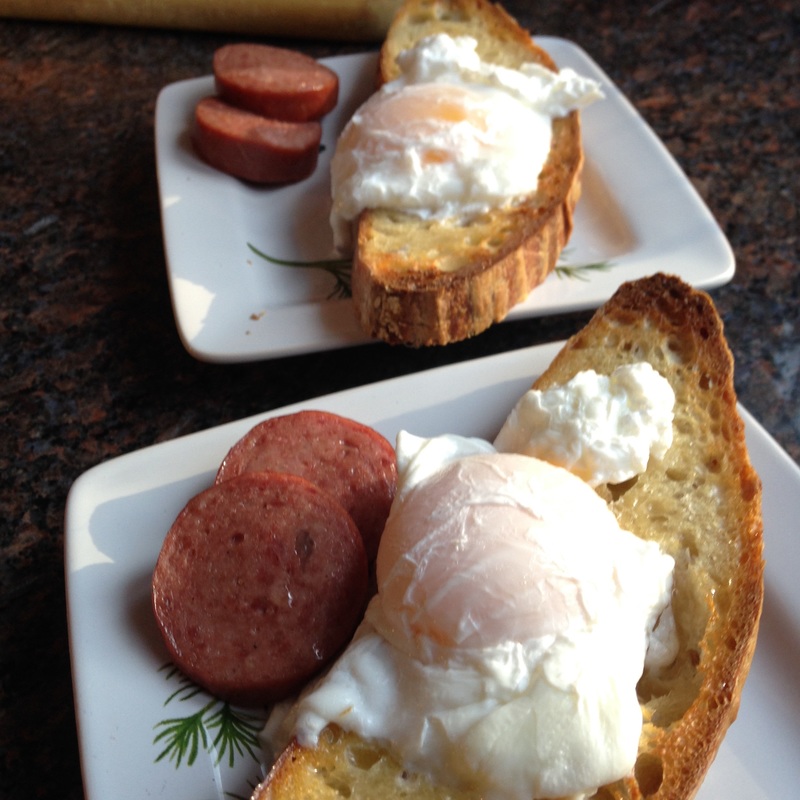
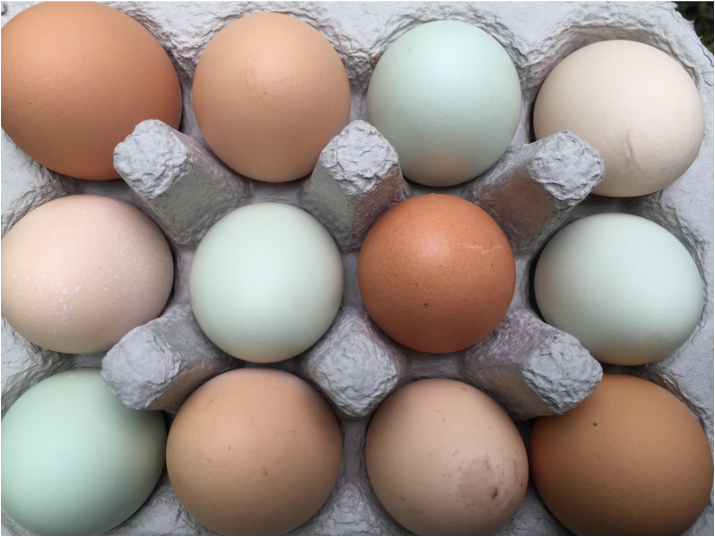
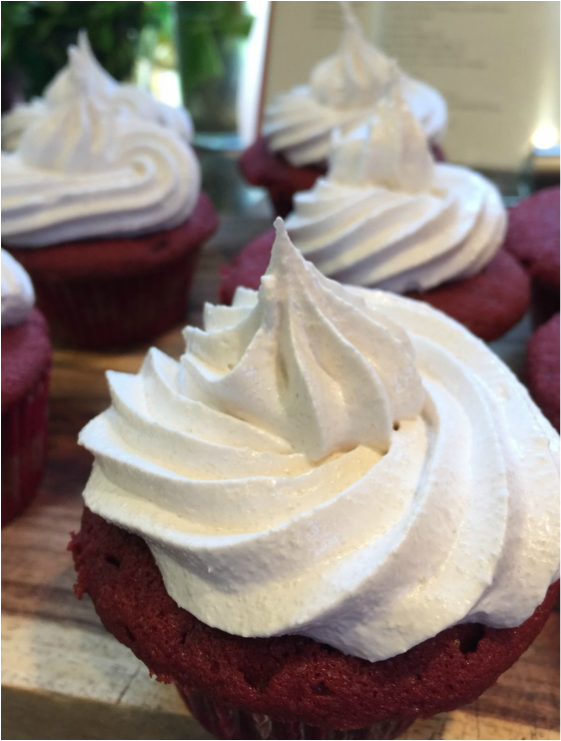
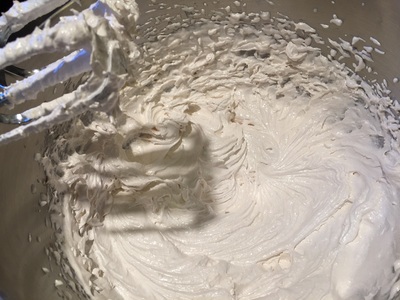
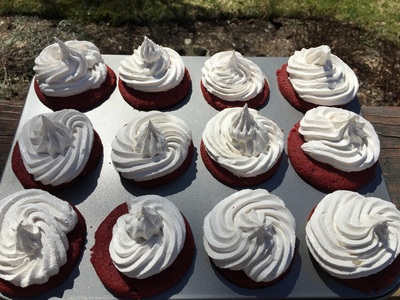
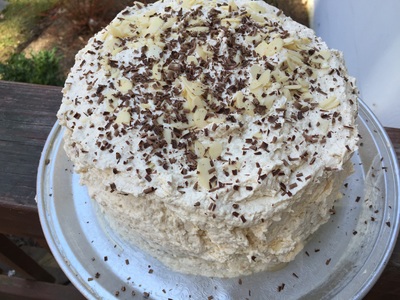
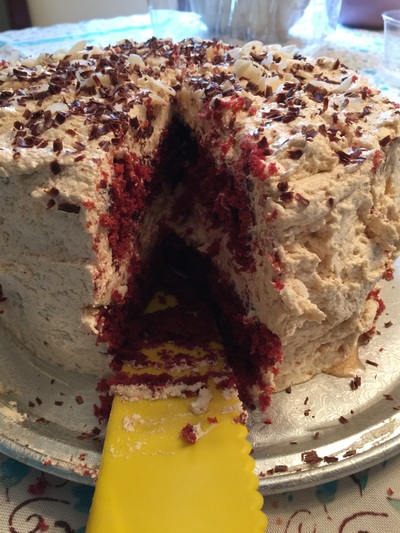
For perfect poached eggs, the most important step is to use fresh eggs. There are many tricks, gadgets and assorted cheats that people use when poaching eggs, like: · Putting them into plastic wrap before placing them into the water, so they retain their shape. · Using a poaching pan (which is really more like a double boiler) · Nuking them in a water bath in the microwave · Straining the raw egg first before putting them into the water Wonder How does a fantastic job of summarizing all of these different egg poaching methods in their poached egg blog. Each method has its merits, but I’m a fan of the old fashioned, traditional method that Alton Brown demonstrates to us here: Don’t have time for the video? His recipe (which I use every time) can be found here. 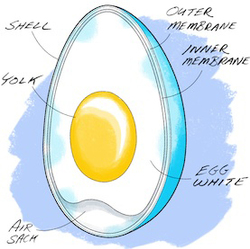 Photo from Scientific American Photo from Scientific American Let’s Talk About Eggs A quality egg is a rich, delicious, high protein food packed with mineral and nutrients that the body needs to thrive. Eggs are extremely versatile. They make our baked goods taste great. They can be poached, fried, scrambled, baked, pickled… You can turn them into omelets, frittatas, soufflés, meringues – even sushi! Eggs can add richness to a dish. They can bind ingredients together or lighten a batter when whipped. How do choose the best eggs? There are some great articles out there on how to determine the quality of an egg. This is a great guide from Mother Earth News. I prefer to buy organic eggs from local farmers that allow their chickens to roam free on their land. The woman I buy my eggs from feeds them non-GMO, soy-free feed. They also eat worms, bugs and all the other things chickens like to eat when they can wander through the grass. One of the first differences I notice is that their shells are much stronger than commercial eggs. It takes a little bit of effort to break them. Their yolks have a rich, gorgeous sunflower-yellow color and the taste is much better. The age of the egg matters! Eggs react differently to different types of cooking methods. Certain cooking methods require eggs of different ages. If you want a perfectly poached egg, you should always start with fresh eggs. You will see a distinct difference when you poach an egg that came from the chicken within 2-3 days. However, for hard-boiled eggs, an older egg (3-4 weeks) will peel and retain its shape much better and its yolk will set up more consistently. So if you are thinking about making deviled eggs, egg salad, Nicoise salad, or anything elese that requires you to begin with a hard boiled egg – you will want to keep those eggs in the fridge for about a month first. What’s inside an egg? According to the University of Illinois Extension, the average weight of an egg is 57 grams. “Eggs are especially valuable as a source of protein. In fact, egg protein is used as the standard against which the quality of other food proteins is measured. One egg contains about 6 to 7 grams of protein. People of all ages need adequate protein for building and repairing body tissues. The fat in the yolk is so finely emulsified that it is digested easily even by infants. The ratio of unsaturated to saturated fats is about 2 to 1. This is considered very desirable. Oleic acid is the main unsaturated fat. It has no effect on blood cholesterol. Eggs contain vitamin A, the B vitamins (thiamin, riboflavin, and niacin), and vitamin D. All are necessary during childhood and adolescence for growth. Eggs also contain an abundant supply of minerals, such as iron and phosphorus that are essential for building and maintaining strong, healthy bodies.” So that’s why body builders love them! Different types of eggs... There are so many different varieties of eggs that people choose to cook with from around the world. I've tried at least 15 different types of chicken eggs - from the tiny quail egg, to the small Bantam chicken egg (they make great foam for a whiskey sour) to brown, green and even blue chicken eggs, to the super rich and luxurious duck egg to the gigantic ostrich egg. Each egg variety has their own flavor profile. If you work in grams, you can adjust any recipe to account for the changes from egg to egg. Try them all -- each one is delicious -- and remember, they are good for you. 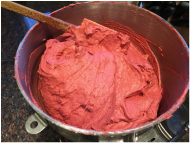 Dairy Free Red Velvet Cake Batter Dairy Free Red Velvet Cake Batter This was one grand experiment. I love red velvet. When I developed a dairy allergy, I couldn't eat or make it anymore. For years, I longed for them, until I worked in the Chelsea section on Manhattan. There is a wonderful vegan restaurant and bakery called Blossom. They make a fantastic vegan red velvet cupcake. On nice days, I would walk over on my lunch break and buy one (or a few...). Well, when I stopped working in Chelsea, red velvet eluded me again. You see, I can replicate buttermilk by adding vinegar and/or lemon juice to coconut milk, but for red velvet, lemon juice alters the flavor and there is already vinegar in the recipe, so adding more throws off the balance. Until... I began making coconut milk Kefir at home. The kefir acts almost the same way as buttermilk does in recipes, so it gave me the freedom to make a red velvet confection at home. Some friends invited me to a Pot Luck, so I had the means and the opportunity to make it. The next step was to locate a recipe to conform. I chose one from Sally's Baking Addiction. It was a nice base that was relatively easy to convert by replacing the buttermilk with kefir at a 1:1 ratio. I made a double batch - thinking that it would only produce 12 cupcakes. Well, I got 24 cupcakes and two 8" rounds from doubling that recipe. Now, how do I frost them? One option would be to make the cream cheese frosting with soy-based cream cheese, but I wanted something more interesting than that. For the cupcakes, I wanted something light and airy - so I made a seven-minute swiss meringue frosting by Gale Gand. For the cake, I decided to attempt an Italian Meringue buttercream, replacing the butter with Earth Balance Buttery Baking Sticks. 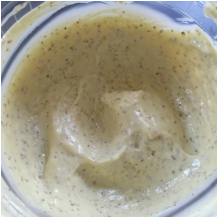 Homemade Mayo Homemade Mayo Before I can make egg salad, I need to make mayo. The store bought mayos have a lot of chemicals and preservatives - and quite frankly, don't taste very good. For egg salad, a quality homemade mayo is a must. So, here is the recipe for the mayo. Homemade Mayo
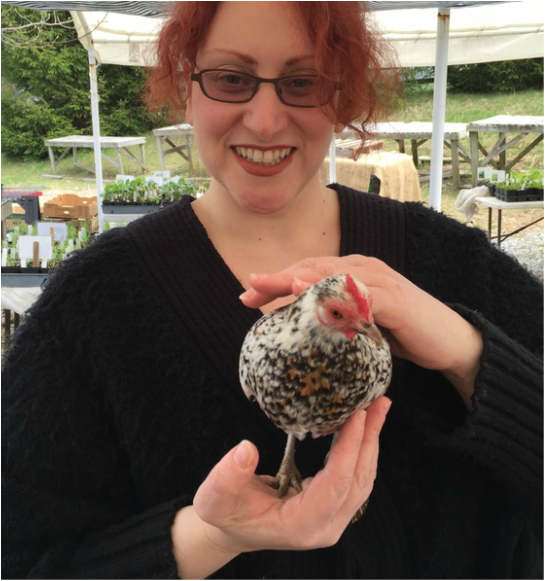
*Make sure the egg yolk has no white in it at all Method: Put the egg yolk, vinegar, lemon juice, mustard and salt into the bottom of a blender. Mix until combined. With the blender on, slowly stream in the olive oil until it forms a creamy consistency. BE CAREFUL not to let it break. Mayo is an emulsion, so that egg yolk can only absorb a certain amount of oil. The trick is to add enough oil to make the emulsion creamy but not enough to make it break. You know it’s broken if the liquids separate from the fats. Then, you have to throw it out and start again. 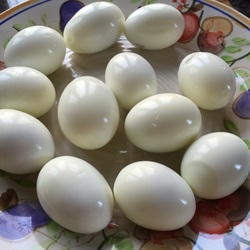 Fresh Hard Boiled Eggs Fresh Hard Boiled Eggs Now we are on to the egg salad itself. So, let's talk about eggs. In my opinion, the highest quality and best tasting eggs come from organic, free range and local chickens. In my case, I am fortunate enough to get them from a wonderful woman that raises heritage breeds of chickens, feeds them a completely organic and soy free diet, and allows them to roam her property and eat grass, worms and all the other things chickens naturally eat. While not everyone has access to this kind of egg, I do strongly recommend that you purchase free range, organic eggs if you want to make a great egg salad. 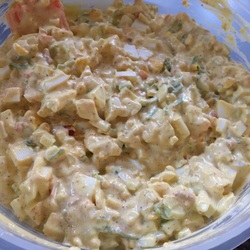 Egg Salad Egg Salad Homemade Egg Salad
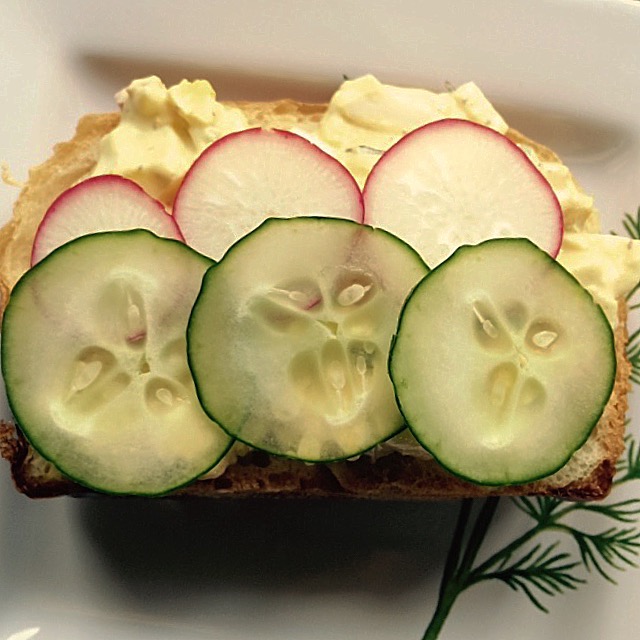
I like to chop all my veggies and add them to the bottom of a bowl. Then add in the eggs and slowly fold in enough of the mayo to make it creamy. (You may need more or less than the amount stated. Just add accordingly.) Then I’ll add the herbs (to taste) and fold them in as well. I used to add cucumbers to my egg salad, but they are too watery to go in. Now I just slice them thinly and put them on top of my egg salad sandwiches. Adjustments If I want more of a lemony flavor, I zest some lemon into the salad. If I want more of a mustard or vinegar flavor, I’ll whisk the mustard and/or the vinegar into the mayo before folding it into the eggs. And finally, on to the sandwich... I use Peter Reinhardt's Sandwich bread recipe from the course materials of the Craftsy platform, but you can use the version in The Bread Baker's Apprentice, which is quite similar. Sometimes, I shape it into a Pullman's Loaf, other times, I make these fabulous clover leaf rolls. I've used it to make hamburger and slider buns. It's an incredibly versatile recipe. Regardless of it's shape, they deliver a moist, delicious sandwich bread or roll.
My favorite garnish for an egg salad sandwich is thinly sliced cucumber and radish. If I can find purslane, I'll dress it with that lovely green too. Bon Appetit! 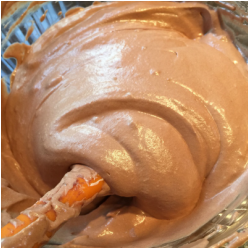 Folding the meringue Folding the meringue The dairy version of this recipe came from renowned pastry chef Gale Gand. However, I modified it to work as a delicious, non-dairy dessert. Ingredients:
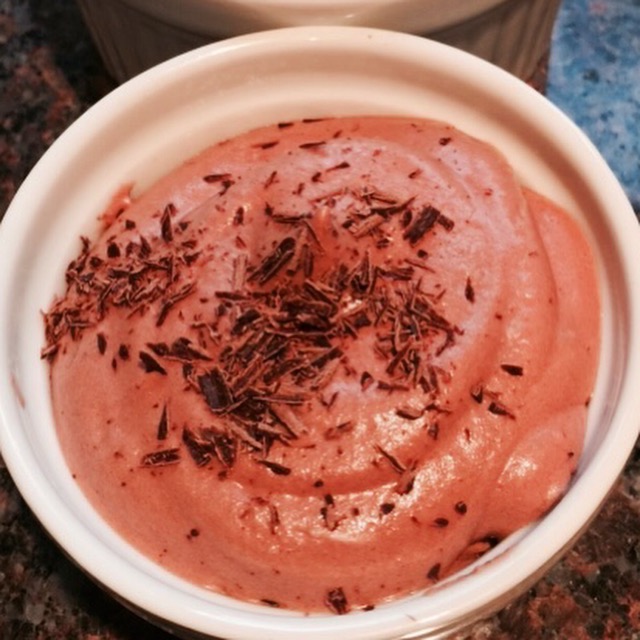
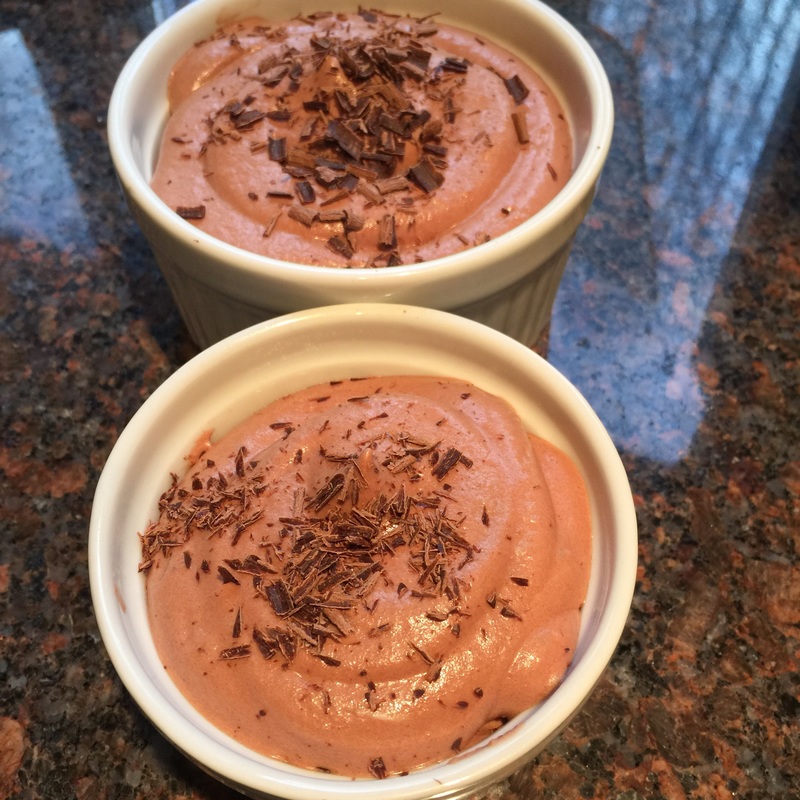
Melt the chocolate in a metal bowl over simmering water in a saucepan. Remove from the heat and let cool slightly. While the chocolate is cooling, whip the coconut milk on high speed until it stiffens, then refrigerate. This will take longer than regular cream, and the bowl, the whisk attachment and the milk all need to be very cold. I pop my bowl and attachment into the freezer about 30 min before I make it. In a clean, dry mixing bowl, whip (whisk attachment) the whites on medium high speed until soft peaks form. Slowly add the sugar and continue whipping until the whites are glossy and the sugar has dissolved. Add a third of the whites to the cooled chocolate, and whisk in quickly and thoroughly. Add a second third of the whipped whites and fold in with a rubber spatula until most of the streaks are gone. Add the final third and continue to fold until a few streaks remain. Fold in the whipped cream. Spoon the mousse into a piping bag fitted with medium star tip. It’s going to be loose, so twist the bag at the base near the tip to prevent the mousse from leaking out until you are ready to pipe with it. Pipe into serving glasses, shave some dark chocolate over the top and chill for 2 hours, then serve. |
DebI'm a home cook with a lifelong passion for learning, exploring and experimenting in my kitchen. You can find me at @Debs1 on Twitter and @Debs121212 on Instagram. Categories
All
Archives
July 2020
This website uses marketing and tracking technologies. Opting out of this will opt you out of all cookies, except for those needed to run the website. Note that some products may not work as well without tracking cookies. Opt Out of Cookies |

 RSS Feed
