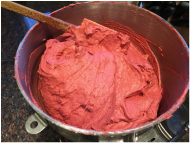
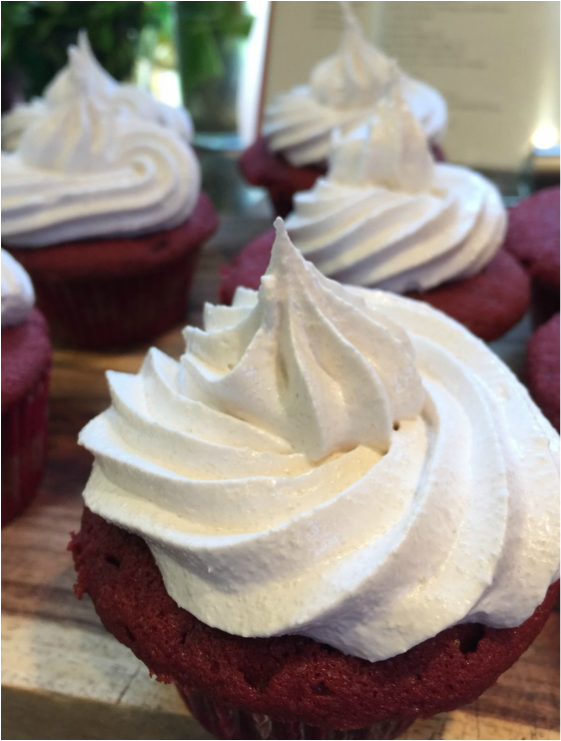
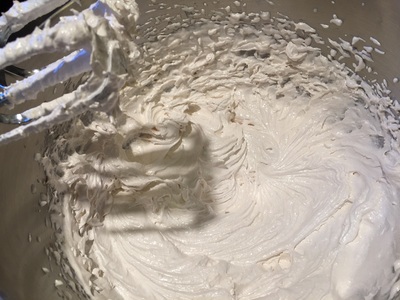
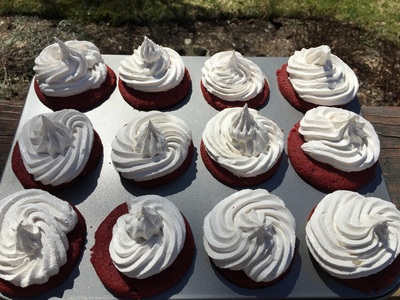
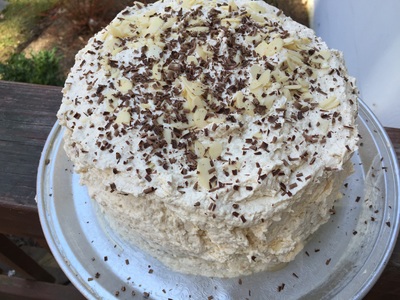
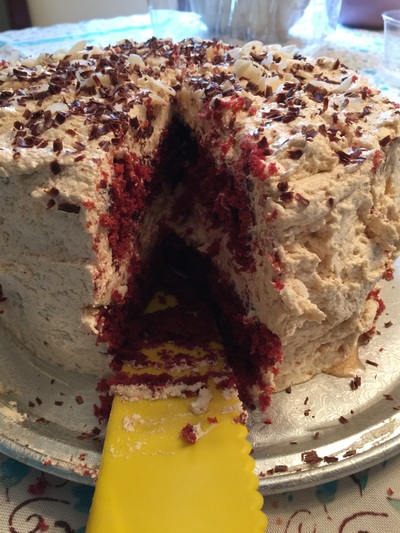
 Dairy Free Red Velvet Cake Batter Dairy Free Red Velvet Cake Batter This was one grand experiment. I love red velvet. When I developed a dairy allergy, I couldn't eat or make it anymore. For years, I longed for them, until I worked in the Chelsea section on Manhattan. There is a wonderful vegan restaurant and bakery called Blossom. They make a fantastic vegan red velvet cupcake. On nice days, I would walk over on my lunch break and buy one (or a few...). Well, when I stopped working in Chelsea, red velvet eluded me again. You see, I can replicate buttermilk by adding vinegar and/or lemon juice to coconut milk, but for red velvet, lemon juice alters the flavor and there is already vinegar in the recipe, so adding more throws off the balance. Until... I began making coconut milk Kefir at home. The kefir acts almost the same way as buttermilk does in recipes, so it gave me the freedom to make a red velvet confection at home. Some friends invited me to a Pot Luck, so I had the means and the opportunity to make it. The next step was to locate a recipe to conform. I chose one from Sally's Baking Addiction. It was a nice base that was relatively easy to convert by replacing the buttermilk with kefir at a 1:1 ratio. I made a double batch - thinking that it would only produce 12 cupcakes. Well, I got 24 cupcakes and two 8" rounds from doubling that recipe. Now, how do I frost them? One option would be to make the cream cheese frosting with soy-based cream cheese, but I wanted something more interesting than that. For the cupcakes, I wanted something light and airy - so I made a seven-minute swiss meringue frosting by Gale Gand. For the cake, I decided to attempt an Italian Meringue buttercream, replacing the butter with Earth Balance Buttery Baking Sticks.
0 Comments
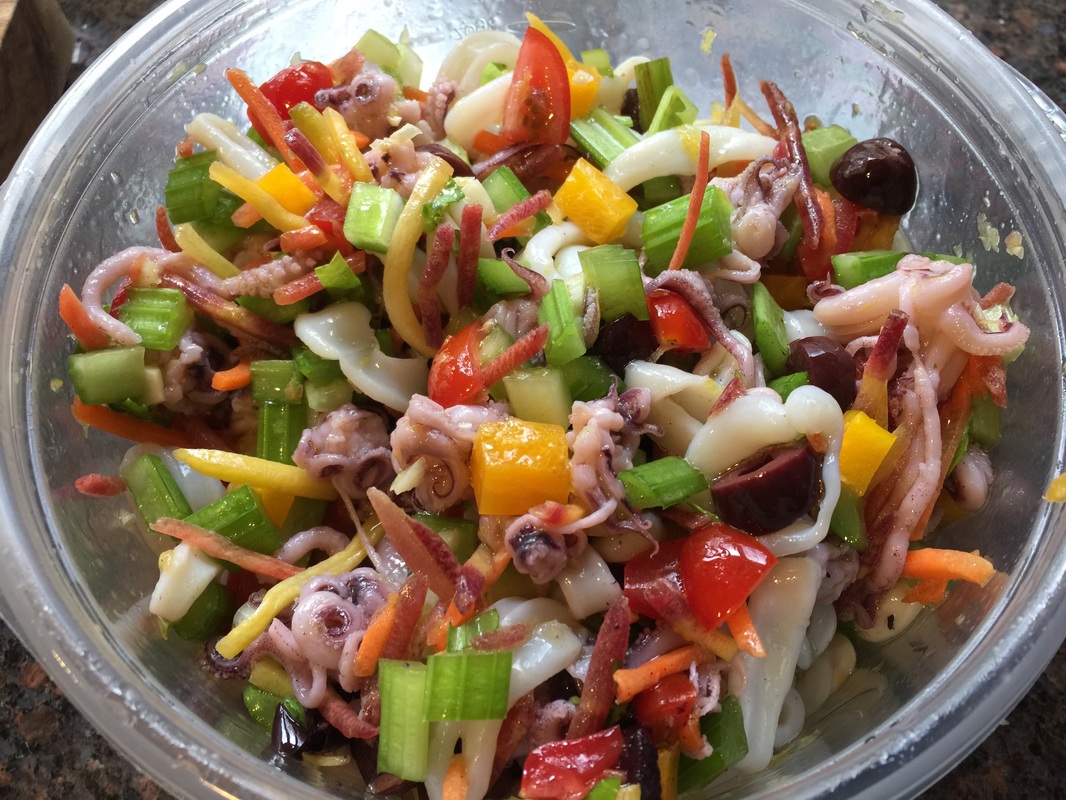
 Cooked Calamari Cooked Calamari Ingredients:
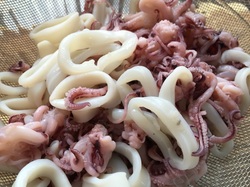
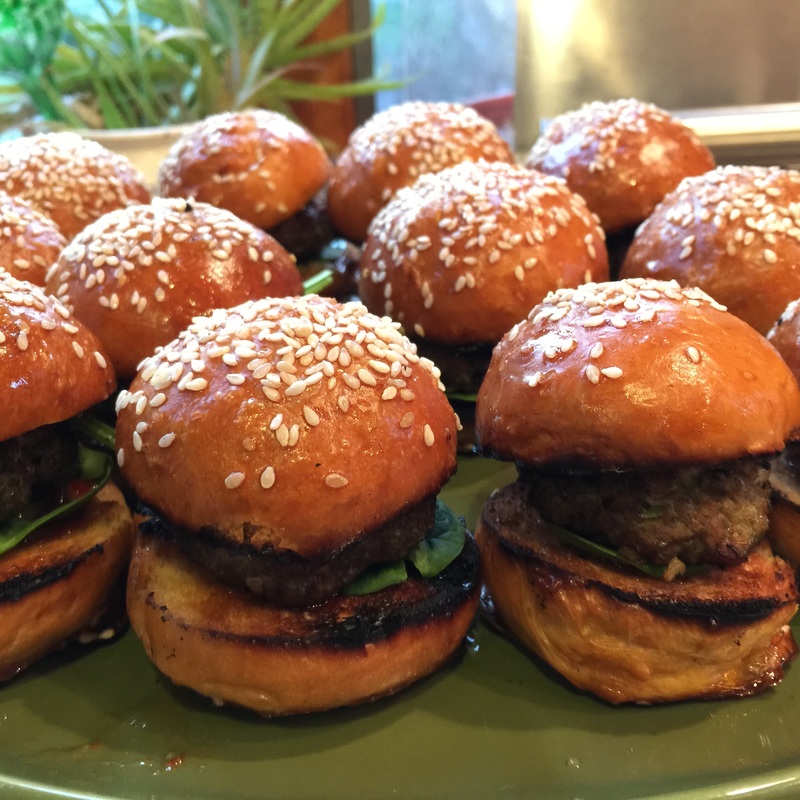
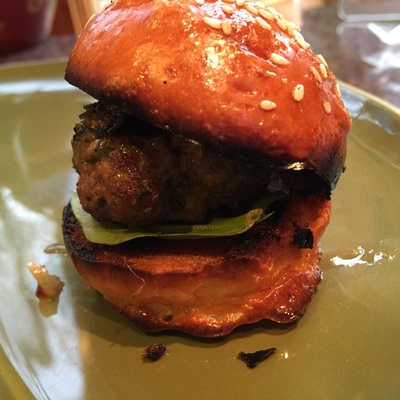
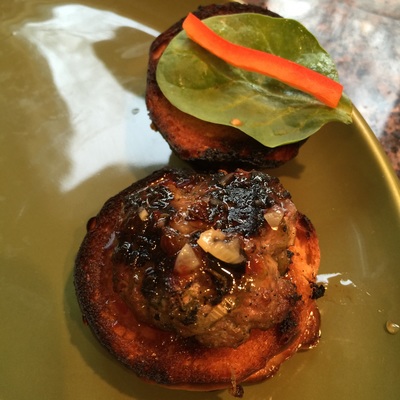
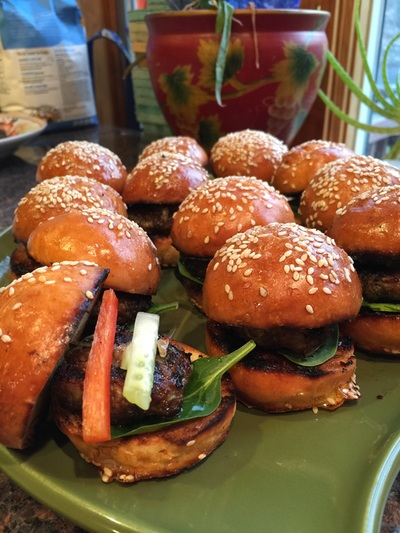
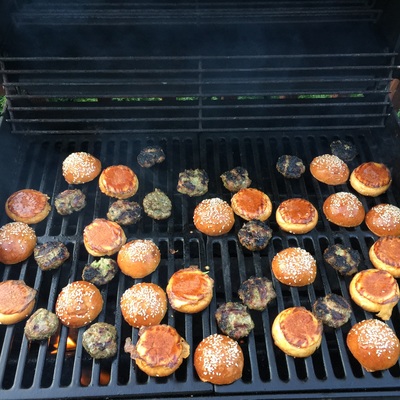
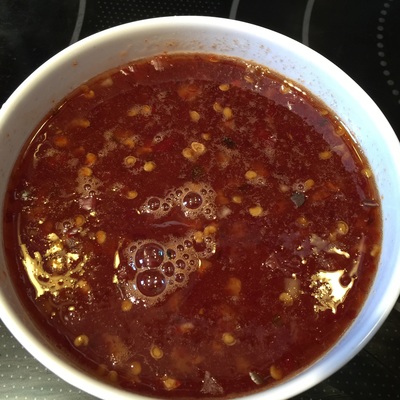
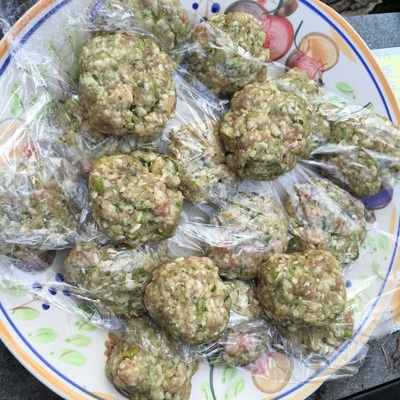
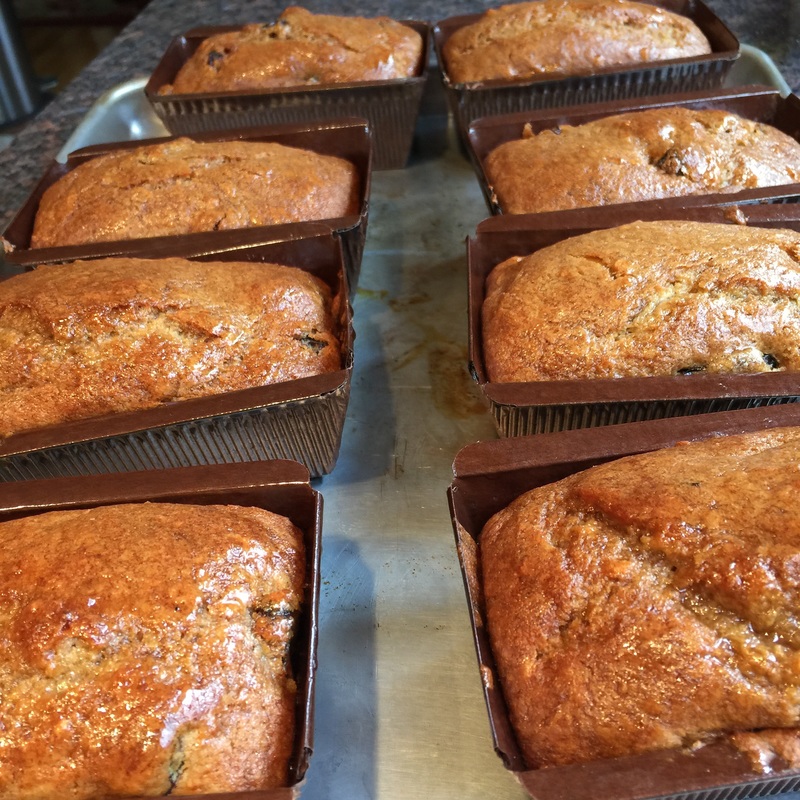
Step 1: Prepare the calamari Run the calamari under cold water. Drain and slice the tails into ½ inch rings. Bring a six quart pot of salted water to boil. Fill a large bowl with ice water and keep it next to your pot. First add the tails (the order is important because the tentacles turn the water purple). Remove them with a slotted spoon as they begin to float (this takes about 30-45 seconds) and plunge them into the ice water. Once cooled, drain them and pat them dry. When all the tails are out, let the water return to a rolling boil and add the tentacles to the pot. Remove them as soon as they start to float and add them to the pot, removing them as soon as they start to float. Then plunge the tentacles into the ice bath. Once cooled, drain them and pat them dry. Step 2: Mixing the salad In a large bowl, add the celery, tomatoes, olives, peppers, onion, garlic and lemon zest. In a smaller bowl, add the lemon juice, vinegar, and olive oil and whisk aggressively until it forms an emulsion. Add the calamari to the bowl with the vegetables and then pour the dressing over it. Add salt and pepper to taste. Then store it in the fridge for about an hour before eating – if it can last that long. In a previous blog post, I began to extol the virtues of the Craftsy platform. I first found it while searching for a bread workshop with Peter Reinhardt. Well, after having such a positive experience with Peter's class, I decided to take another one. This time I tried Nancie McDermott's Everyday Thai Cooking. One of her lessons included instructions on how to make Beef Sliders with a Thai sweet and spicy sauce. Her burgers looked lovely, but her buns were store bought. So I decided to make my own. For the buns, I used Peter Reinhardt's Sandwich Bread recipe and shaped the dough into slider-sized rolls. I then brushed them with an egg wash and topped them with sesame seeds. For the sliders, I decided to change things up a bit and use lamb instead of beef. I don't want to post Nancie's recipe without permission, so please take her class to gain access to it. The burgers, the cilantro pesto (mixed into the burgers) and the absolutely amazing Thai sweet and spicy sauce are all included in the class materials. It's definitely worth it. These sliders were off the charts! 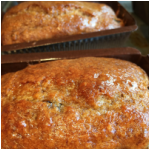 Banana Bread Banana Bread This recipe is an old standard. I've been making this banana bread for at least 20 years now. I've tried it many different ways, sometimes I add some cinnamon, sometimes I omit the nuts. I've baked it in 1 or 1 1/2 loaf pans, I've baked it in mini loaf pans. I've even tried them as muffins. Personally, I prefer them in mini loaf pans because they bake evenly, can be easily portioned, and easily given away. Ingredients:
Directions:
Glaze (optional)
Cool and serve. 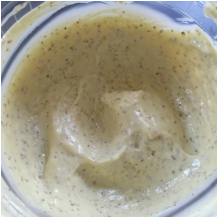 Homemade Mayo Homemade Mayo Before I can make egg salad, I need to make mayo. The store bought mayos have a lot of chemicals and preservatives - and quite frankly, don't taste very good. For egg salad, a quality homemade mayo is a must. So, here is the recipe for the mayo. Homemade Mayo
*Make sure the egg yolk has no white in it at all Method: Put the egg yolk, vinegar, lemon juice, mustard and salt into the bottom of a blender. Mix until combined. With the blender on, slowly stream in the olive oil until it forms a creamy consistency. BE CAREFUL not to let it break. Mayo is an emulsion, so that egg yolk can only absorb a certain amount of oil. The trick is to add enough oil to make the emulsion creamy but not enough to make it break. You know it’s broken if the liquids separate from the fats. Then, you have to throw it out and start again. 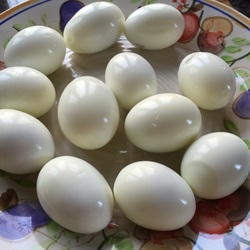 Fresh Hard Boiled Eggs Fresh Hard Boiled Eggs Now we are on to the egg salad itself. So, let's talk about eggs. In my opinion, the highest quality and best tasting eggs come from organic, free range and local chickens. In my case, I am fortunate enough to get them from a wonderful woman that raises heritage breeds of chickens, feeds them a completely organic and soy free diet, and allows them to roam her property and eat grass, worms and all the other things chickens naturally eat. While not everyone has access to this kind of egg, I do strongly recommend that you purchase free range, organic eggs if you want to make a great egg salad. 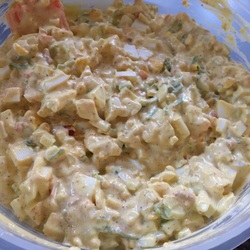 Egg Salad Egg Salad Homemade Egg Salad
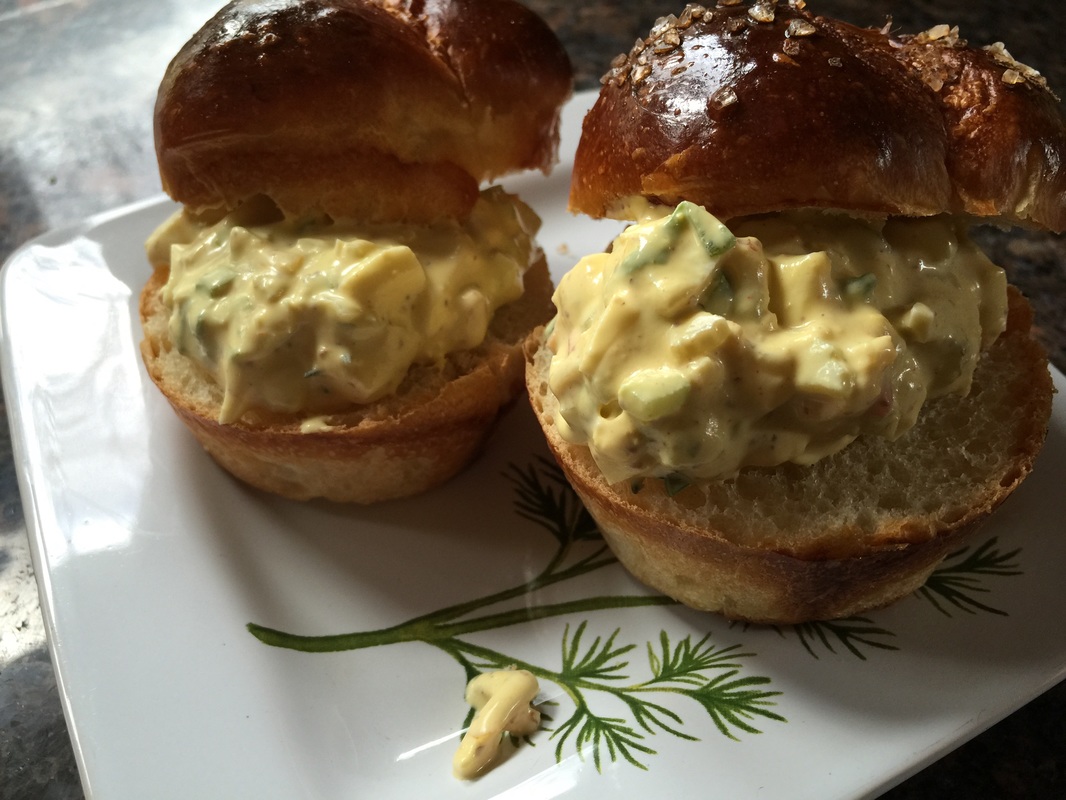
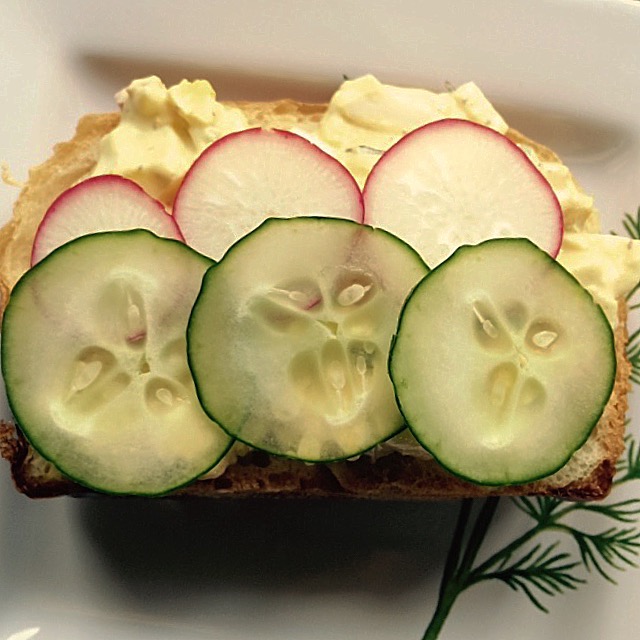
I like to chop all my veggies and add them to the bottom of a bowl. Then add in the eggs and slowly fold in enough of the mayo to make it creamy. (You may need more or less than the amount stated. Just add accordingly.) Then I’ll add the herbs (to taste) and fold them in as well. I used to add cucumbers to my egg salad, but they are too watery to go in. Now I just slice them thinly and put them on top of my egg salad sandwiches. Adjustments If I want more of a lemony flavor, I zest some lemon into the salad. If I want more of a mustard or vinegar flavor, I’ll whisk the mustard and/or the vinegar into the mayo before folding it into the eggs. And finally, on to the sandwich... I use Peter Reinhardt's Sandwich bread recipe from the course materials of the Craftsy platform, but you can use the version in The Bread Baker's Apprentice, which is quite similar. Sometimes, I shape it into a Pullman's Loaf, other times, I make these fabulous clover leaf rolls. I've used it to make hamburger and slider buns. It's an incredibly versatile recipe. Regardless of it's shape, they deliver a moist, delicious sandwich bread or roll.
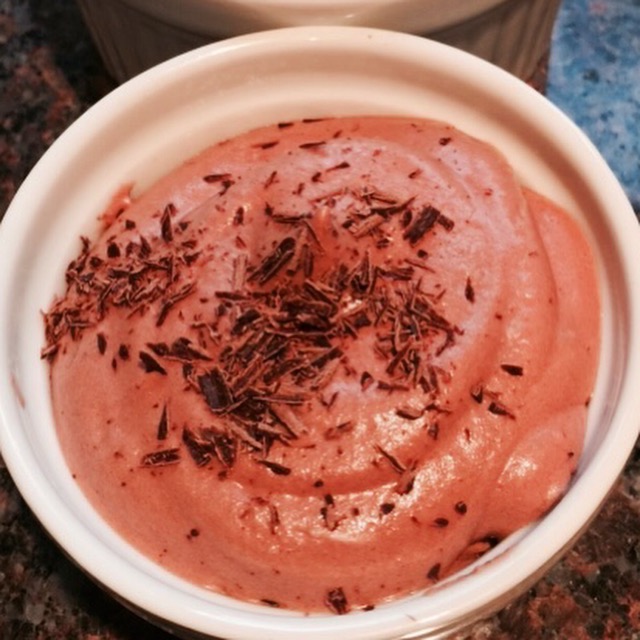
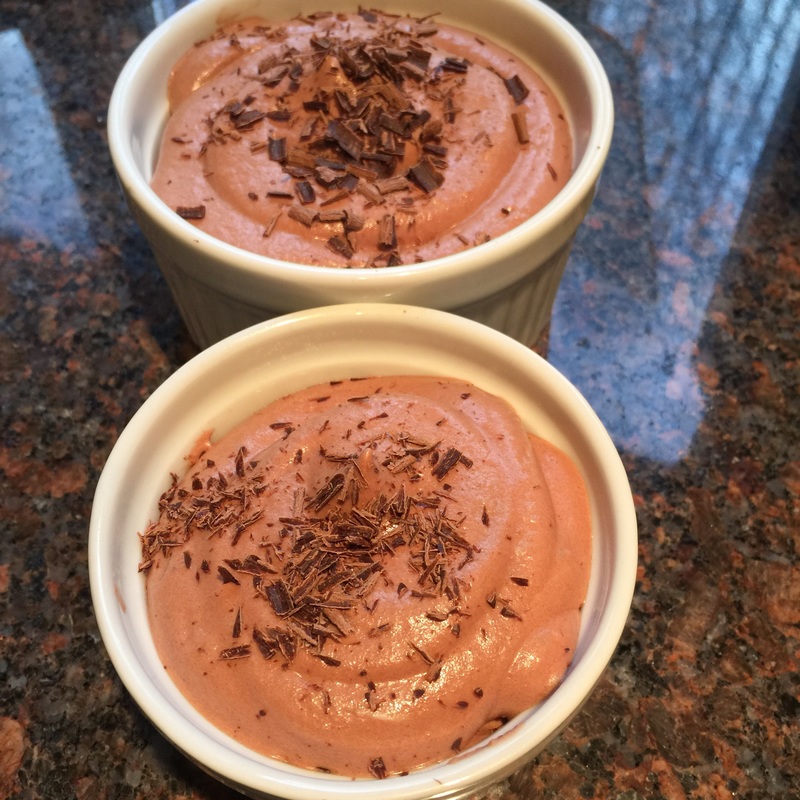
My favorite garnish for an egg salad sandwich is thinly sliced cucumber and radish. If I can find purslane, I'll dress it with that lovely green too. Bon Appetit! 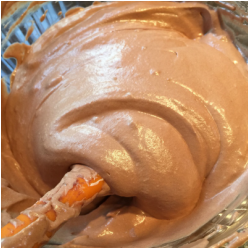 Folding the meringue Folding the meringue The dairy version of this recipe came from renowned pastry chef Gale Gand. However, I modified it to work as a delicious, non-dairy dessert. Ingredients:
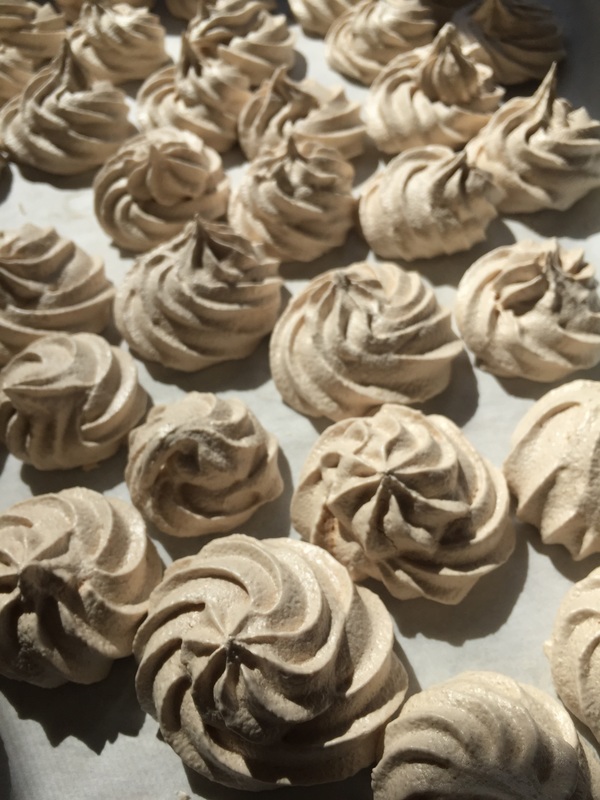
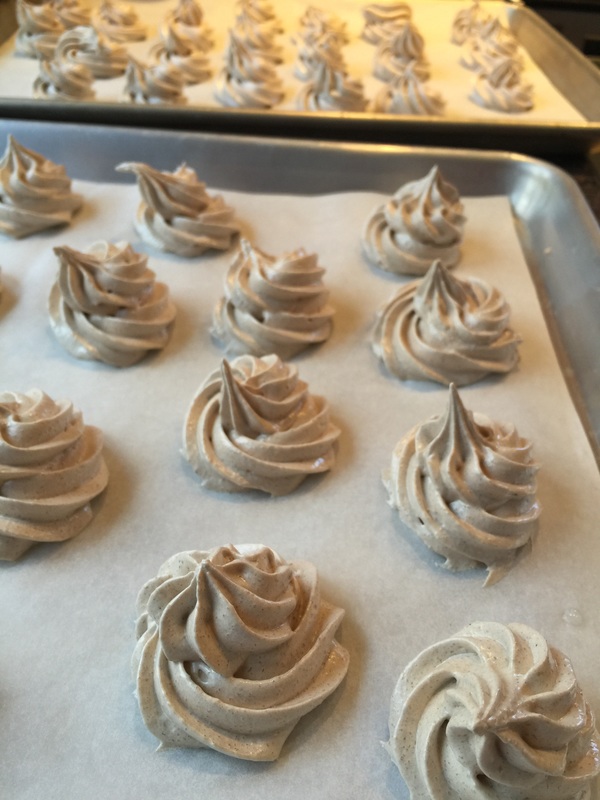
Melt the chocolate in a metal bowl over simmering water in a saucepan. Remove from the heat and let cool slightly. While the chocolate is cooling, whip the coconut milk on high speed until it stiffens, then refrigerate. This will take longer than regular cream, and the bowl, the whisk attachment and the milk all need to be very cold. I pop my bowl and attachment into the freezer about 30 min before I make it. In a clean, dry mixing bowl, whip (whisk attachment) the whites on medium high speed until soft peaks form. Slowly add the sugar and continue whipping until the whites are glossy and the sugar has dissolved. Add a third of the whites to the cooled chocolate, and whisk in quickly and thoroughly. Add a second third of the whipped whites and fold in with a rubber spatula until most of the streaks are gone. Add the final third and continue to fold until a few streaks remain. Fold in the whipped cream. Spoon the mousse into a piping bag fitted with medium star tip. It’s going to be loose, so twist the bag at the base near the tip to prevent the mousse from leaking out until you are ready to pipe with it. Pipe into serving glasses, shave some dark chocolate over the top and chill for 2 hours, then serve. My boyfriend and I both love meringues. I had some extra egg whites that I saved from another project, so I decided to make him some chocolate, expresso Meringues. I used King Arthur Flour's Expresso Meringue recipe and added 1 teaspoon of dutch process unsweetened cocoa to the recipe. Then piped them and popped them into a 200 degree convection oven. When they came out, they were still a touch moist, so I popped them into the proof box at 90 degrees for another hour until they were perfect. |
DebI'm a home cook with a lifelong passion for learning, exploring and experimenting in my kitchen. You can find me at @Debs1 on Twitter and @Debs121212 on Instagram. Categories
All
Archives
July 2020
This website uses marketing and tracking technologies. Opting out of this will opt you out of all cookies, except for those needed to run the website. Note that some products may not work as well without tracking cookies. Opt Out of Cookies |
 RSS Feed
