|
Nourishing Foods For Trying Times
Friends, it is so nice to connect with you again after so much time. While work and life took me away from the kitchen for a while, this global pandemic has brought me home and back to my kitchen. It’s given me a chance to slow down, step away from the business of daily life, listen to my own inner voice and re-center. People are stressed, anxious, and fearful about the virus. So many of us are trapped in our homes and stress-eating. It caused me to think about ways that we can help one another. I see a need in our global community (as well as within myself) to help transform our homes from a pandemic prison into a refuge. One of the best ways we can care for ourselves is by making our own nourishing foods. The first thing we can do to help support our immune system is to make our own bone broths. I always buy whole chickens from local farms. I break them down myself and put the bones and giblets into a freezer bag until I have enough to make stock. If you can do this, great! If not, you can use the bones and carcass of a roasted chicken, or even a whole raw chicken (and save the meat after for things like Chicken pot pie). Now, the method of making chicken bone broth that I am about to share varies from my usual because it includes the addition of herbs and mushrooms designed to support the immune system. I will make this variation and then just heat it with some shiitake mushrooms and scallions and drink it like tea. I have also taken to making stock in my InstantPot because it takes a fraction of the time, has virtually no evaporation (so my yield is higher), and it is more effective in pulling out all the marrow from the bones – giving me a lovely gelatinous stock when it cools. Immune-Building Chicken Broth:
Normally, I would not add parsnip or so many carrots to the stock, but the mushrooms and the burdock can be strong, so the sweetness of the vegetables helps to counterbalance it. You will also notice that there is virtually no salt in this recipe. This is because I want to control the salt content based on usage. If I cook with this stock – I will add salt as needed. If I am just drinking it, I may not want salt at all. It depends on how successful I have been in hydrating myself when I drink it. I add all the ingredients into the pot and fill it with water about ¼ inch above the ingredients, so they are submerged. I will cook this in the InstantPot on high pressure for 1 ½ hours. When it’s done – I wait for the pressure to reduce normally, and then I strain the stock. My first strain is scooping out the solids from the liquids. Then I pour the liquid through a mesh strainer lined with linen or paper towel. The second strain is through a fine mesh strainer into a storage container. I almost always save enough to drink a mug right from the pot too I’ll drink a cup sometimes twice a day or more if I am feeling run down, or worried about my immune system. Sometimes, I’ll heat it with some shiitake mushroom caps and finish it with scallions – drinking it as a soup. The key to supporting your immune system with this broth is to drink it consistently every day during the period of stress to the body. In the coming blogs, I will talk about other ways to support and nourish yourself through food. Stay tuned!
0 Comments
 I have always loved real, southern barbecue. I own a Big Green Egg, which I've used for pizza and other high-heat cooking. I've always said I'd do some smoking on the EGG, but in the eight or so years that I've owned it, I never have. Well, that's shameful.
So, I began by cleaning out the egg. First i lit whatever charcoal was in there and let it burn off on very high heat until it was done. That took about a day. Then, I cleaned out the EGG. removing everything, cleaning it and putting it all back - making sure that it was properly aligned. Now, I had a machine that was ready to smoke. The first item on the smoking menu would be chicken. I began by soaking the wings and thighs in a brine. I used:
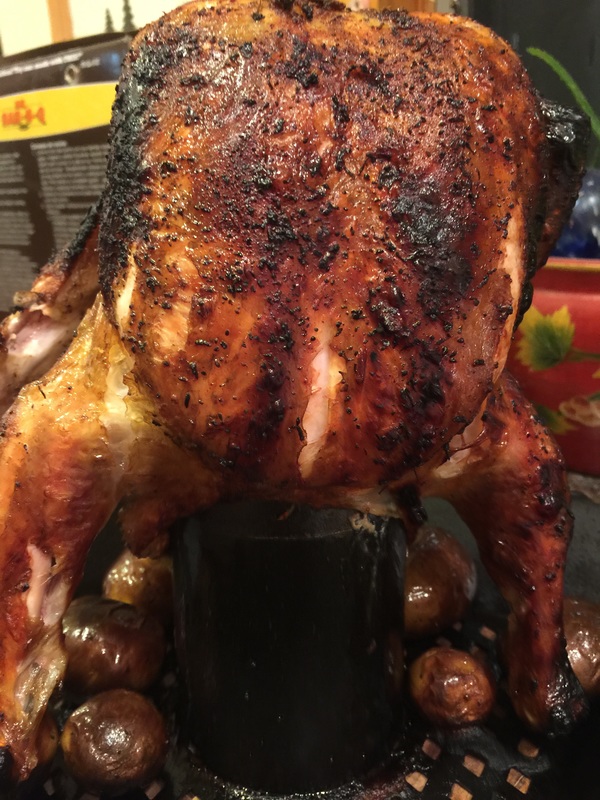
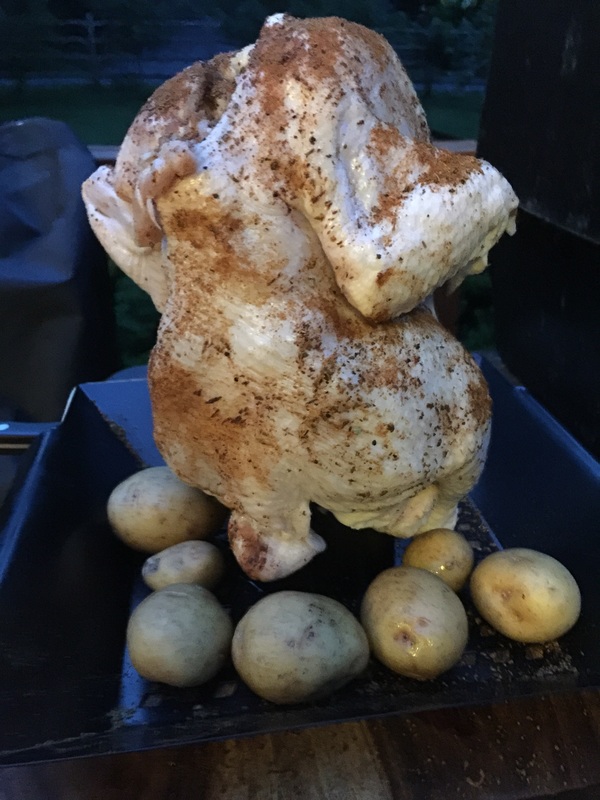
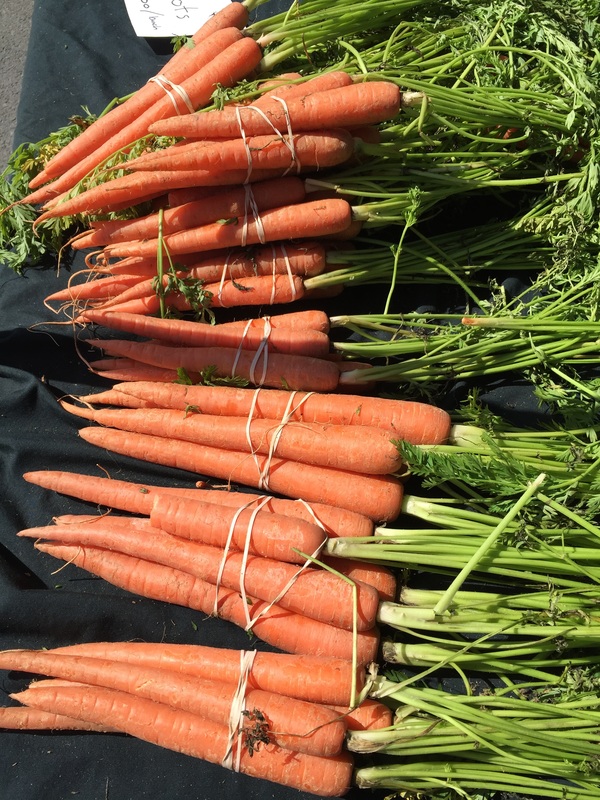
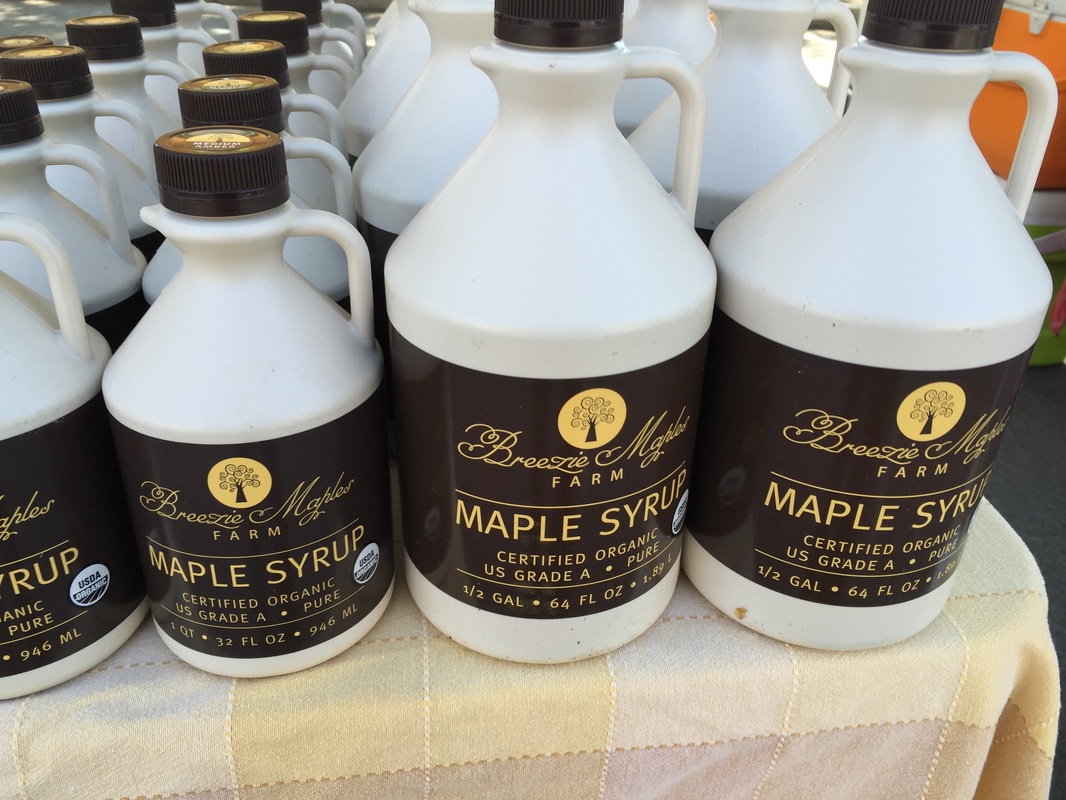
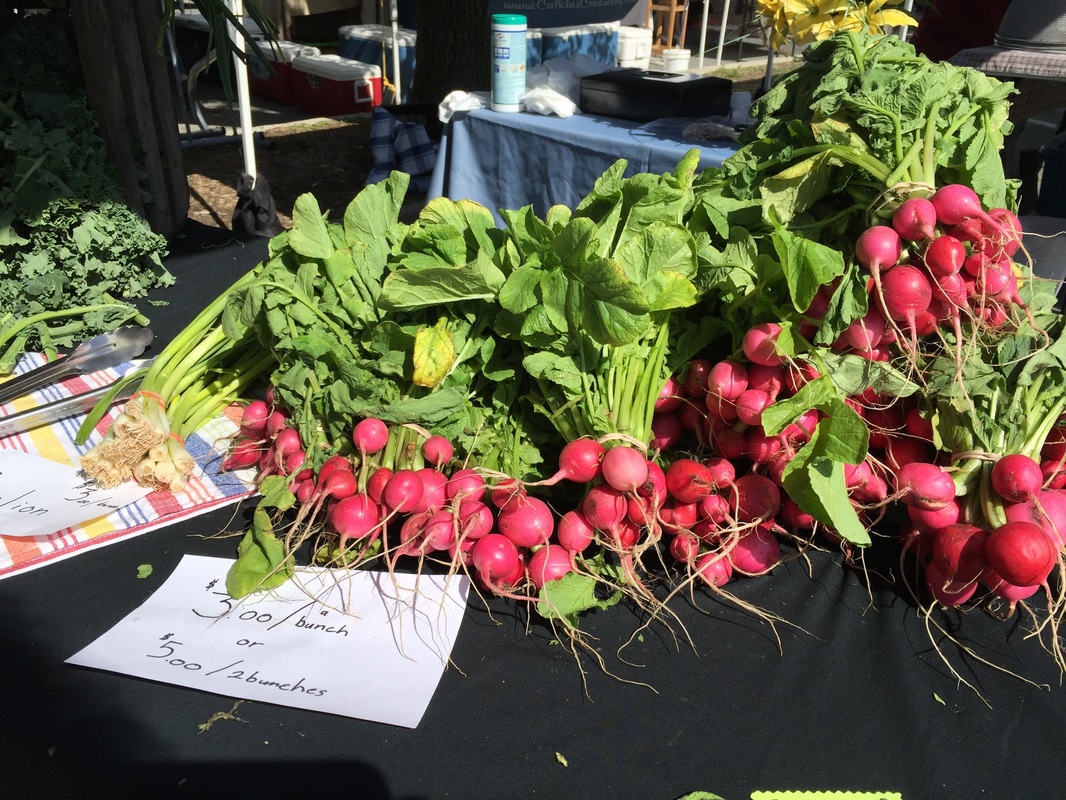
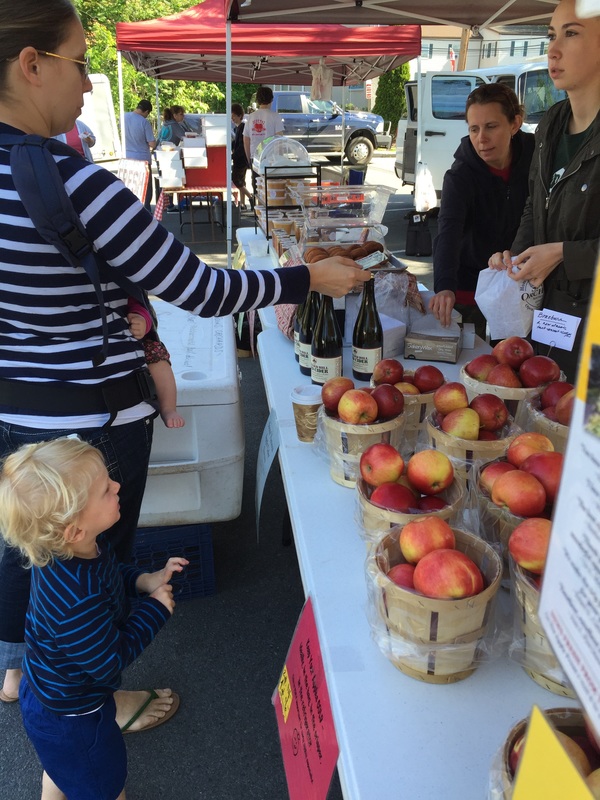
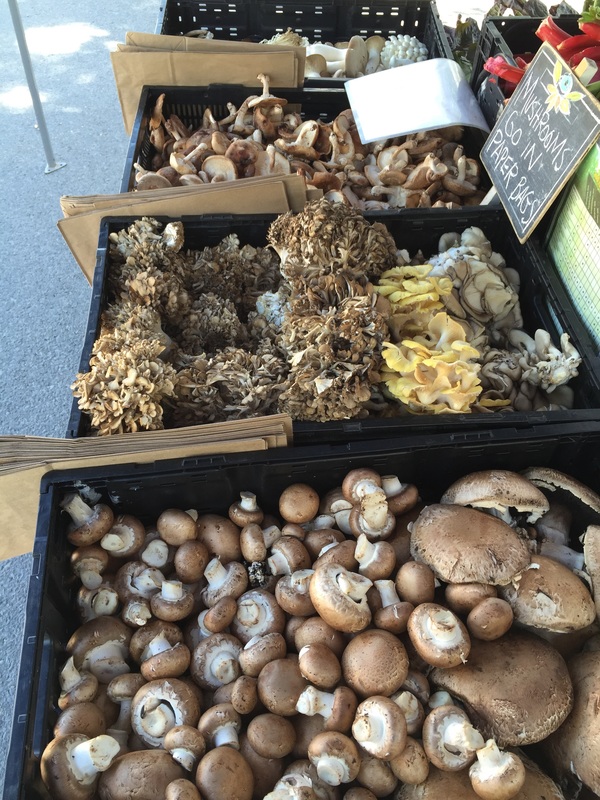
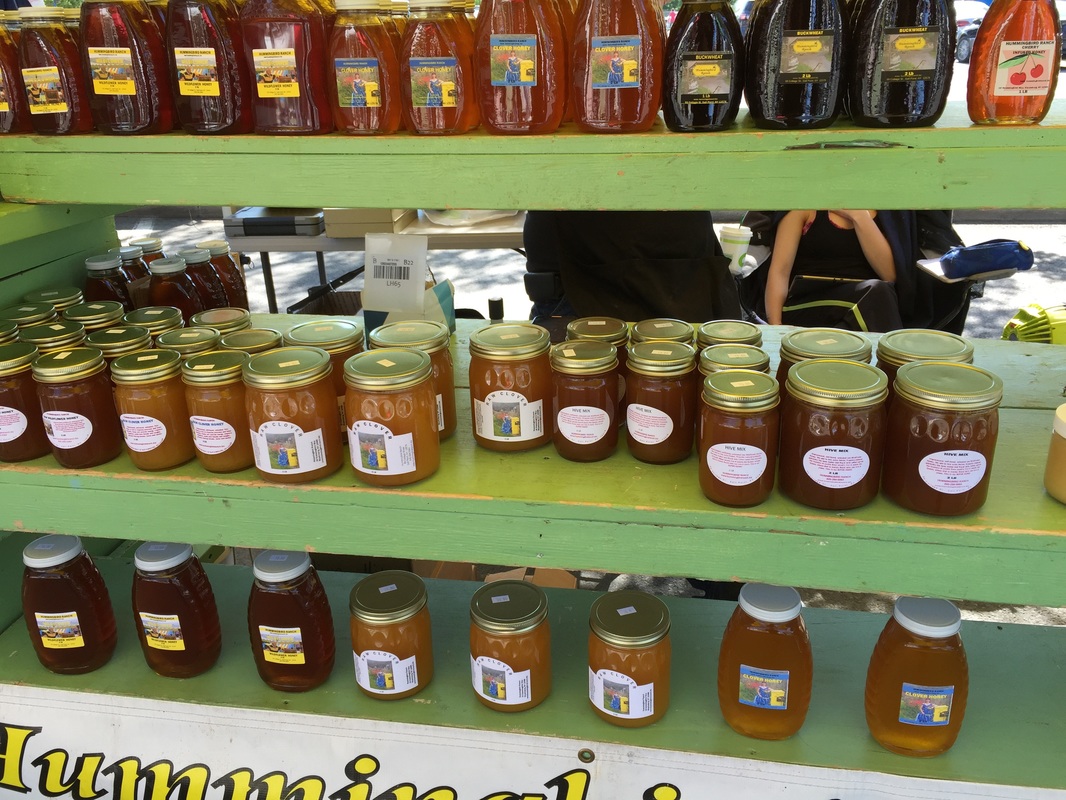
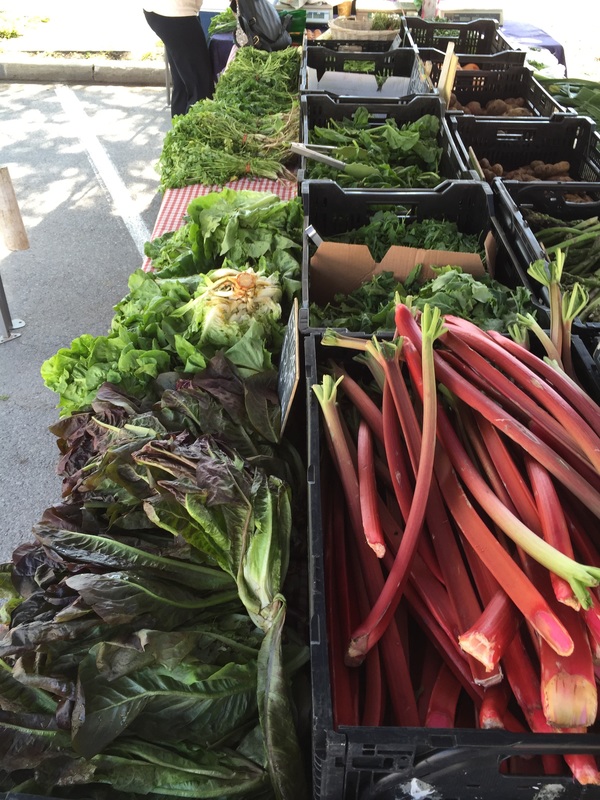
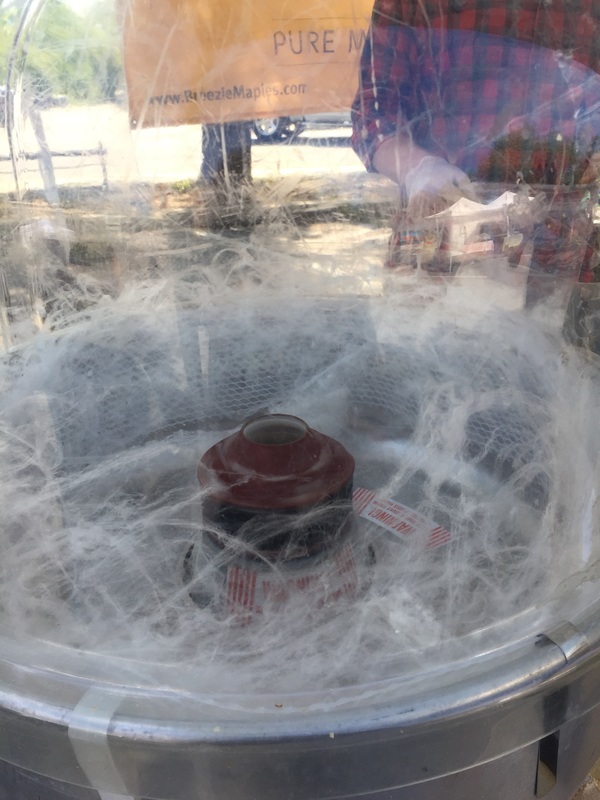
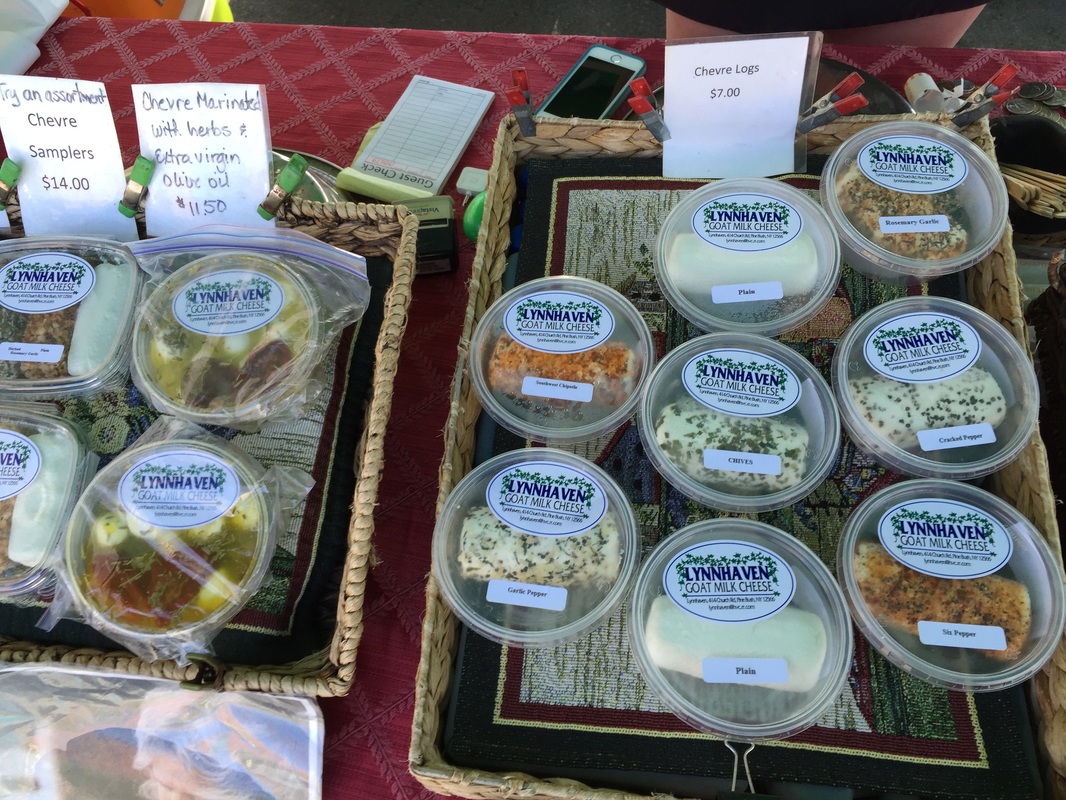
I cooked the brine and then set it over an ice bath to cool. Then I stuck it in the fridge for about two hours until it was totally cool. I buy my chicken from a local farmer named Peg's Eggs at the Warwick Farmer's Market. The chicken came with the legs and thighs attached, so I needed to clean and butcher them while my brine cooled. I then put the chicken and the brine into a gallon sized freezer bag and put them back in the fridge for about 4 hours. About two hours in, I filled the EGG with Charcoal and apple wood chips and lit the grill. I covered the deflector plate with foil and set it with the feet up. I put the grate on top and then a pizza stone on that. I let it get hot at first - around 500F degrees for about an hour, and then I cooked a pizza on it with some dough I had in the fridge. Once the pizza was done, I closed the top vents down and brought the temperature to around 325 degrees. At this point, I took my chicken out of the fridge, rinsed it and dried it throughly. I used a spicy rub that I made a long time ago that consisted of ground mustard, paprika, celery seed, kosher salt, corse ground black pepper, cayenne, thyme, and marjoram with a touch of brown sugar. I put the chicken on the grill and came back about 45 minutes later with a barbecue sauce. I didn't make the sauce. There is a brand that I really love called Bone Suckin Sauce. The sauce is sweet, tangy and really delicious. I liked using a spicy rub and a sweet sauce because the spice really cooks into the meat and the sauce balances out the flavors. I brushed the chicken on the skin side up with the sauce and covered it for about 8-10 minutes. Then I turned the chicken and brushed the opposite side and cooked it until it's internal temperature reached 180F degrees. Then I took them off the grill and we were ready to eat. This cooking method gives you a tender, juicy meat with big bold flavors that is really just outstanding. You don't need the Big Green EGG to make this, you can do it in any smoker or charcoal grill.  Arroz con Pollo ready to eat Normally, I made a Caribbean style Arroz con Pollo, which consists of a slow cooked spicy chicken stew that I serve over yellow rice that I cook separately. The other night we were watching Martha Stewart's Cooking School on PBS, and she made a Spanish (Spain) style version of Arroz con Pollo in a dutch oven, where she cooked a short grained Valencia rice in the same pot as the chicken. This version was not spicy, it had only a handful of ingredients, and was more like a dutch-oven risotto with seared chicken and pimento-stuffed olives. The show piqued my interest, so I bought the Valencia rice and the pimento stuffed olives and we gave it a shot. It's a relatively simple recipe to make. I opened a bottle of white wine to cook with it, and used the rest of the bottle to make a sangria. The saffron gave the rice a lovely rich golden color. The olives gave a slightly briny flavor, the chicken still retained a crispy skin but the meat was moist and delicious. It turned out to be a delicious dish. My boyfriend and I really enjoyed cooking and eating it together. 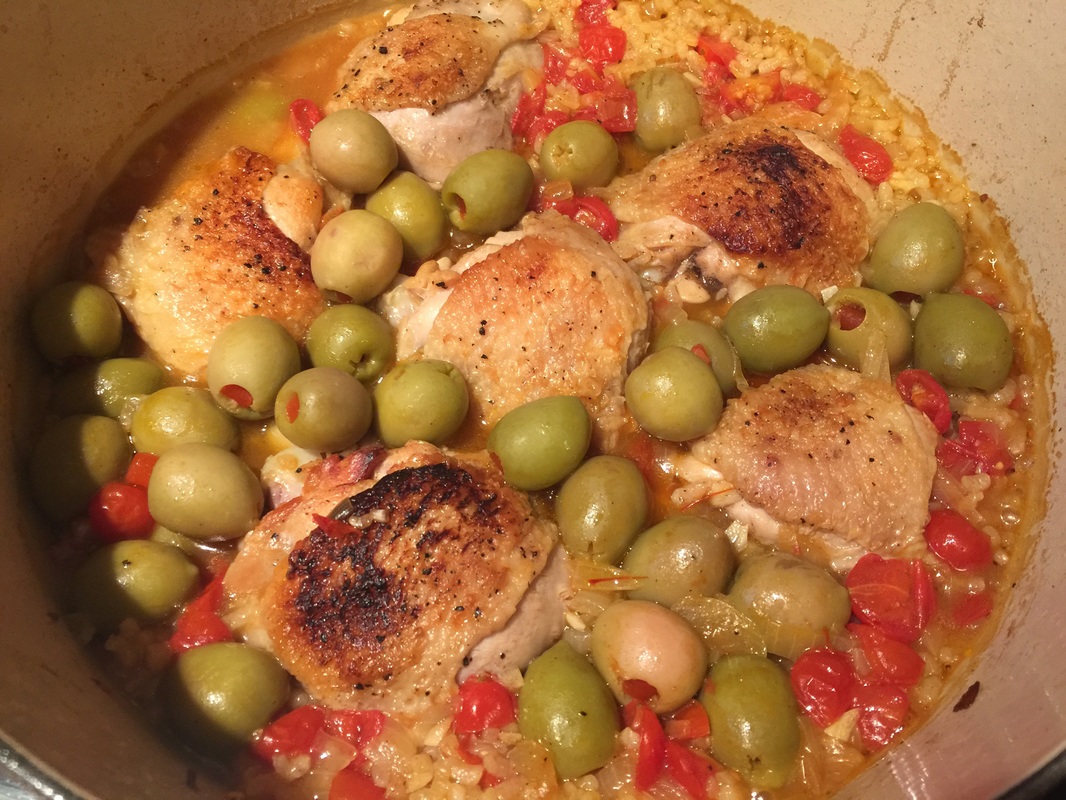 Arroz con Pollo  Grill-roasted Chicken and Potatoes I bought myself a present today, a store I visited had one of those "beer can" roasters on sale for $5 and I figured, "what the hell." SettSe So, I fired up the grill, popped some garlic, lemon, sake, rosemary, and green onion into the center, stuck the chicken on the vertical steam tube and pat it with a favorite spice rub. I sprinkled a few potatoes on the bottom the tray and "baked" the chicken on the grill with the lid closed for about 25 minutes, until a thermometer read 170 degrees. I was very pleasantly surprised at how moist and delicious my chicken turned out. This method gave me super crispy skin and moist tender and juicy meat. The fat dripped over the potatoes giving them a crispy skin and soft, tender filling. Project Grill-Roasted Chicken is a success! 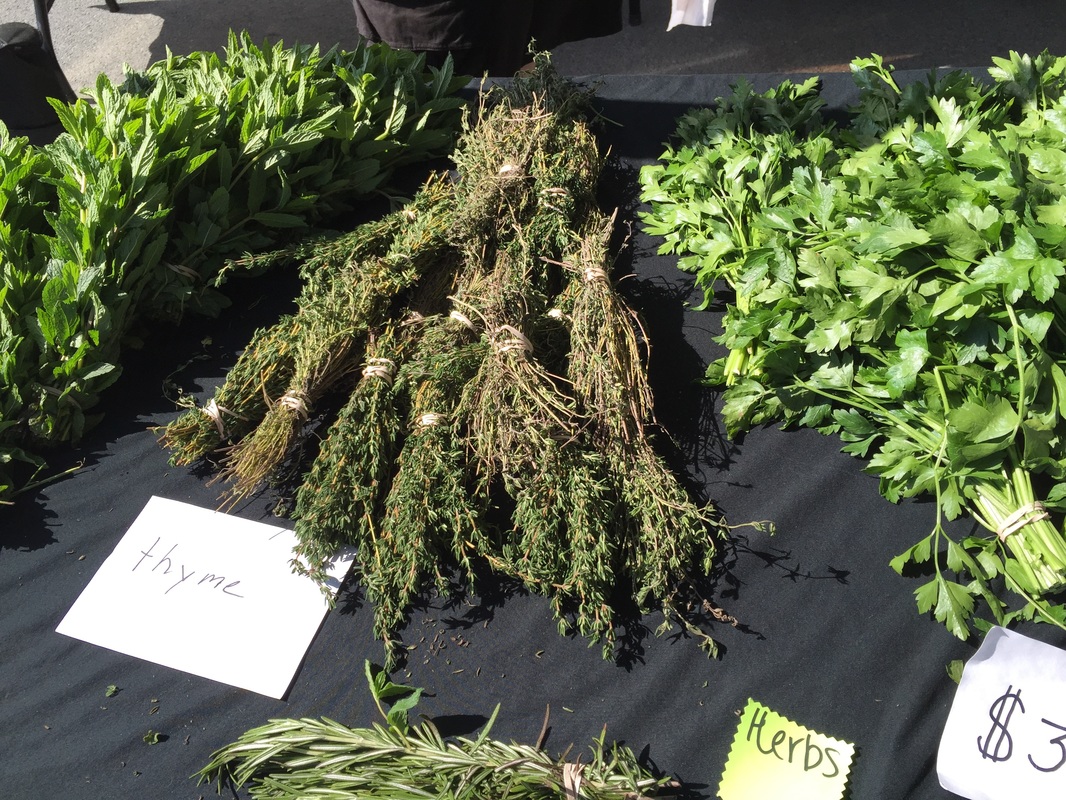 Herbs for sale Every Sunday morning from Mother's Day through Thanksgiving, I go shopping at my local farmer's market. Nothing gives me greater joy than to visit the market each week and see what fruits and produce are ready that day. It keeps me in tune with the season and how it progresses. Farmer's markets are the best way to support local, sustainable agriculture. Farming is very hard work. For that one pepper that you buy in August, there is a farmer planting a seed in a greenhouse in March. He or she is nurturing that seed bed until a little green pops up - watering whenever the soil dries out (can be 2-3x a day depending upon the weather). Then, they transplant it carefully into a bigger seed bed, with fresh soil, fertilizer (organic or otherwise) and some type of mold prevention. That tray is then watered for about a month, until the plant is just about too large to fit in the tray, and the danger of frost is gone. From there, the farmer will have tilled the soil and created a bed - some use plastic, some use mounds, but whatever the method, they work the soil so it's ready to accept that little plant that they have nurtured along until now. I have helped my friend Sue at Pine Hill Farm to seed, water, transplant seedlings, lay plastic and transplant into the ground. Let me tell you - a tremendous amount of work goes into getting your food from seed to ground. Then the real work begins, they lay drip tape along the fields, and make sure to water several times a day, every day. They weed constantly, to keep the plants from getting strangled out - this is back breaking work. They nurture the plants along until they begin to bear fruit/vegetables. One frost, all that work is gone. Too cold, the plants don't thrive. Too hot, they scorch. Farmers have to fend off all manner of critters, like deer, rabbits, groundhogs, birds, and so many others. Months later, when the food is ready, they go out to harvest. Picking is also back-breaking work. It requires enough skill to know when to pluck and when to leave them on the vine. So, by the time the produce makes it to market, and see that this produce is a little more expensive, you know why. Someone has put months of back breaking labor into growing you a perfect, delicious tomato or pepper. There aren't giant machines doing all the work in an environment that has been sprayed with so many chemicals that you need a mask to walk through the fields. There aren't massive government subsidies going to small independent farmers (certainly not at the scale that agribusiness receives). When you see how your food is grown, you know what you want to eat - and what you don't. The same is true of locally made cheeses, eggs (see my egg blog for more), beef, bison, chicken, ostrich, and goat (all available at my local farmer's market). Different regions have different types of specialities too. We are fortunate enough to have an unbelievably delicious local maple syrup called Breezie Maples Farm. We often have a range of local bee keepers that make and sell raw honey. Raw honey is incredibly good for you. If you take a spoonful of local raw honey every day in the spring, it will lessen your seasonal allergies because you will build up an immunity to the pollens in the area. When honey is heated, all of it's goodness is gone and you are left with a sweet syrup. What's more, when you buy local, from your local farmer's market, you are supporting local, independent businesses - people - not corporations. Most major cities these days have at least one market, and if you live in a rural area, you likely live near farmers of some sort or another. So, visit your local market!  Arroz Con Pollo (It’s a great base for Arroz con Pollo and/or Chicken Empanadas) Ingredients
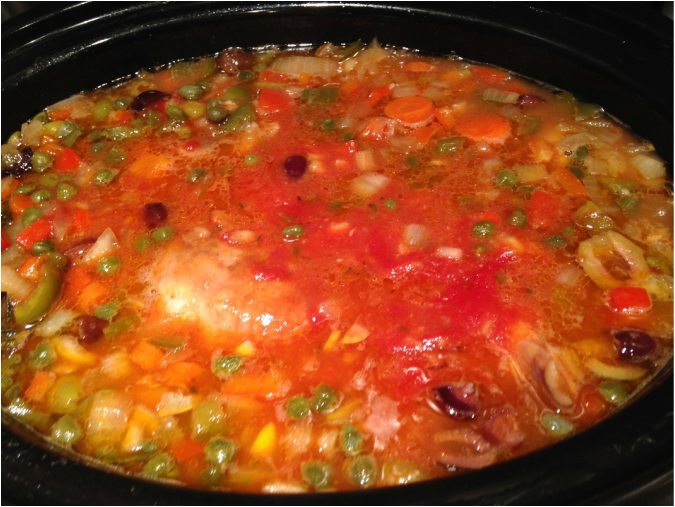 Spanish Style Chicken Stew Method
I can tell it’s done when the chicken completely falls apart by touching it with a wooden spoon. At this point I put it into storage containers and refrigerate it for a day. You can eat it right from the crockpot, but I find it needs that extra 24 hours in the fridge to really develop it’s flavors. If you choose to use it as a filling for empanadas - be forewarned - 1/2 the batch will be gone before you walk away from the stove. They are super yummy. 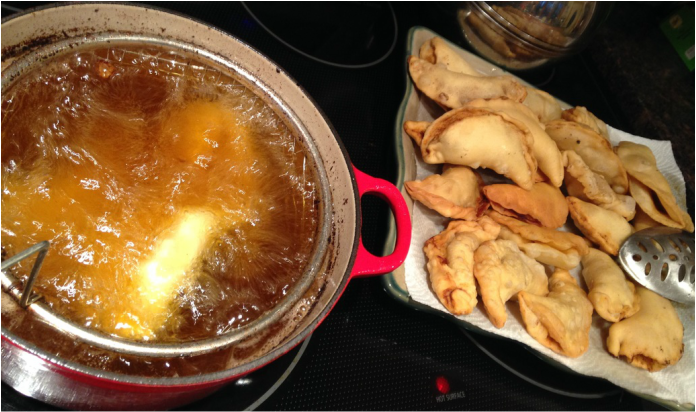 Empanadas in the making |
DebI'm a home cook with a lifelong passion for learning, exploring and experimenting in my kitchen. You can find me at @Debs1 on Twitter and @Debs121212 on Instagram. Categories
All
Archives
July 2020
|
 RSS Feed
