|
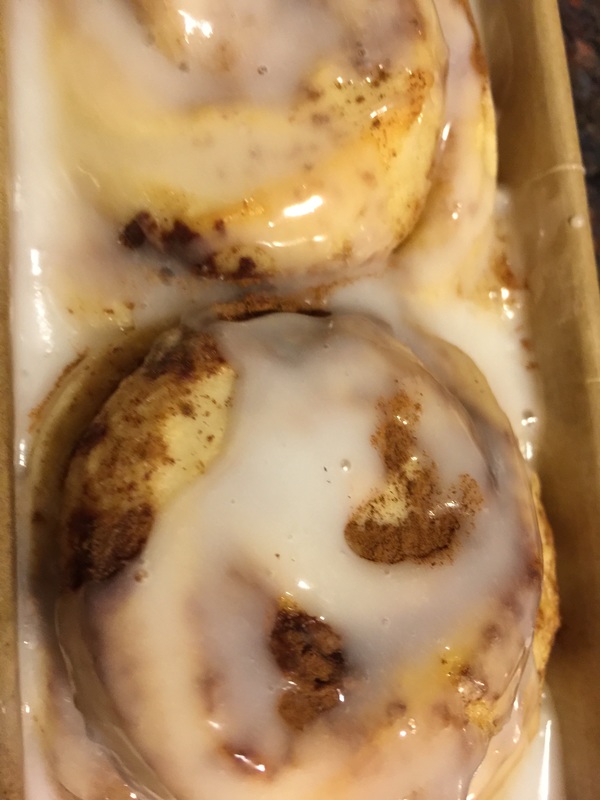
Maple cream cinnamon buns are a delicious way of using up extra sourdough starter. I've based this recipe off King Arthur Flour's Buttery Sourdough Buns. I use the same base, but my method diverges when it's time to fill and finish it.
Dough
Combine all of the ingredients in a mixer and mix until the dough forms a ball. Then take the dough out of the bowl and stretch and fold it a few times before adding it to a well greased bowl. Let it rise for about an hour to hour and a half -- until it doubles in size. Alternately - you can put the dough in the fridge for about 12-15 hours, then let it warm up for an hour before rolling. Now it's time to roll out the dough. You want to roll it into a wide rectangle approximately 12 x 16 inches and about 1/4 inch thick. The shorter side should be closest to you. Filling 1/2 cup Real Maple Cream 2 tablespoons ground cinnamon Let your maple cream warm up a bit, so it's easier to spread. Once you have your dough rolled out, carefully spread the maple cream in an even layer, leaving a 1/4 inch border around all sides. Liberally sprinkle the cinnamon on top of the cream. Then roll the cinnamon buns into a log. Cut the buns approximately 2 inches thick and place swirl-side up in your pan. I like to bake these in mini loaf pans, so each person can get two buns (much easier for portion control), but you can also add them all to a 9 inch baking pan - either round or square. Leave about an inch or so between each bun as you layer them into the pan because they are going to rise and spread. Sprinkle a little more cinnamon on top and loosely cover with a towel for about a 1/2 hour until they finish rising. In the meantime, preheat your oven to 375F degrees. When the buns are ready, bake them for 15-20 minutes (they won't brown much). Glaze 2 cups powdered sugar 2-3 tablespoons milk (I use coconut milk) or lemon Juice Whisk the milk or juice into the sugar vigorously until well combined. Start with one tablespoon of liquid and add more as needed until it forms thick ribbons. Then gently drizzle the glaze over the cooled buns. (If you put the glaze on while it's warm, it will melt). Then you can dive in!
0 Comments
I bake two sourdough loaves every week at home. Normally, I use the Peter Reinhardt recipe found in A Bread Baker's Apprentice. This time, I wanted to try something new. I made the Vermont Sourdough with whole wheat recipe found in the Jeffrey Hamelman Bread book.
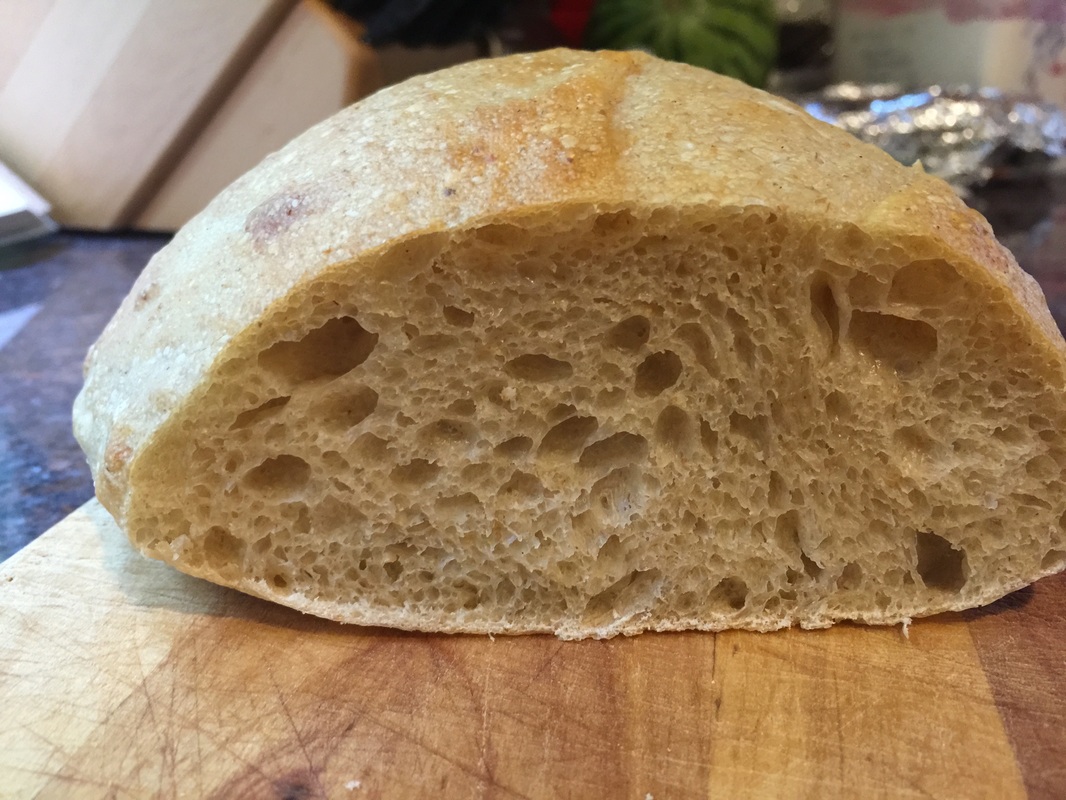
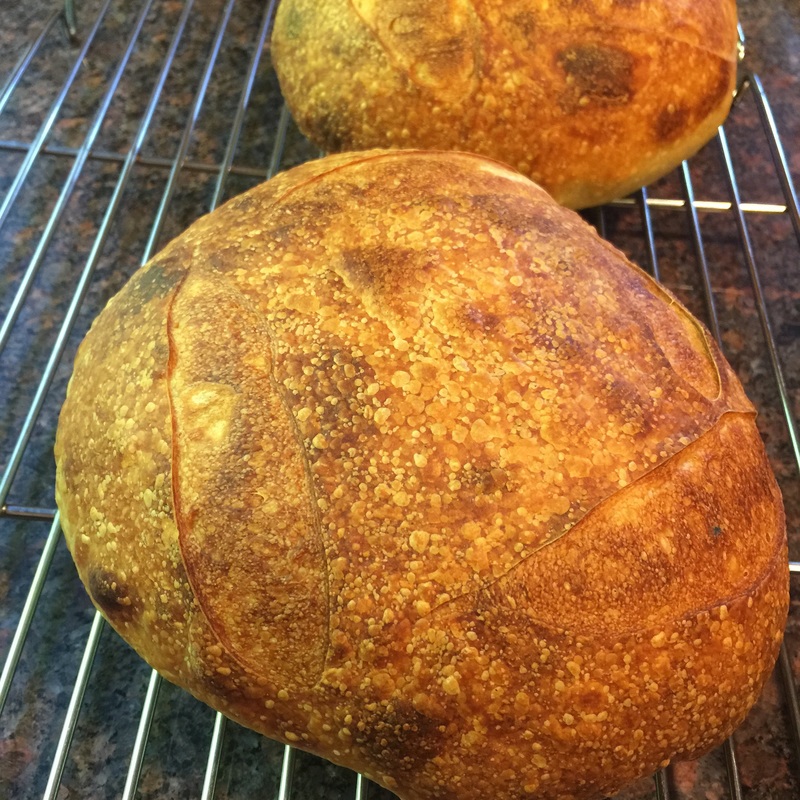
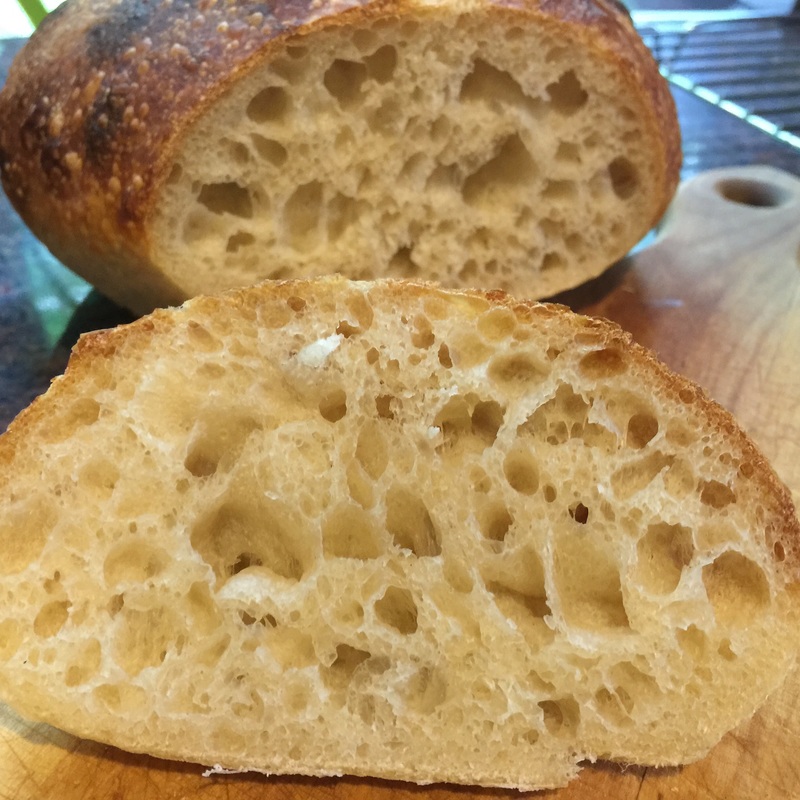
I used my fed starter with a combination of King Arthur Four Bread flour and Farmer Ground Whole Wheat Bread Flour. Farmer Ground is a New York State wheat grower and mill. This particular flour is based on a red colored heirloom wheat. As they say on their website, " Also sometimes called “half-white” flour. This flour averages between 12.5 and 13.5% protein. It contains all the original germ and a small portion of the original bran. Slightly darker in color than conventional white flours, but much closer in performance to a white flour than a whole wheat. This sort of high-extraction flour is what in Europe would be called “T-85,” the same sort of flour used by the Poilan Bakery to make their world-famous Miche." I used this flour a few weeks ago to bake a Miche style bread (Miche is a very large 100% whole wheat bread produced and sold in French bakeries, like Poilan) and the results were incredible. It gave me a nutrient dense loaf that you would expect to be heavy, but it wasn't heavy. It was light, tender and delicious. What's more, the bread stayed fresh for almost a full week. Each day it changed in character and flavor, giving me a totally new experience. So, I was excited to use it in combination with my tried and true standard bread flour from King Arthur Flour. Both of them are high protein flours, giving the loaves between 12 and 14% of protein each, which resulted in fabulous gluten development. Now, most people allow this bread to proof overnight, and the next time I make it, I will do that. However, I started too late in the day and didn't have time to give it an overnight rest, so I was up at 1am folding my dough and 4am shaping loaves for a 6AM bake. Because it's been hot, even overnight, the room temperature has been holding at about 75-77 degrees, so it was equivalent to keeping the bread dough in a proof box through the entire process. I firmly believe that adding cold proof to any sourdough baking process will result in a pretty spectacular loaf. However, these loaves still gave me fantastic and complex flavor without the cold ferment. I had a pronounced sour flavor that sweetened on the palate. I loved the crumb structure and large air holes. My only issue was with the crust - and this was my fault. I knew that 420F degrees would be too low in my home oven to produce a beautiful crust. The book said bake at 420F and it was my first time using this formula, so I did. Next time, I am going back to working with higher oven temps - like 525F - for my sourdough baking. All in all, I am a fan of this well tested and reliably delicious formula. I'll continue to keep in my weekly bake rotation. The incredible Barbara Elisi introduced me to the Sunrise Flour Mill in Minnesota, and they are growing heritage wheat. Modern wheats have evolved to make the process of farming and harvesting easier. However, modern wheats can be difficult to digest. Many people first look at gluten as the culprit, but often it's the type of wheat, or the chemicals used to process that wheat that cause the sensitivity.
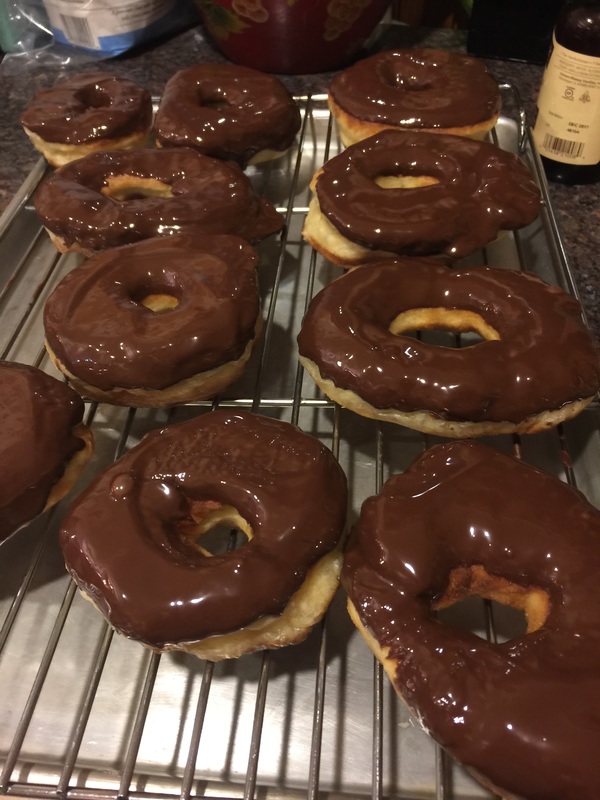
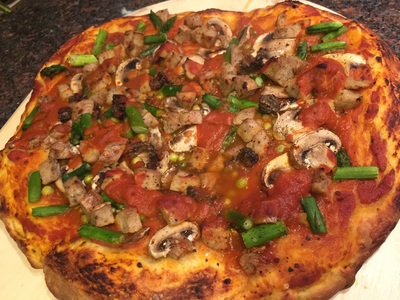
Barbara raves about them. In addition to the heritage wheat that I purchased from them, we got to talking about pizza. They make a flour that is similar in style, performance, flavor and texture to the Caputo 00 that many pizza makers depend upon. Of course I bought their pizza flour and gave it a shot. I also started to veer away from the standard King Arthur Flour sourdough pizza recipe that I often use. The biggest difference is the addition of oil, and the change in flour. Ingredients: 241 grams fed sourdough starter 298 grams flour (I'm using the Sunrise Flour Mills Pizza flour) 100 grams hot tap water 20 grams Extra Virgin Olive Oil 1 teaspoon bread salt 1/2 teaspoon SAF Red Instant Yeast I mixed the dough until it formed a ball and "cleaned up" the sides of the bowl in my mixer (about 5 minutes), then I kneaded the dough on the countertop (no flour or oil) with a bench scraper until I got a perfect "window pane." Then I put the dough into an oiled dough bucket and let it ferment in the fridge for about 4 days. I knew it was ready when it started to rise (That takes much longer with a cold ferment) and double in size. It was bubbling like crazy in the warmth. I couldn't wait to see it bake. I took the dough out and let it come to room temperature on the counter for about 3 hours (approx. 75F degrees). I preheated my pizza steel to 550F degrees for about an hour and a half. Then I shaped my loaf and put my toppings on it. What I noticed immediately about this crust is that it was much easier to shape. I didn't have to worry about my dough stretching too fast, or unevenly - like I do with the other formula. This was easy. The dough gave me an even browning, a lovely texture and okay air holes in the crumb. What stood out the most was the flavor. This dough is delicious! The taste really makes this pizza crust a winner!! I have been thinking about Barbara Elsi's Sourdough Donuts for two weeks now. Tonight I had the chance to make them.
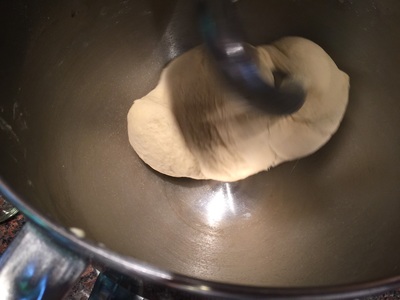
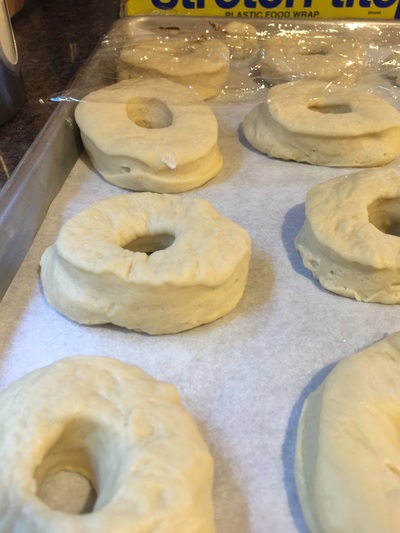
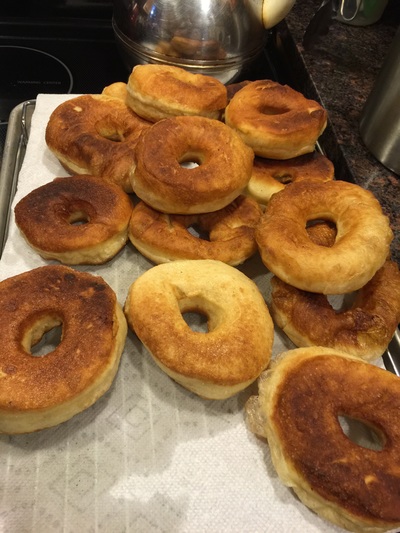
Barbara's directions were really strong. I had to get used to shaping this dough, and when I put them in the oil, they puffed up and expanded a lot, which was fun to watch. The dough really did need a good 15 minutes on the mixer. Then I kneaded by hand a bit before putting it into a bowl to ferment. I had to constantly adjust the heat. These donuts can go from golden to dark quickly. I melted some 66% Valhrona cocoa in a double boiler and dipped the finished donuts in the melted chocolate. These donuts are super light and delicate. They are not too sweet. In fact, they aren't very sweet at all, which makes them easy to eat. I'll definitely make these again! YUM! Every week, I bake a batch of sourdough bread to eat during the week. Lately, I've been using Peter Reinhardt's Bread Baker's Apprentice recipe, which is a 3-day formula. I love this recipe because it gives me a deliciously flaky crust with a soft but structured crumb and a complex "sour" flavor.
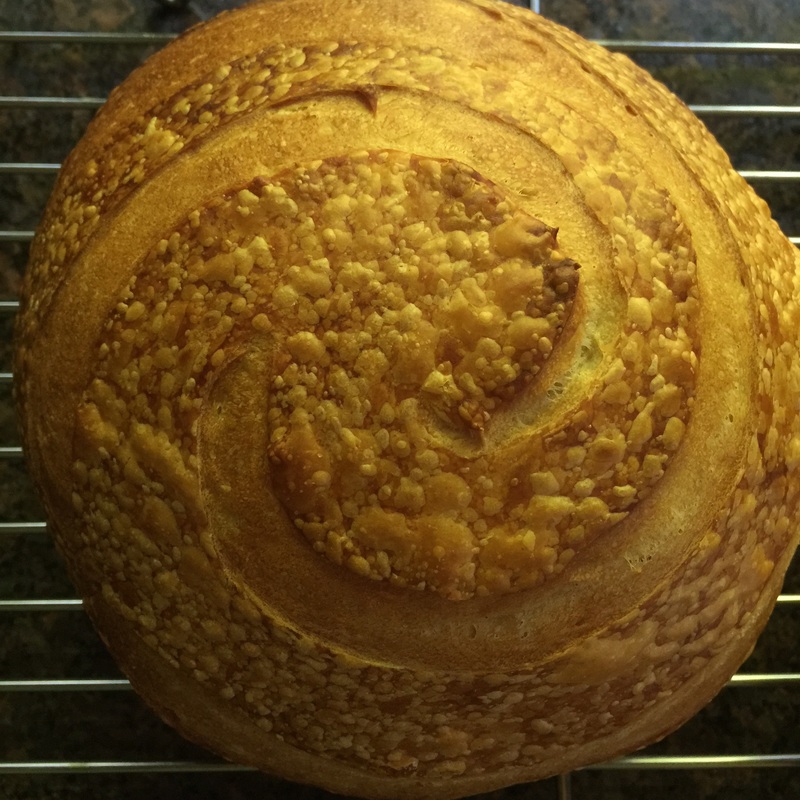
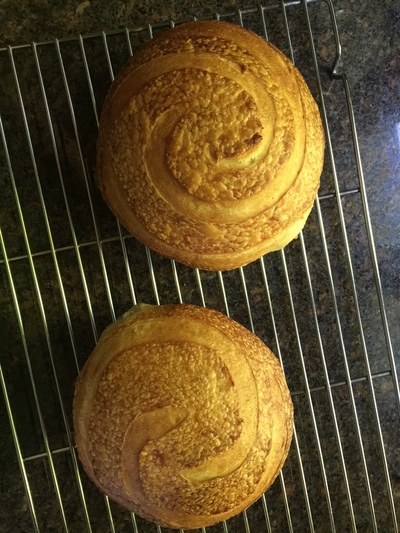
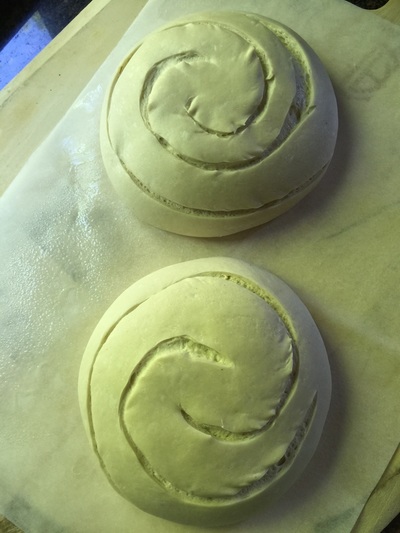
For this morning's loaf, I decided to have fun with the scoring. I channeled my inner Tim Burton and decided to play with double spiral patterns. I'm really pleased with the results. It even gave me a hint of an ear on the loaf.
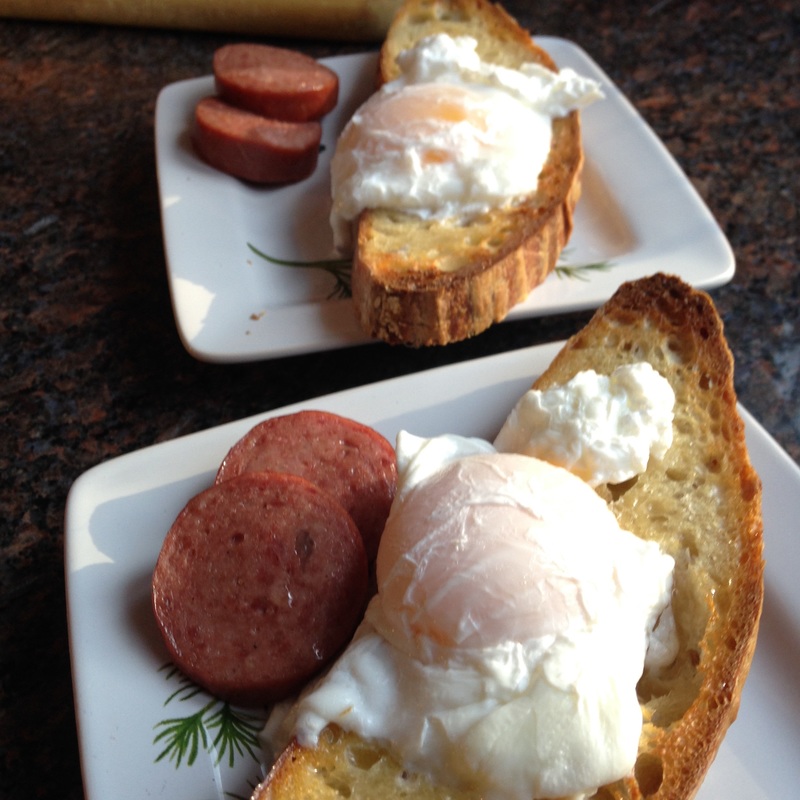
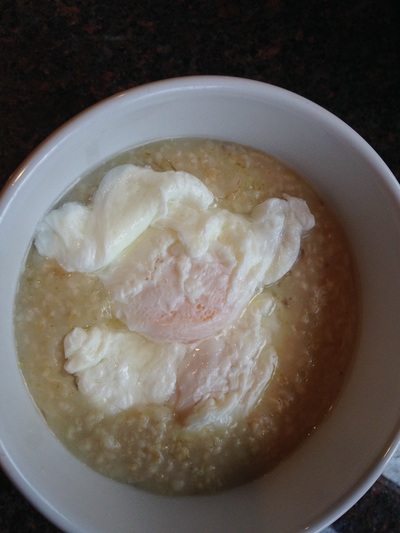
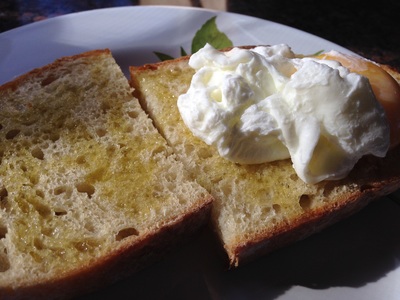
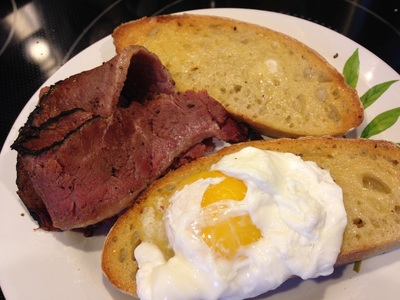
Perfectly Poached Eggs
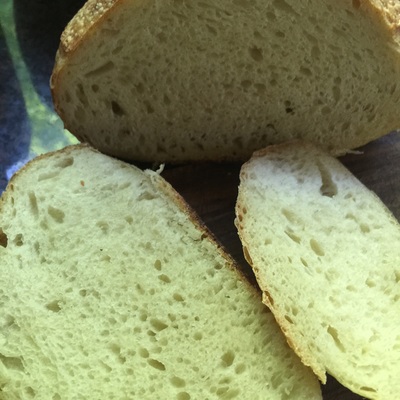
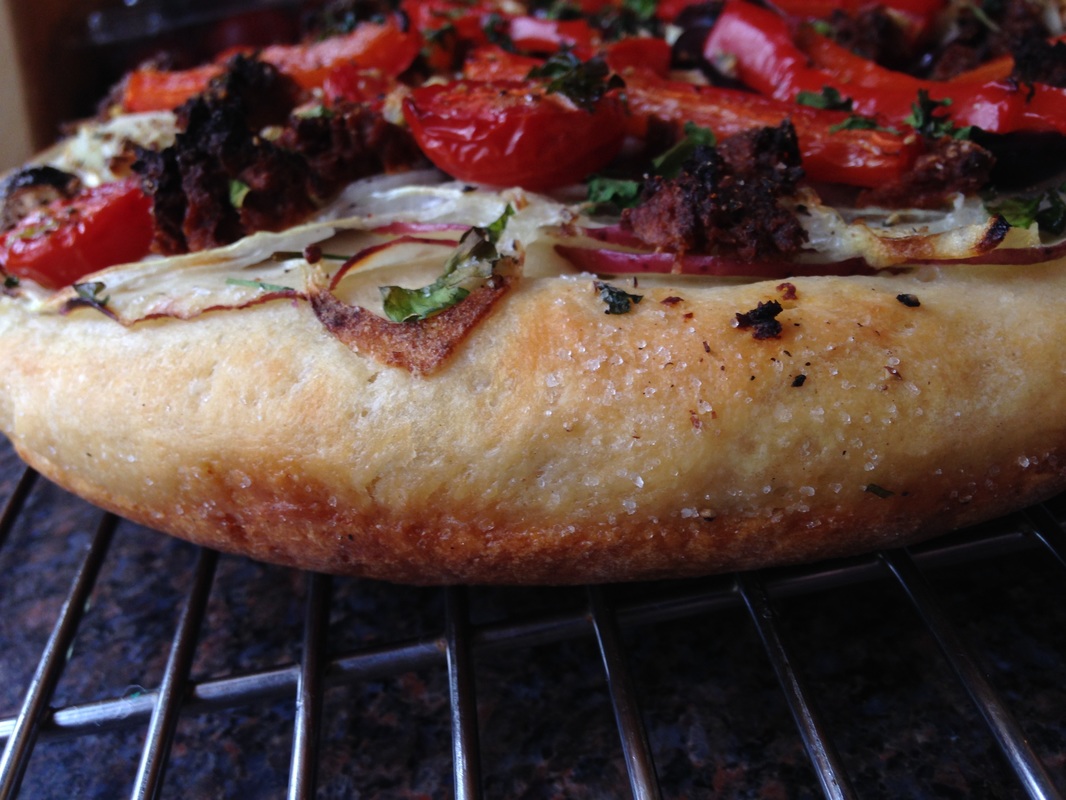
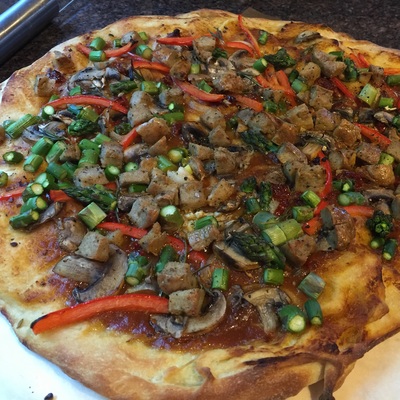
For perfect poached eggs, the most important step is to use fresh eggs. There are many tricks, gadgets and assorted cheats that people use when poaching eggs, like: · Putting them into plastic wrap before placing them into the water, so they retain their shape. · Using a poaching pan (which is really more like a double boiler) · Nuking them in a water bath in the microwave · Straining the raw egg first before putting them into the water Wonder How does a fantastic job of summarizing all of these different egg poaching methods in their poached egg blog. Each method has its merits, but I’m a fan of the old fashioned, traditional method that Alton Brown demonstrates to us here: Don’t have time for the video? His recipe (which I use every time) can be found here. When I make Sourdough Pizza dough, I use King Arthur Flour's Sourdough Pizza Crust Recipe, but with one exception: I use their Perfect Pizza flour in place of AP Flour. It's such a lovely and versatile dough! I've made everything from deep dish pizza to rounds. Usually, I bake my pizzas on a steel that's pre heated at 500 degrees in my oven. When I make a deep dish, I preheat my cast iron skillet on top of the steel, and then have everything ready to go so I can shape the pizza in the hot skillet. Because I can't eat cheese, I will usually line the shaped dough with some quality extra virgin olive oil, then some homemade heirloom tomato sauce (that's a blog for another day) and a medley of vegetables, depending upon what's in season. I find that chicken sausage works great on these non-dairy pizzas. So do olives and mushrooms. If I'm feeling ambitious, I'll slice some potatoes on a mandolin and line the bottom of a pie with them (no sauce on those) and build from there. Here are a few variations: I've been baking from Peter Reinhardt's Bread Baker's Apprentice for a few months now. I've been getting fairly consistent results. This week, I took the dough from the fridge about 3 hours earlier (3:30AM) and baked it around 6:30am. And the results are spectacular. By giving the dough a slightly shorter cold proof and longer time to warm up before hitting the oven - I achieved those beautiful air pockets. The crumb is super soft. Even three days later, it's soft and incredibly delicious.
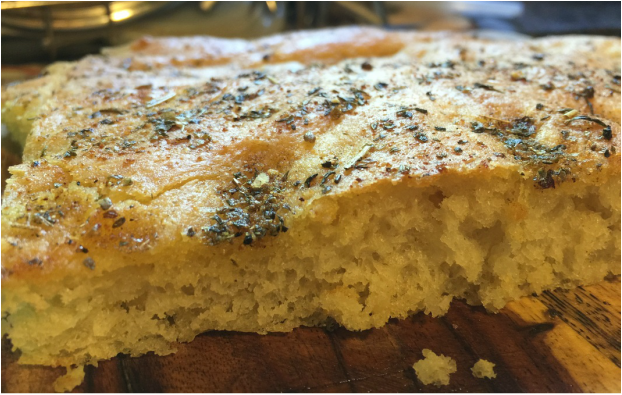
I added a metal bowl with water to the bottom while it was preheating (as always) but I also poured about 1/4 cup of water onto the bottom of the oven after putting the loaves onto the baking stone. so I got a huge pop of steam. About 5 minutes later, I sprayed the side walls of the oven with a mister. I took out the bowl at 12 minutes, turned down the heat and rotated the loaves, which resulted in a blistery, flaky, delicious crust. I feed my starter once a week. Usually 1:1. This particular feed - I gave it 100gms starter, 160gms bread flour, and 140 grams water. It was so vigorous and happy! It still gave me a strong sour flavor in the final product that made for an absolutely delicious crumb. It's my best loaf yet! 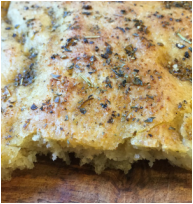 Sourdough Foccacia Sourdough Foccacia I had a really healthy sourdough starter going. It was bubbling so beautifully, and I had plenty of it. I decided to make a sourdough Foccacia bread. Now, with most new bread baking adventures, I turned to my books first. I had plenty of options. However, they were all yeasted foccacia breads and I really wanted to use my healthy, bubbling sourdough starter. So, my next resource was Google. Of course, I found a few compelling sourdough Foccacia options, but they were all one-day bakes. If I have learned anything at all from baking with natural yeast, it's that the best flavors come from cold, overnight proofs. So I modified two different recipes to create this one. This recipe produces a moist, flaky and tender foccacia bread. Sponge:
Final Dough
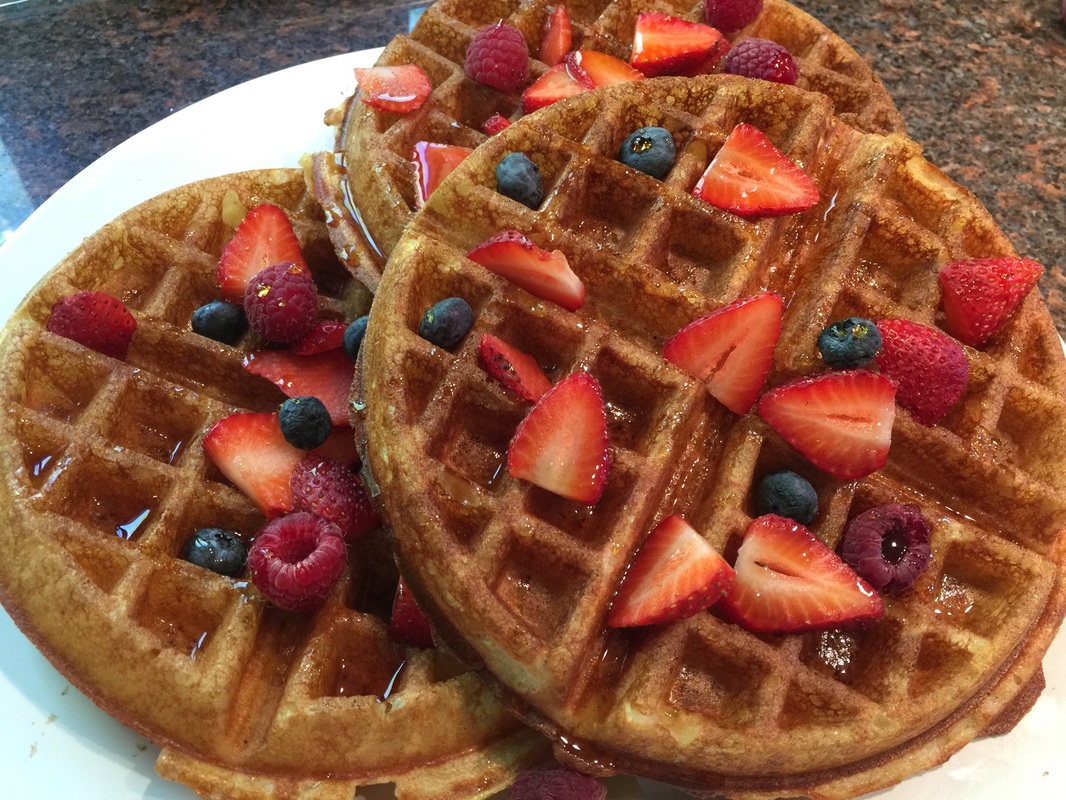
Method 1. Create the sponge and let it rest until it begins to really bubble (approx. 1-3 hours) 2. Combine ingredients together and mix on slow speed with a dough hook until it forms a ball and you get a gluten widow. Depending on the hydration of your starter, you may end up adding ¼ – 1 cup more of flour while kneading. The dough will be soft and slightly moist from the oil and the kneading. 3. Form into a ball and place in an oiled bowl. Cover with plastic wrap and allow to rise until doubled, about 1-1/2 to 2 hours. Once dough has risen, place dough into a ½ sheet pan and begin to dimple until it reaches its elasticity point. Then cover with plastic wrap and stick it into the fridge overnight. 4. Take the dough out at least 4 hours hours before you plan to bake it and coat with Herb oil (optional). When the chill is gone, use your fingers to press dough into the bottom of the pan until it fills the pan. If your dough is very elastic and pulling away, allow it to rest for about five minutes and then continue. 5. Cover with a kitchen towel and allow it to rise until roughly doubled in size, about an hour. 6. Preheat oven to 500 degrees Fahrenheit. 7. Once dough is ready, lightly dock dough with your fingers all over, leaving little impressions. If the dough is a little dry on top, brush on a bit more extra virgin olive oil and then sprinkle with coarse sea salt. 8. Bake for 20 minutes or until golden brown. Remove from oven and allow it to cool in its pan on a rack. This recipe began as an adaptation of the King Arthur Flour Classic Sourdough Waffles recipe on their site. However, because of my dairy allergy, I needed to find a work around for the buttermilk. So I used lemon juice... then lemon zest and lemon juice... I started separating the eggs and whisking the whites...
This is the delicious end result... Overnight sponge
Waffle or pancake batter
To make the overnight sponge,
To make the waffles Separate the eggs. In a small bowl or mixing cup, beat together the egg yokes, and oil. Add to the overnight sponge. Add the salt and baking soda, (and optional sugar) stirring to combine. The batter will bubble. Whisk the egg whites into soft peaks and gently fold into the batter. Pour batter onto your preheated, greased waffle iron, and bake according to the manufacturer's instructions. Serve waffles immediately, to ensure crispness. You can keep them warm, but it's hard to keep them crisp if you wait too long. I like to eat them covered in real Grade C New York State unblended Maple Syrup and fresh berries. If I'm feeling decadent, I'll hit it with some powdered sugar to finish . |
DebI'm a home cook with a lifelong passion for learning, exploring and experimenting in my kitchen. You can find me at @Debs1 on Twitter and @Debs121212 on Instagram. Categories
All
Archives
July 2020
This website uses marketing and tracking technologies. Opting out of this will opt you out of all cookies, except for those needed to run the website. Note that some products may not work as well without tracking cookies. Opt Out of Cookies |




 RSS Feed
