|
Nourishing Foods For Trying Times
Friends, it is so nice to connect with you again after so much time. While work and life took me away from the kitchen for a while, this global pandemic has brought me home and back to my kitchen. It’s given me a chance to slow down, step away from the business of daily life, listen to my own inner voice and re-center. People are stressed, anxious, and fearful about the virus. So many of us are trapped in our homes and stress-eating. It caused me to think about ways that we can help one another. I see a need in our global community (as well as within myself) to help transform our homes from a pandemic prison into a refuge. One of the best ways we can care for ourselves is by making our own nourishing foods. The first thing we can do to help support our immune system is to make our own bone broths. I always buy whole chickens from local farms. I break them down myself and put the bones and giblets into a freezer bag until I have enough to make stock. If you can do this, great! If not, you can use the bones and carcass of a roasted chicken, or even a whole raw chicken (and save the meat after for things like Chicken pot pie). Now, the method of making chicken bone broth that I am about to share varies from my usual because it includes the addition of herbs and mushrooms designed to support the immune system. I will make this variation and then just heat it with some shiitake mushrooms and scallions and drink it like tea. I have also taken to making stock in my InstantPot because it takes a fraction of the time, has virtually no evaporation (so my yield is higher), and it is more effective in pulling out all the marrow from the bones – giving me a lovely gelatinous stock when it cools. Immune-Building Chicken Broth:
Normally, I would not add parsnip or so many carrots to the stock, but the mushrooms and the burdock can be strong, so the sweetness of the vegetables helps to counterbalance it. You will also notice that there is virtually no salt in this recipe. This is because I want to control the salt content based on usage. If I cook with this stock – I will add salt as needed. If I am just drinking it, I may not want salt at all. It depends on how successful I have been in hydrating myself when I drink it. I add all the ingredients into the pot and fill it with water about ¼ inch above the ingredients, so they are submerged. I will cook this in the InstantPot on high pressure for 1 ½ hours. When it’s done – I wait for the pressure to reduce normally, and then I strain the stock. My first strain is scooping out the solids from the liquids. Then I pour the liquid through a mesh strainer lined with linen or paper towel. The second strain is through a fine mesh strainer into a storage container. I almost always save enough to drink a mug right from the pot too I’ll drink a cup sometimes twice a day or more if I am feeling run down, or worried about my immune system. Sometimes, I’ll heat it with some shiitake mushroom caps and finish it with scallions – drinking it as a soup. The key to supporting your immune system with this broth is to drink it consistently every day during the period of stress to the body. In the coming blogs, I will talk about other ways to support and nourish yourself through food. Stay tuned!
0 Comments
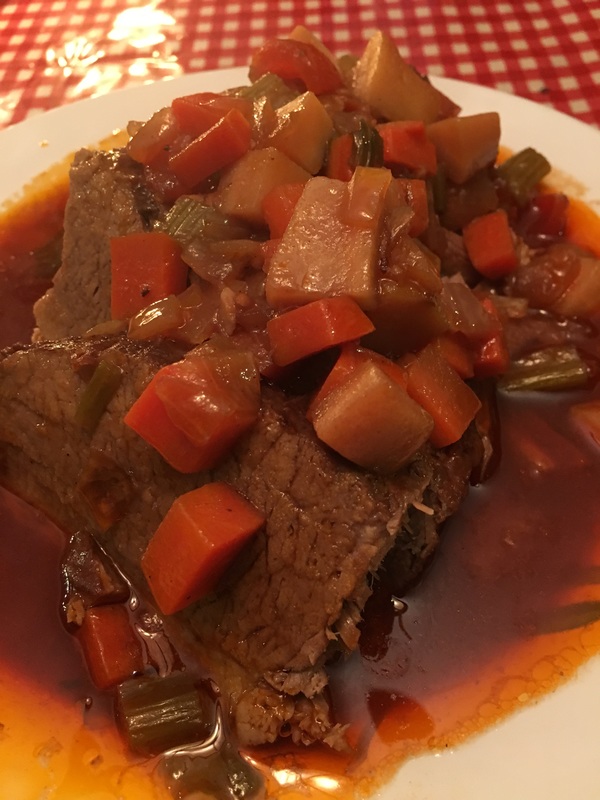
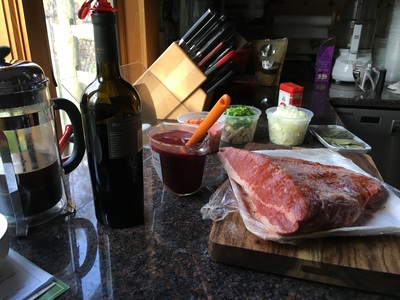
• 3-5lb Brisket (I prefer the end cut with the point muscle attached)
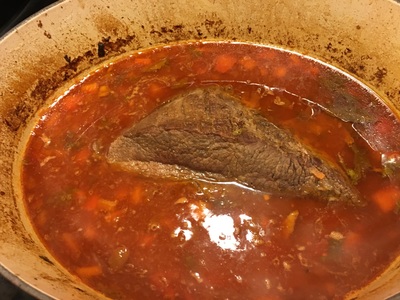
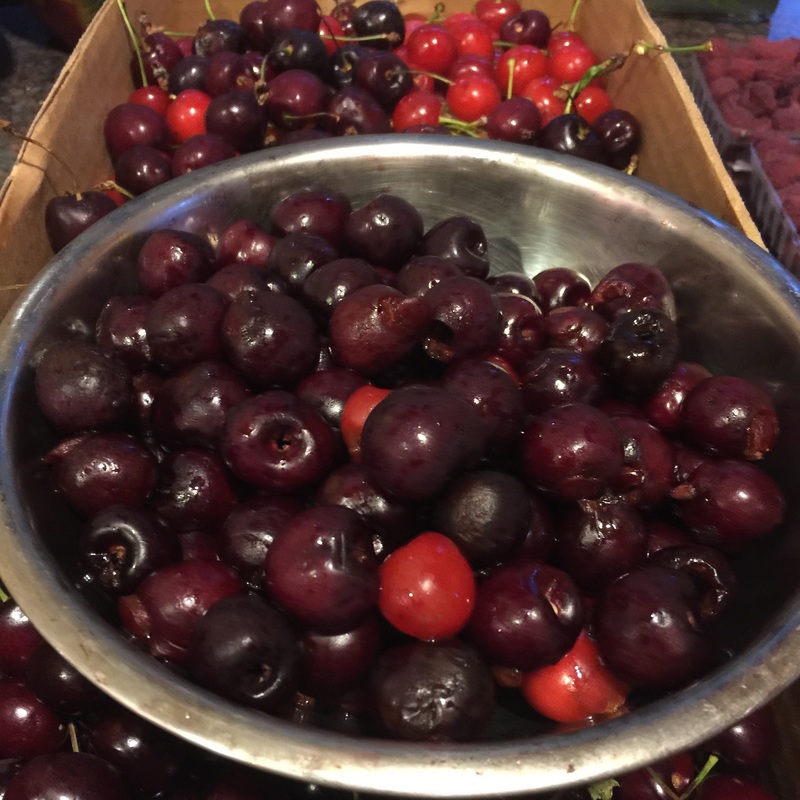
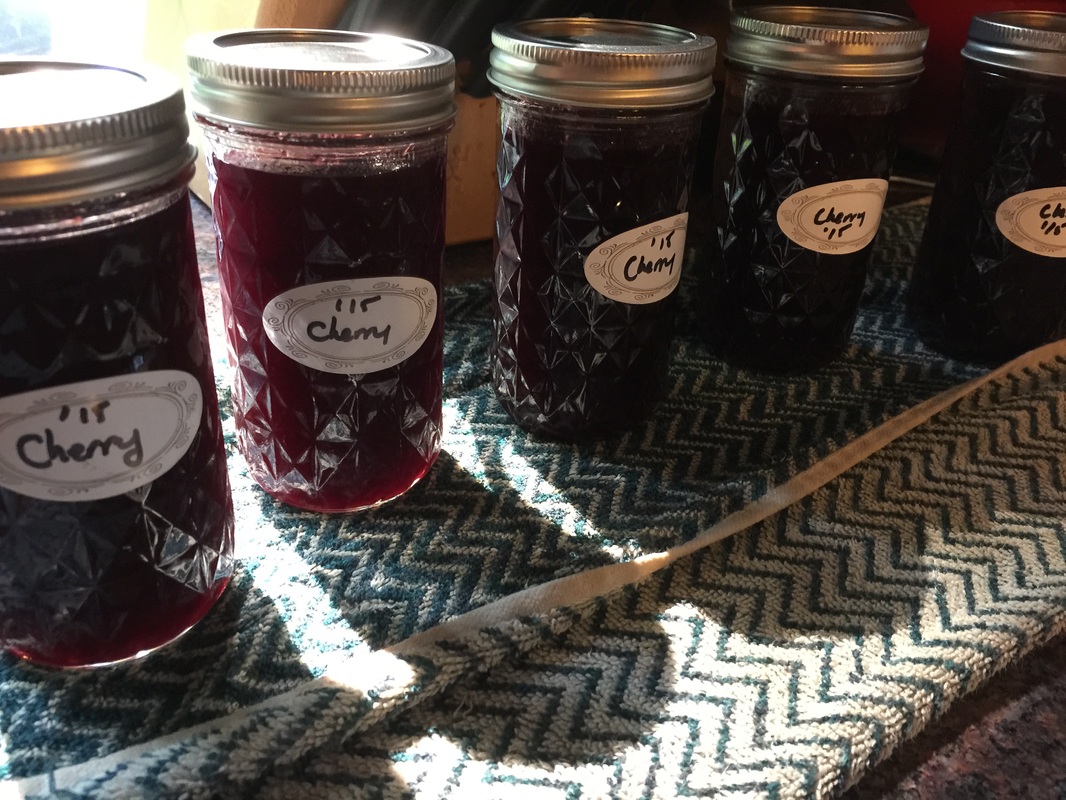
• 1 large red onion, medium dice • 6 cloves garlic, minced • 1 large carrot, medium dice • 1 parsnip, medium dice • 3 stalks celery, medium dice • 3 tablespoons of caul, duck or chicken fat • 2 bay leaves • 1/3 cup apple cider vinegar • 1 cup red wine • 1 jar or can tomato paste • 1 heaping spoonful of honey • 30 oz chicken stock In a small bowl, combine the honey, tomato paste and wine, and mix into paste. In an oval Dutch oven, melt the fat over a medium to high heat. Sear the brisket on both sides then remove from the heat. Then add a bit more fat or vegetable oil and sear the vegetables until the onions become translucent. Add the wine mixture, return the beef to the pot, add the chicken stock until it comes ½ way up the beef, then close the lid and bake at 250 until fork tender (4-6 hours). Last week at the farmer's market, I scored 10lbs of cherries at a great price. So, after taking the time to pit and stem them all, I had many choices for utilizing them. They ended up yielding about 8lbs of pitted cherries.
I put 4 lbs in the freezer. I saved 2lbs for a pie (coming soon) and I used the other 2lbs to make jam. Ingredients: 2lbs fresh pitted cherries 2lbs granulated sugar (I prefer organic) 1 large lemon, zest and juice 3 Tablespoons Kirsh 2 Tablespoons of Vanilla 1 packet of liquid pectin
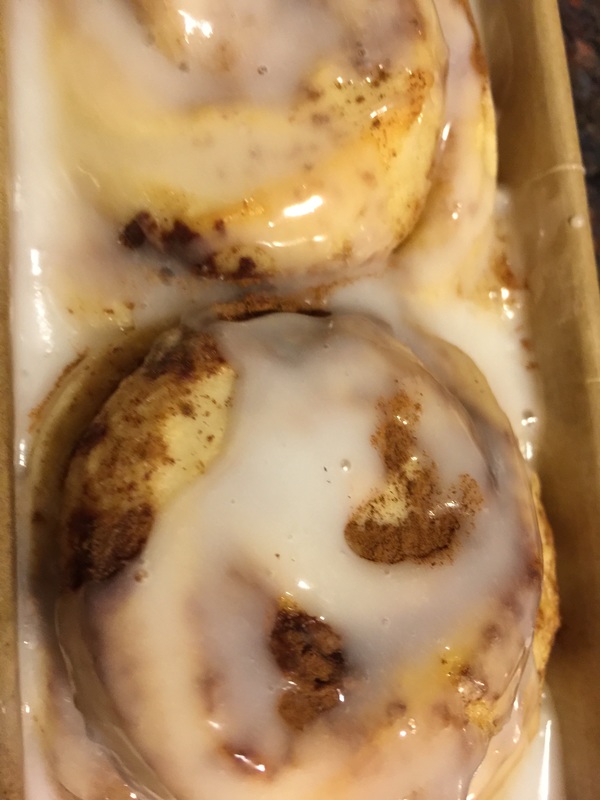
Yield: 5 pint and a half sized jars Maple cream cinnamon buns are a delicious way of using up extra sourdough starter. I've based this recipe off King Arthur Flour's Buttery Sourdough Buns. I use the same base, but my method diverges when it's time to fill and finish it.
Dough
Combine all of the ingredients in a mixer and mix until the dough forms a ball. Then take the dough out of the bowl and stretch and fold it a few times before adding it to a well greased bowl. Let it rise for about an hour to hour and a half -- until it doubles in size. Alternately - you can put the dough in the fridge for about 12-15 hours, then let it warm up for an hour before rolling. Now it's time to roll out the dough. You want to roll it into a wide rectangle approximately 12 x 16 inches and about 1/4 inch thick. The shorter side should be closest to you. Filling 1/2 cup Real Maple Cream 2 tablespoons ground cinnamon Let your maple cream warm up a bit, so it's easier to spread. Once you have your dough rolled out, carefully spread the maple cream in an even layer, leaving a 1/4 inch border around all sides. Liberally sprinkle the cinnamon on top of the cream. Then roll the cinnamon buns into a log. Cut the buns approximately 2 inches thick and place swirl-side up in your pan. I like to bake these in mini loaf pans, so each person can get two buns (much easier for portion control), but you can also add them all to a 9 inch baking pan - either round or square. Leave about an inch or so between each bun as you layer them into the pan because they are going to rise and spread. Sprinkle a little more cinnamon on top and loosely cover with a towel for about a 1/2 hour until they finish rising. In the meantime, preheat your oven to 375F degrees. When the buns are ready, bake them for 15-20 minutes (they won't brown much). Glaze 2 cups powdered sugar 2-3 tablespoons milk (I use coconut milk) or lemon Juice Whisk the milk or juice into the sugar vigorously until well combined. Start with one tablespoon of liquid and add more as needed until it forms thick ribbons. Then gently drizzle the glaze over the cooled buns. (If you put the glaze on while it's warm, it will melt). Then you can dive in! Garlic scapes are abundant right now. I've been eating them for the past month. I put them anywhere I would use garlic - which is almost everywhere - from eggs to pizza to stir fry. They are so delicious.
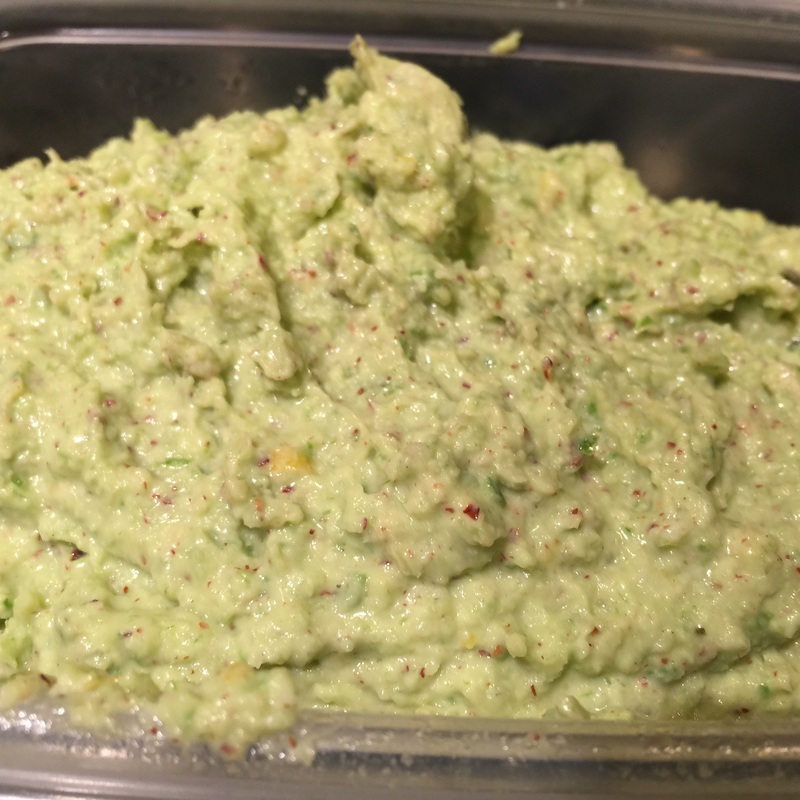
I wanted to make pesto with them but regular recipes I found all ask for parmesan cheese and the Vegan recipes call for nutritional yeast. Well, I can't eat dairy - so no parmesan cheese - and I don't have any nutritional yeast in the house. I also have trouble with anything that tries mimic cheese. It's the one thing that is extremely difficult to replicate well. So, I thought about the role that the cheese plays in a pesto. It's a fat and an acid that, in combination, rounds out the raw garlic flavor. I decided to improvise. I chose to use avocado as the fat and lemon zest + juice as the acid. I also chose fattier nuts (macadamia and hazelnut) than the usual Pine Nut pestos. The result turned out fabulous! I can't wait until I make bread tomorrow so I can smear some pesto all over a baguette slice. I didn't measure so these are really just approximations, but here goes:
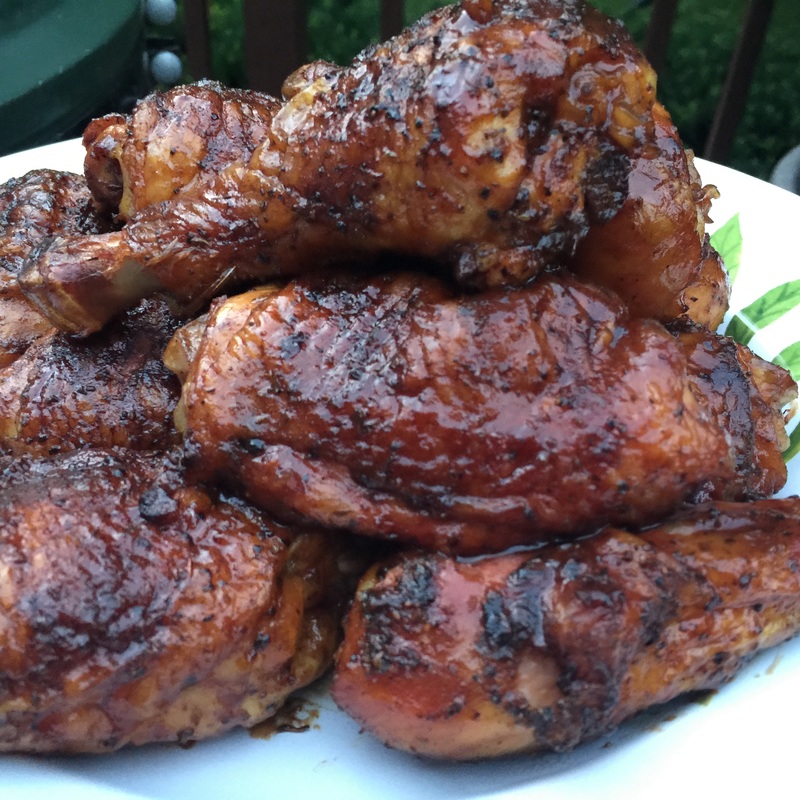
Combine all the ingredients in a food processor (not a Vitamix because it will liquify it, but a proper food processor) and turn it on. Blend until everything is combined and taste to make sure your flavors are balanced. Adjust/Season as needed. The macadamia nuts really hold up to the garlic and the hazelnuts give both needed texture and slightly smoky flavor. The lemon juice adds both sweetness and acidity and the avocado gives it a creamy, delicious base. When you store this pesto, put some cling wrap on the skin of the pesto to preserve it's bright green color, and then put the lid on your storage container. Air is the enemy of all pestos. I have always loved real, southern barbecue. I own a Big Green Egg, which I've used for pizza and other high-heat cooking. I've always said I'd do some smoking on the EGG, but in the eight or so years that I've owned it, I never have. Well, that's shameful.
So, I began by cleaning out the egg. First i lit whatever charcoal was in there and let it burn off on very high heat until it was done. That took about a day. Then, I cleaned out the EGG. removing everything, cleaning it and putting it all back - making sure that it was properly aligned. Now, I had a machine that was ready to smoke. The first item on the smoking menu would be chicken. I began by soaking the wings and thighs in a brine. I used:
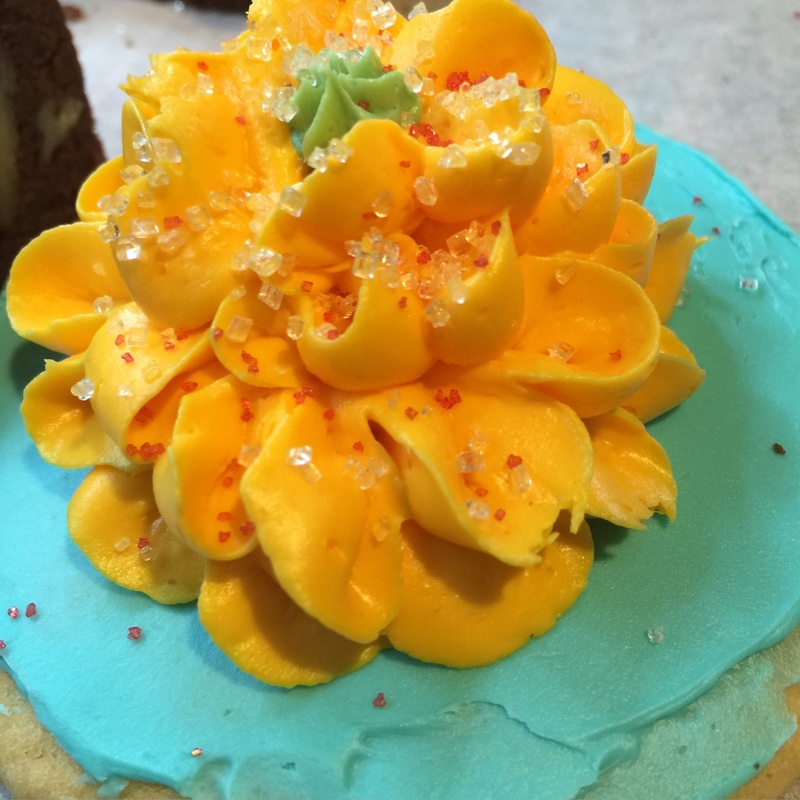
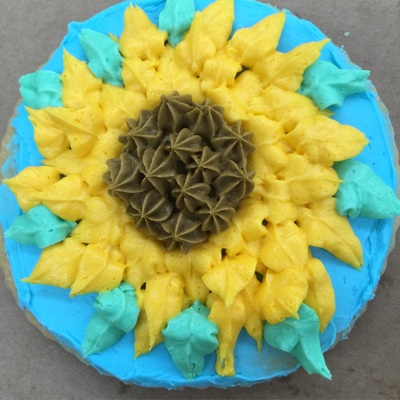
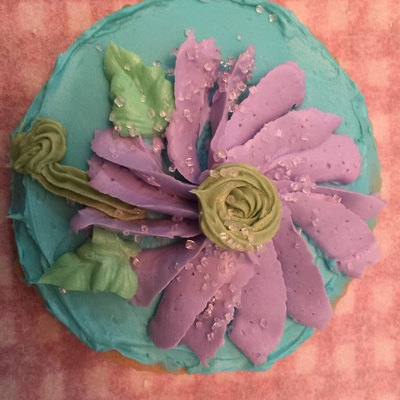
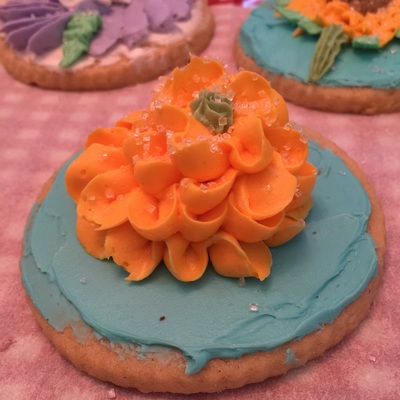
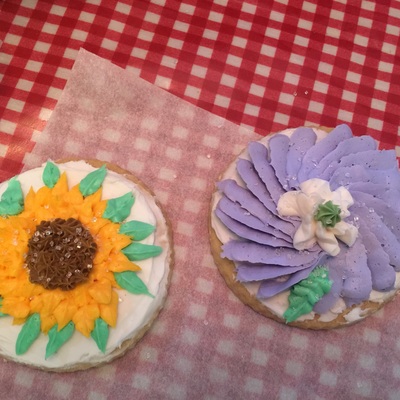
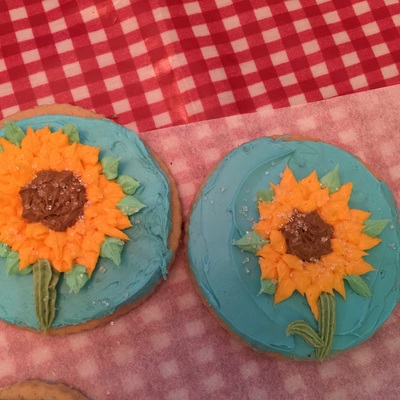
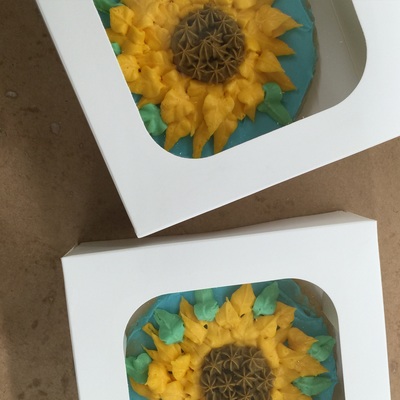
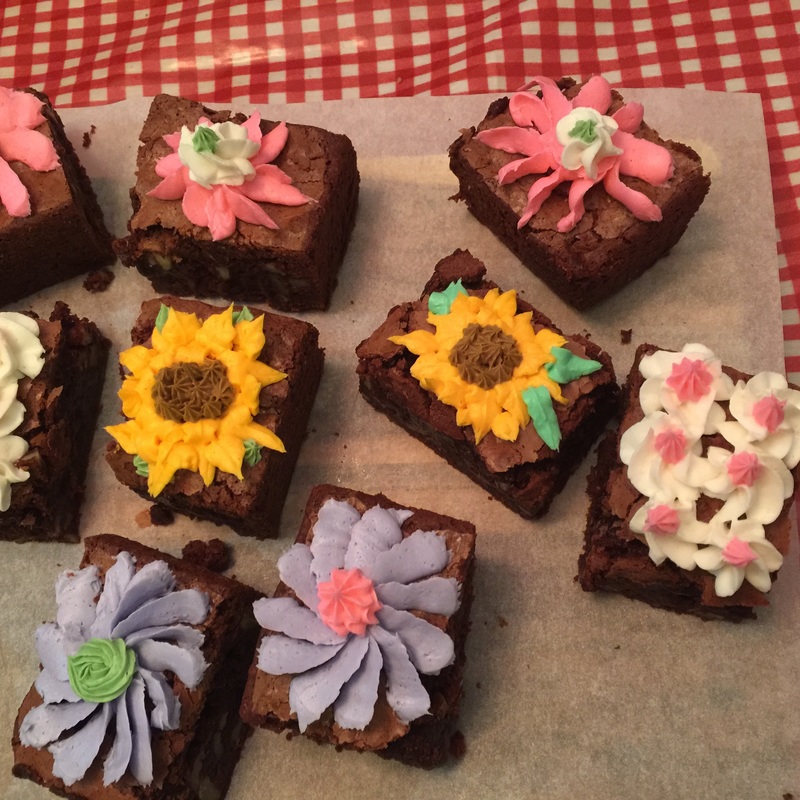
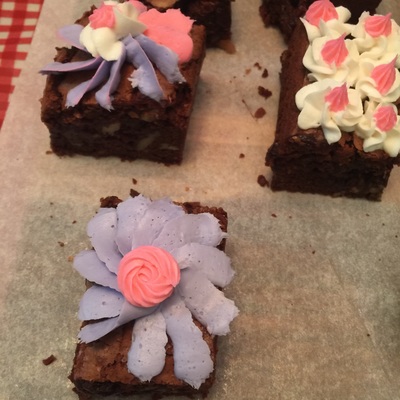
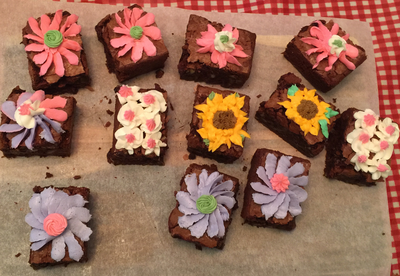
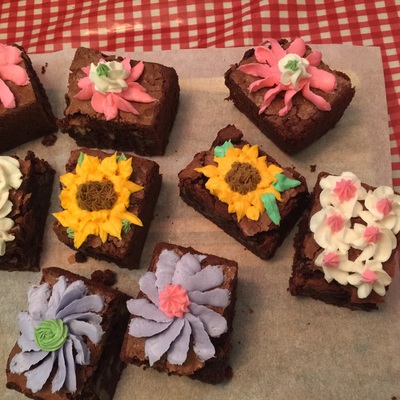
I cooked the brine and then set it over an ice bath to cool. Then I stuck it in the fridge for about two hours until it was totally cool. I buy my chicken from a local farmer named Peg's Eggs at the Warwick Farmer's Market. The chicken came with the legs and thighs attached, so I needed to clean and butcher them while my brine cooled. I then put the chicken and the brine into a gallon sized freezer bag and put them back in the fridge for about 4 hours. About two hours in, I filled the EGG with Charcoal and apple wood chips and lit the grill. I covered the deflector plate with foil and set it with the feet up. I put the grate on top and then a pizza stone on that. I let it get hot at first - around 500F degrees for about an hour, and then I cooked a pizza on it with some dough I had in the fridge. Once the pizza was done, I closed the top vents down and brought the temperature to around 325 degrees. At this point, I took my chicken out of the fridge, rinsed it and dried it throughly. I used a spicy rub that I made a long time ago that consisted of ground mustard, paprika, celery seed, kosher salt, corse ground black pepper, cayenne, thyme, and marjoram with a touch of brown sugar. I put the chicken on the grill and came back about 45 minutes later with a barbecue sauce. I didn't make the sauce. There is a brand that I really love called Bone Suckin Sauce. The sauce is sweet, tangy and really delicious. I liked using a spicy rub and a sweet sauce because the spice really cooks into the meat and the sauce balances out the flavors. I brushed the chicken on the skin side up with the sauce and covered it for about 8-10 minutes. Then I turned the chicken and brushed the opposite side and cooked it until it's internal temperature reached 180F degrees. Then I took them off the grill and we were ready to eat. This cooking method gives you a tender, juicy meat with big bold flavors that is really just outstanding. You don't need the Big Green EGG to make this, you can do it in any smoker or charcoal grill. I'm taking a cake decorating class. It's four weeks long and the last session required me to bring small "treats" to decorate. So, I made both Brownies and sugar cookies.
Sugar cookies are a tricky business. They can either be really dry and hard to eat without copious amounts of milk, or they can be so sweet that you can't get past the second bite, or, they are so thin that decorating them is a major challenge. If I plan to ice and decorate a cookie, I'll make the cookie batter less sweet, so that the sugar in both the cookie and the icing is balanced and doesn't leave me with a cloying dessert. Now, when I make cookies that I plan to decorate, I try to roll them thicker than the average, undecorated cookie so they can withstand the baking, cooling and decorating process without breaking. Have you ever bought a cookie cutter that just looked so cool, until you tried to use it - and there is always one small corner that breaks off? This is exactly what I wanted to avoid. I chose a recipe from Sally's Baking Addiction because it was designed for decorated cookies. I modified her recipe to make it dairy free by replacing the butter with earth balance buttery sticks. I also rolled my cookies to about 1/3-inch thick, which is much thicker than her delicate cookies. I did that because I needed at least a 3" flat surface to decorate for my class. We were planning to use buttercream icing (not common for cookies) instead of royal icing (most common on cookies), and so I wanted to make sure the cookie could hold up to the decorations. Brownies can be the most decadent treat ever. The right brownie is rich and fudgy but not so dense that it loses cake-like crumb. If you compare a dozen brownie recipes side-by-side, you will notice that there are not many ingredients: butter, flour, eggs, baking powder, salt, vanilla, and of course, chocolate.
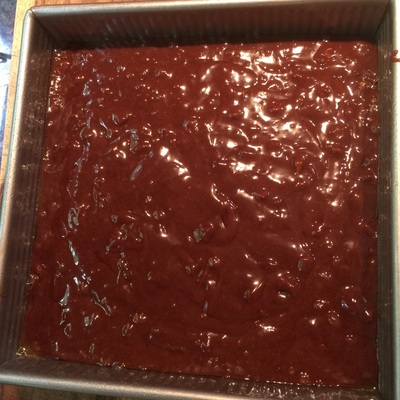
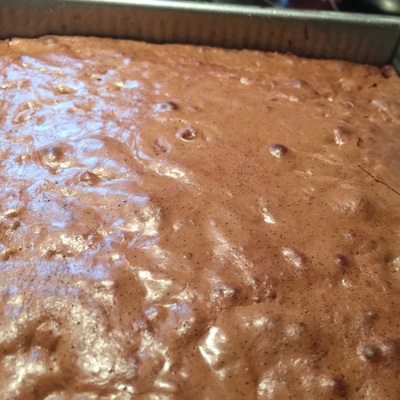
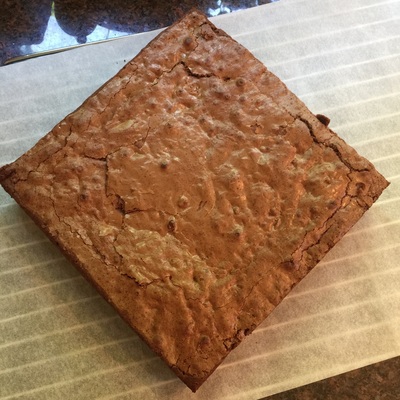
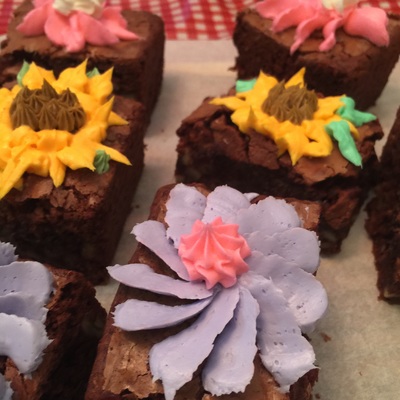
There are two camps when it comes to adding chocolate in brownies -- cocoa powder or semisweet dark chocolate. I have found that cocoa powder based recipes tend to be more cake-like than fudgy (even the ones that claim otherwise). They make a great brownie - but it's a different kind of brownie than the recipes that actually call for chocolate. Now, once we dive into the realm of chocolate - we see lots of variations: chocolate chips, semisweet chocolate, unsweetened chocolate, etc. Since chocolate is the star of the Brownie show, I prefer to work with the highest quality semisweet dark chocolate I can find. In this case, I used 66% semisweet Valrhona chocolate. I needed to bake a batch of brownies for my cake decorating class last week. These were based on a recipe that first appeared in Gourmet Magazine many years ago. I think that it's my favorite brownie recipe (of all the recipes I have tried to bake). Fortunately Epicurious.com still keeps a copy online. Of course, the one major difference between my version and theirs is that I use the Earth Balance buttery sticks instead of butter. I also used pecans instead of walnuts. One very important tip for making this brownie recipe is that after you have whipped your eggs, sugar and vanilla together, and you have your hot melted chocolate and butter combo - if you just pour the chocolate into the eggs, you will cook the eggs - scrambling them and ruin your brownies. So, what I like to do to temper them is turn the mixer on medium-high speed and one spoonful at a time, slowly add the chocolate into the egg mixture while it's spinning. It's tricky because if you are not careful - chocolate will go flying everywhere and create a giant mess. You have to pour it slowly about 1 inch from the edge of the bowl. I will usually add about 3-4 spoonfuls in, making sure they are well combined, before slowly pouring in the remainder of the chocolate. A few other important tips... the usual toothpick method of testing to see if a cake is done never works with brownies because the chocolate is still hot and if you waited for the toothpick, they would be over baked. So, you have to watch and see when the brownies start to pull away from the sides of the pan. They should feel taut and not loose (like batter). It's approx. 35 minutes for one 8-inch square pan of brownies at 350-degrees. Last but not least. The cooling process is critical. You have to wait for the chocolate to set-up. So, make sure the brownies are completely cool before cutting into them. I like to cool them by first waiting about 5-10 minutes before un-molding them from the pan. I do that by placing a sheet o parchment paper on top and then the cooling rack underneath the parchment, then quickly flipping the pan over, so the "top" of the brownies is now on the bottom, on a sheet of parchment. Then I add another sheet of parchment paper on top and let it cool until it's completely room temperature and there is no residual warmth. In this instance, I decorated them too :) When I was a little kid, my family would get together and go out to eat at these all-you-can-eat buffet restaurants. In hindsight, it made sense. There were a lot of us, and a good number of children when you added my cousins to the mix. At the dessert table, there were always all sorts of puddings. One of my favorite was the butterscotch pudding. It was creamy, rich and buttery and it melted in my mouth.
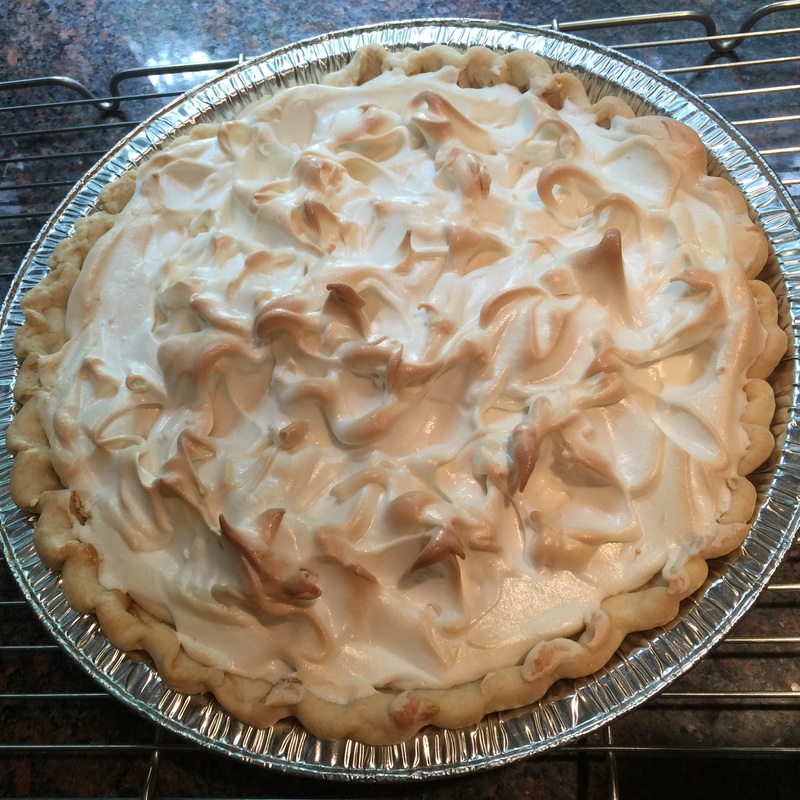
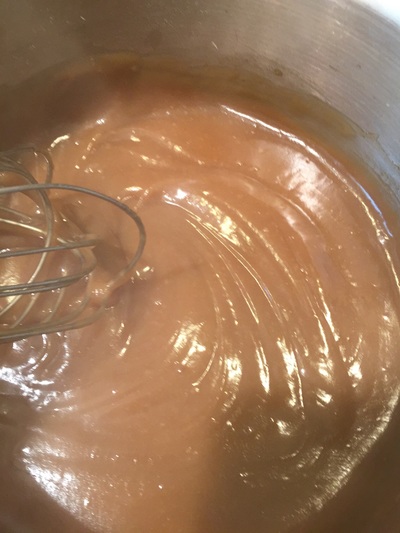
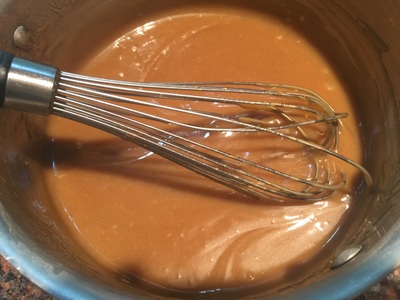
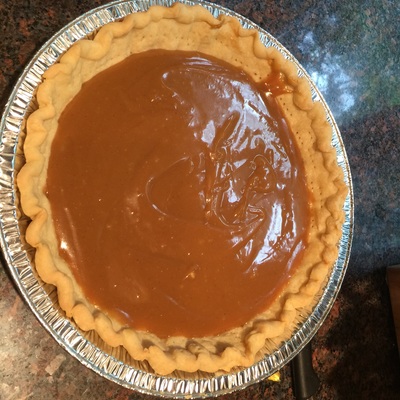
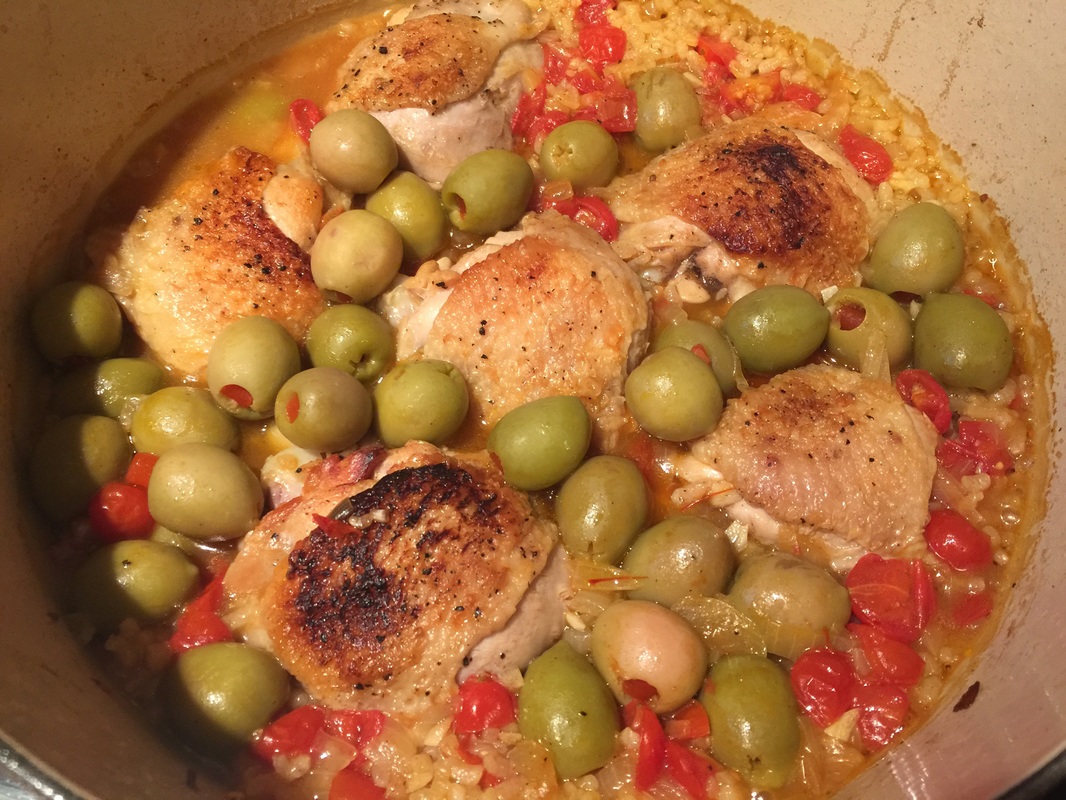
My mother never made it at home. In fact, her idea of pudding was always from a box. The only pudding she actually made from scratch was rice pudding -- and that's the topic of another blog. So the butterscotch was a special treat that we only had once in a blue moon at the buffet. I had not thought about or even remembered butterscotch pudding until a few weeks ago, when I started taking Nancie McDermott's Pie class on Craftsy. She demonstrated how to make the butterscotch pie from scratch and it brought back wonderful memories of my childhood. As soon as I saw her make it, I knew I had to try it. Let me tell you, it did not disappoint! I found a published version of the recipe on Nancie's blog. Of course I needed to convert it to a dairy free version. The recipe called for evaporated milk. Well, I would have to make that. I took 1/2 coconut milk and 1/2 almond milk and put it into an oven proof glass bowl. I baked it on 175 for about 3 hours, let it cool off and stuck the finished product in the fridge. Next, I made a 9" pie crust using Earth Balance buttery sticks and blind baked it (first 5 min with pie weights/ remaining 10 min by itself). Then I moved on to the sauce. I followed Nancie's instructions - cooking the brown sugar, flour and evaporated milk on the stove top over medium to high heat until it formed a thick almost paste-like consistency. Then I tempered my beaten egg yolks and combined them with the sauce off the heat. I cooked it for a minute or two whisking aggressively (so as not to scramble my egg yolks) and then took it off the heat, added the Earth Balance buttery sticks, and then finally the vanilla. As the pie cooled, I moved on to my meringue that I made with my reserved egg whites. I took it to soft peaks, adding sugar to the mixer one tablespoon at a time until i had nice, but still a little floppy, soft peaks. I topped the pie with the meringue, fluffed the top a bit, and stuck it back into the oven. For the last 2-3 min, I put it under the broiler. Now it's cooling until I bring it to a friend's house tonight. Normally, I made a Caribbean style Arroz con Pollo, which consists of a slow cooked spicy chicken stew that I serve over yellow rice that I cook separately.
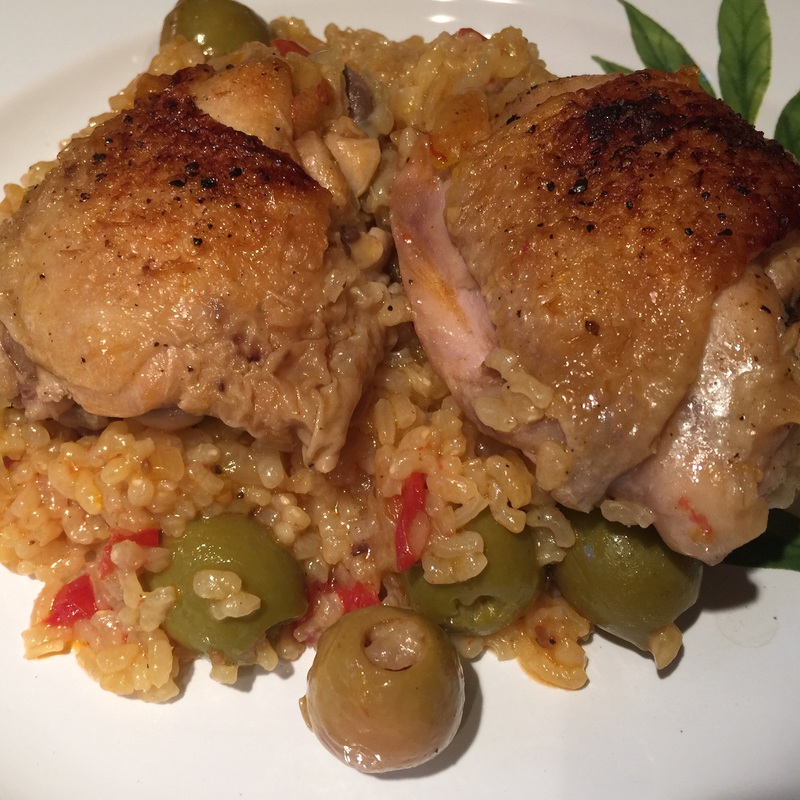
The other night we were watching Martha Stewart's Cooking School on PBS, and she made a Spanish (Spain) style version of Arroz con Pollo in a dutch oven, where she cooked a short grained Valencia rice in the same pot as the chicken. This version was not spicy, it had only a handful of ingredients, and was more like a dutch-oven risotto with seared chicken and pimento-stuffed olives. The show piqued my interest, so I bought the Valencia rice and the pimento stuffed olives and we gave it a shot. It's a relatively simple recipe to make. I opened a bottle of white wine to cook with it, and used the rest of the bottle to make a sangria. The saffron gave the rice a lovely rich golden color. The olives gave a slightly briny flavor, the chicken still retained a crispy skin but the meat was moist and delicious. It turned out to be a delicious dish. My boyfriend and I really enjoyed cooking and eating it together. |
DebI'm a home cook with a lifelong passion for learning, exploring and experimenting in my kitchen. You can find me at @Debs1 on Twitter and @Debs121212 on Instagram. Categories
All
Archives
July 2020
This website uses marketing and tracking technologies. Opting out of this will opt you out of all cookies, except for those needed to run the website. Note that some products may not work as well without tracking cookies. Opt Out of Cookies |
 RSS Feed
