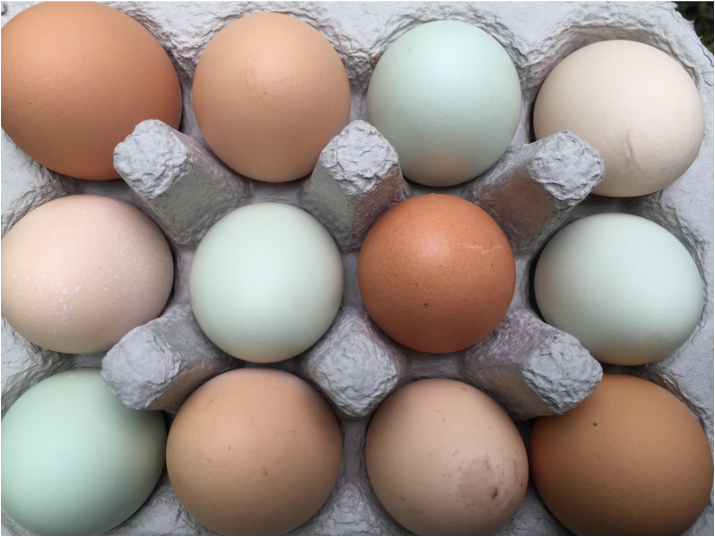
 Fresh, Organic Eggs 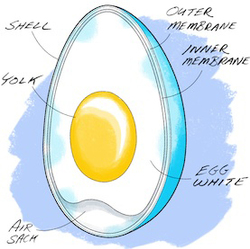 Photo from Scientific American Photo from Scientific American Let’s Talk About Eggs A quality egg is a rich, delicious, high protein food packed with mineral and nutrients that the body needs to thrive. Eggs are extremely versatile. They make our baked goods taste great. They can be poached, fried, scrambled, baked, pickled… You can turn them into omelets, frittatas, soufflés, meringues – even sushi! Eggs can add richness to a dish. They can bind ingredients together or lighten a batter when whipped. How do choose the best eggs? There are some great articles out there on how to determine the quality of an egg. This is a great guide from Mother Earth News. I prefer to buy organic eggs from local farmers that allow their chickens to roam free on their land. The woman I buy my eggs from feeds them non-GMO, soy-free feed. They also eat worms, bugs and all the other things chickens like to eat when they can wander through the grass. One of the first differences I notice is that their shells are much stronger than commercial eggs. It takes a little bit of effort to break them. Their yolks have a rich, gorgeous sunflower-yellow color and the taste is much better. The age of the egg matters! Eggs react differently to different types of cooking methods. Certain cooking methods require eggs of different ages. If you want a perfectly poached egg, you should always start with fresh eggs. You will see a distinct difference when you poach an egg that came from the chicken within 2-3 days. However, for hard-boiled eggs, an older egg (3-4 weeks) will peel and retain its shape much better and its yolk will set up more consistently. So if you are thinking about making deviled eggs, egg salad, Nicoise salad, or anything elese that requires you to begin with a hard boiled egg – you will want to keep those eggs in the fridge for about a month first. What’s inside an egg? According to the University of Illinois Extension, the average weight of an egg is 57 grams. “Eggs are especially valuable as a source of protein. In fact, egg protein is used as the standard against which the quality of other food proteins is measured. One egg contains about 6 to 7 grams of protein. People of all ages need adequate protein for building and repairing body tissues. The fat in the yolk is so finely emulsified that it is digested easily even by infants. The ratio of unsaturated to saturated fats is about 2 to 1. This is considered very desirable. Oleic acid is the main unsaturated fat. It has no effect on blood cholesterol. Eggs contain vitamin A, the B vitamins (thiamin, riboflavin, and niacin), and vitamin D. All are necessary during childhood and adolescence for growth. Eggs also contain an abundant supply of minerals, such as iron and phosphorus that are essential for building and maintaining strong, healthy bodies.” So that’s why body builders love them! Different types of eggs... There are so many different varieties of eggs that people choose to cook with from around the world. I've tried at least 15 different types of chicken eggs - from the tiny quail egg, to the small Bantam chicken egg (they make great foam for a whiskey sour) to brown, green and even blue chicken eggs, to the super rich and luxurious duck egg to the gigantic ostrich egg. Each egg variety has their own flavor profile. If you work in grams, you can adjust any recipe to account for the changes from egg to egg. Try them all -- each one is delicious -- and remember, they are good for you. 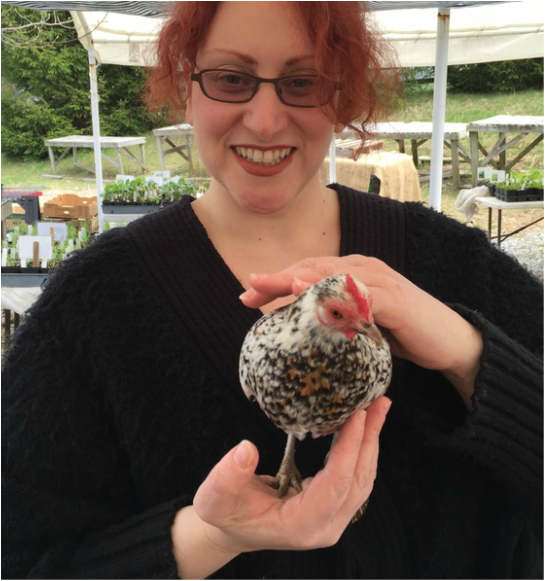 I'm holding a Bantam Chicken
0 Comments
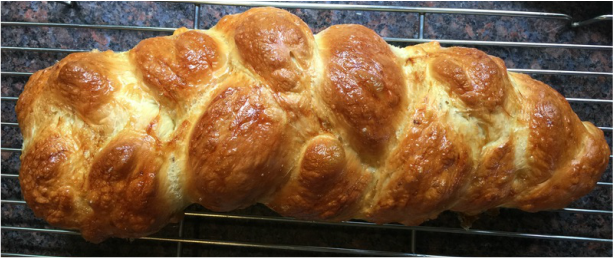 Lilac Braided Challah It's such a beautiful spring! The season has been especially kind to the lilacs, which are bursting out everywhere. Last week, I made lilac sugar. While I watched the bouquet of lilac blossoms on my table begin to wilt, I decided to use them to make a lilac Challah bread. I used the lilac sugar in the recipe, but I also stripped off the petals of one of my blossoms and added it to the dough in the mixing stage. For the recipe, I used Peter Reinhardt's The Bread Baker's Apprentice Challah recipe. But instead of the SAF Red Instant yeast that I'll use for lean doughs, I used the Gold SAF Instant Yeast instead. And, for added richness, I replaced two of the eggs in this recipe with duck eggs. 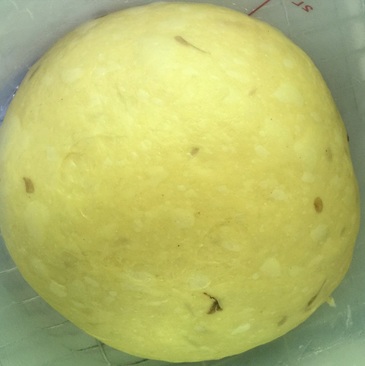 Lilac Challah Dough Now, It's been a while since, I've braided anything, so I had to practice getting used to the tension in the bread dough, but we got there. I was so pleased with the beautiful the strands of petals weaving through the dough. 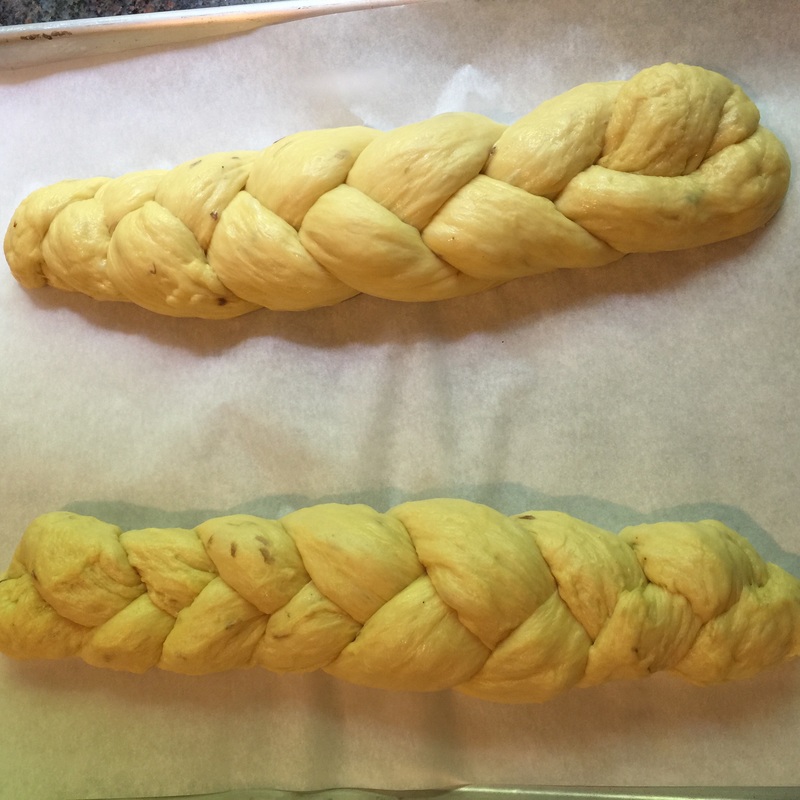 Lilac Challah Braids They proofed beautifully and then baked at 325 convection for about 45 minutes until they reached an internal temp of 200 degrees. 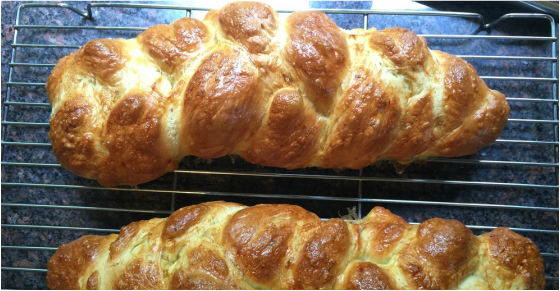 Lilac Challah Bread And finally, served with a little local raw honey... 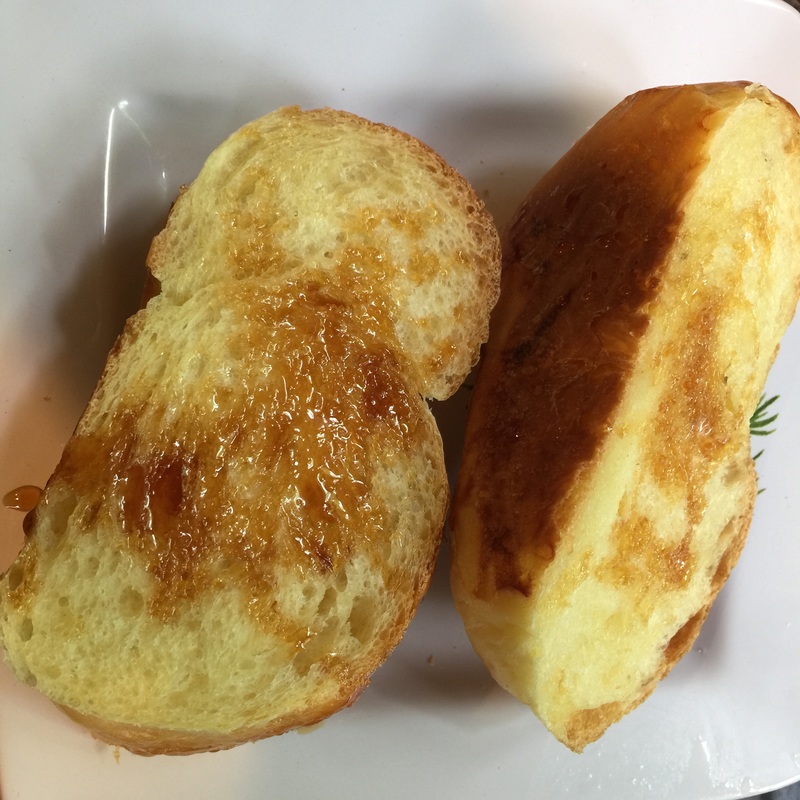 Sliced Lilac Challah Bread with Drizzled Honey Well friends, it's been many years since I maintained a food blog. With so many social media channels, it's been easy to just take a picture, post it on Instagram and share it across every other social platform. At first, people would admire my photos. After a while, they began asking for my recipes. I found I was typing up recipes at least once a week.
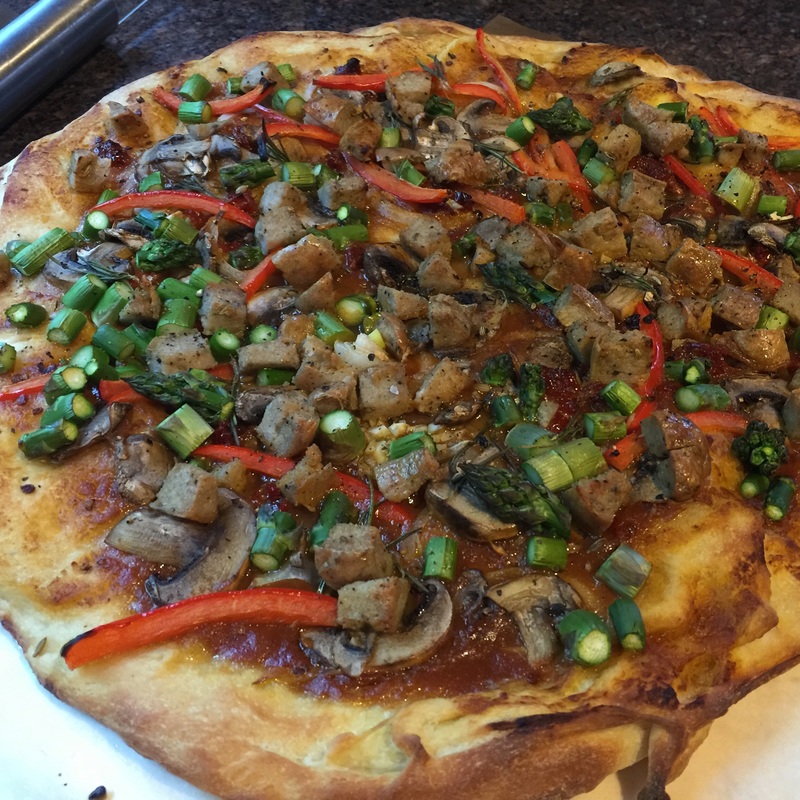
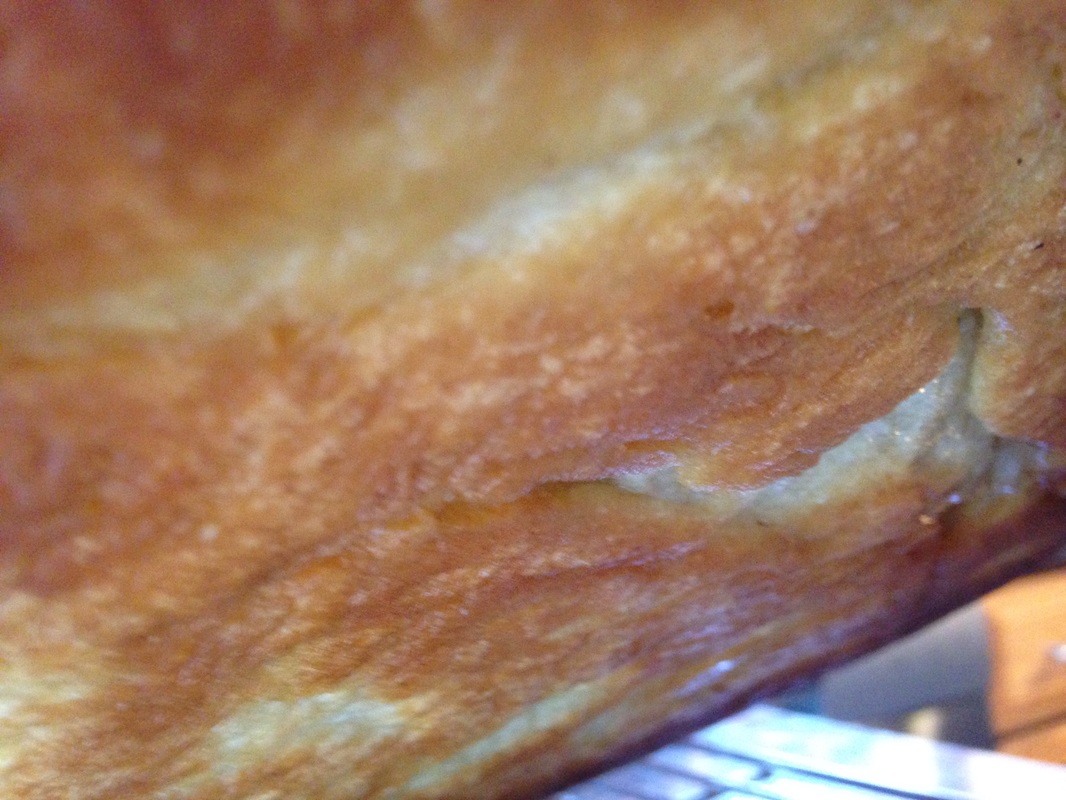
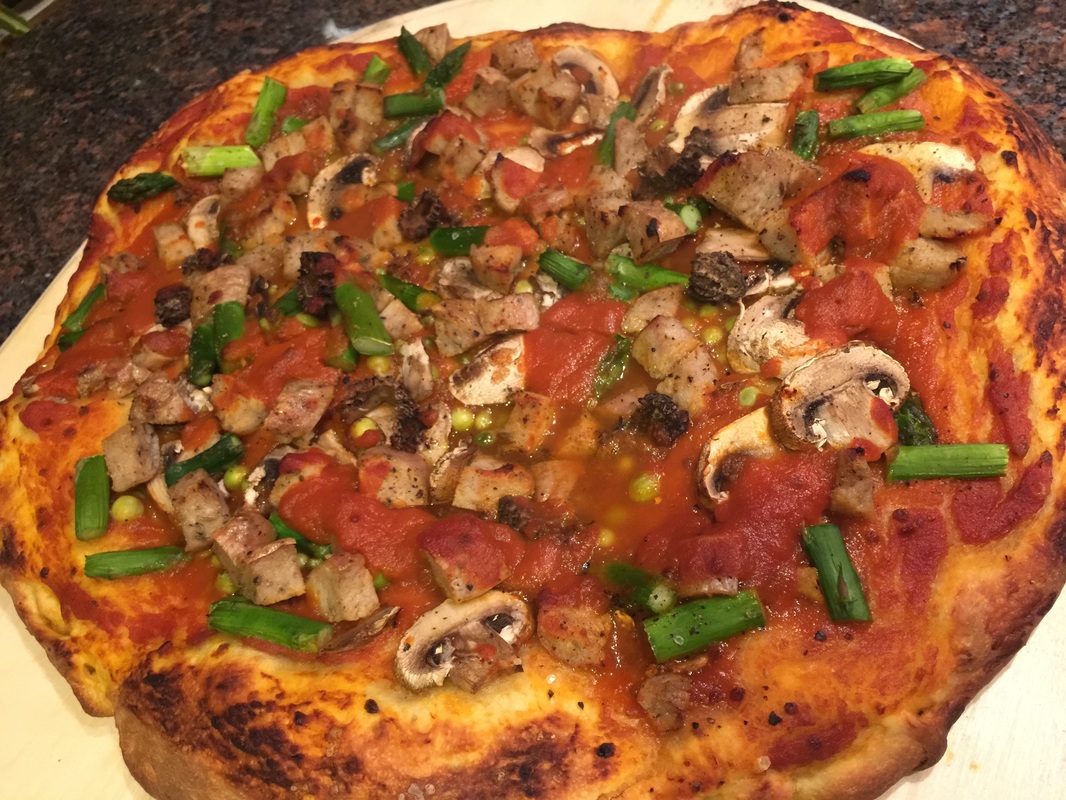
Friends and fellow members of food-related forums began asking me if I had a blog. So, after a nearly 10 year hiatus, here it is! It's my intention to focus this blog on sharing my cooking and food exploration with you. I will try to include photos, techniques, methods, and recipes whenever possible. While I have taken many different cooking and baking classes throughout my life. I am not a professionally trained chef or baker. I am just a passionate enthusiast and home cook that constantly strives to learn more. I have started to populate the site with some of my existing recipes, but I'll keep at it over the coming weeks until there is a robust archive. If the recipe is adapted, I'll cite the source. If the recipe comes directly from a book, I will not republish it here without the author's permission. Instead, I'll site the book and the author's name for you. Within the past 10 years, I developed some severe food allergies, particularly pork and dairy. So, I often modify and experiment with existing recipes to convert them into delicious, dairy free or pork free alternatives. It gives me great pleasure when people try my recipes and succeed. So, please do let me know if something did - or did not work out for you. I welcome your feedback. Thank you all for your encouragement and support! Deb 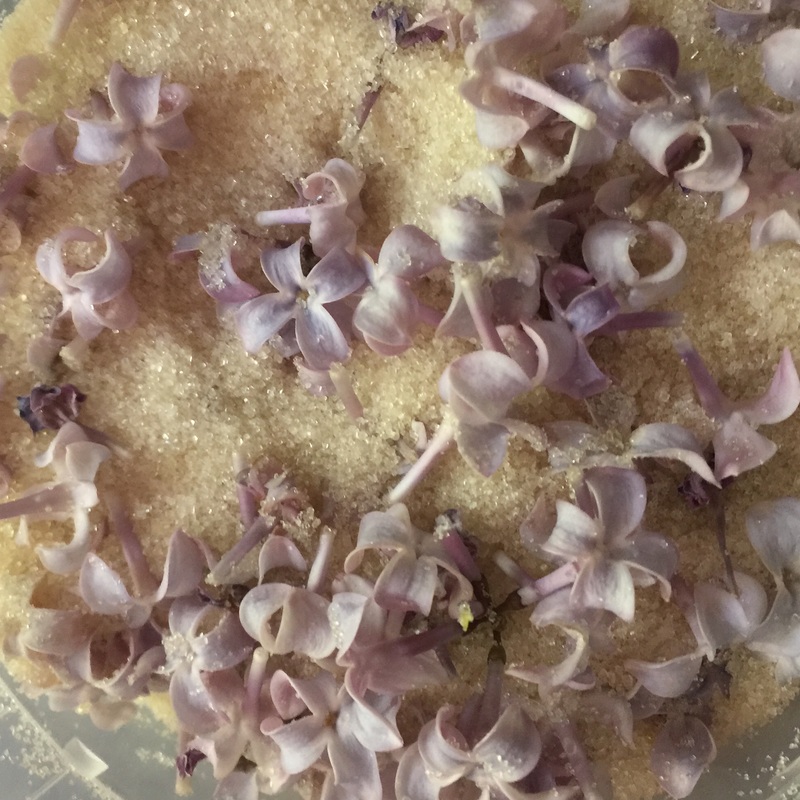 Lilac Sugar I follow a fabulous baker on Instagram called @thelavenderbakery. She runs a bakery in London called, The Lavender Bakery. Not only is she an incredible baker, but she's a lovely person as well. I recently shared a photo of my lilacs in full bloom (for the first time since I planted them 8 years ago) and she suggested that make Lilac sugar. Well, the next day, I cut some lilac blossoms. I made a bouquet with some and transformed the rest into Lilac Sugar. This is really more of a method than recipe. First, I washed the blossoms and let them dry completely. Then I pulled the flowers from two full blooms and made sure there were no stems. Next, I poured granulated sugar into a dry, quart sized container and mixed the blossoms in. I sealed it and put it in the cabinet. In a few weeks, I'll try making lilac sugar cookies, Lilac brioche, or maybe even lilac whipped coconut cream...  Lilacs in Bloom 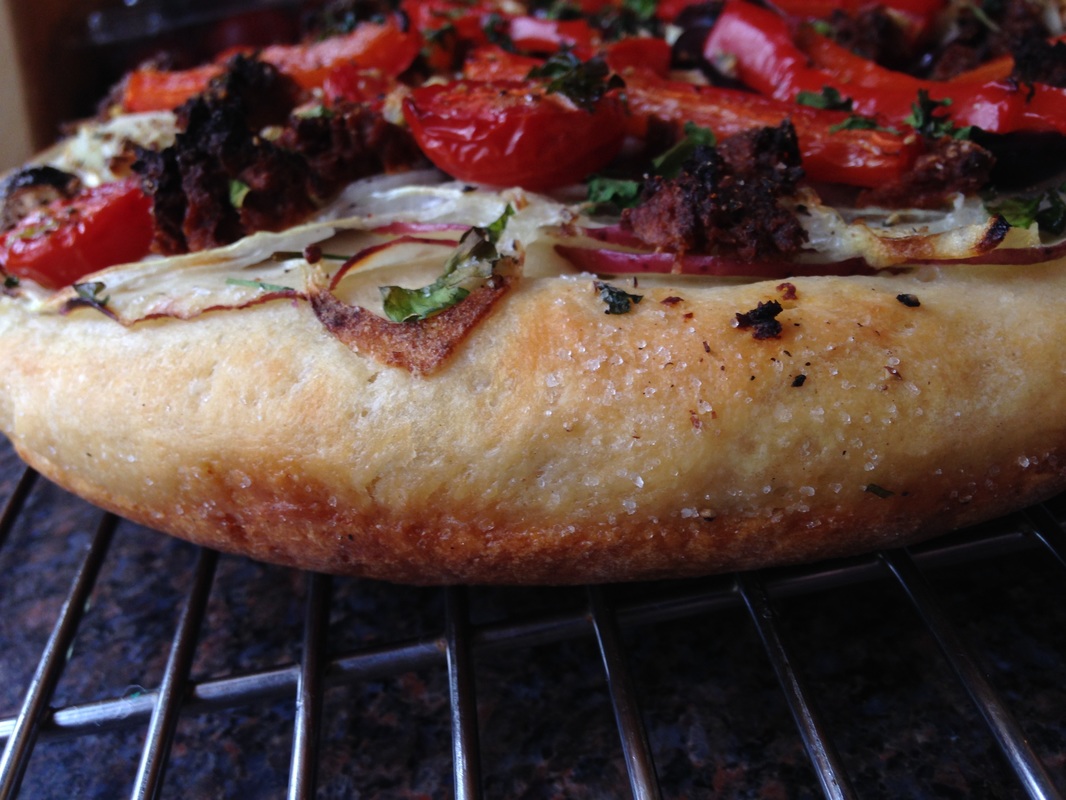 Homemade Sourdough Pizza topped with Cherry Tomatoes, Chicken Sausage, Onions, Potatoes, Olives, Basil, Red Bell Pepper, Olive Oil and sea salt When I make Sourdough Pizza dough, I use King Arthur Flour's Sourdough Pizza Crust Recipe, but with one exception: I use their Perfect Pizza flour in place of AP Flour. It's such a lovely and versatile dough! I've made everything from deep dish pizza to rounds. Usually, I bake my pizzas on a steel that's pre heated at 500 degrees in my oven. When I make a deep dish, I preheat my cast iron skillet on top of the steel, and then have everything ready to go so I can shape the pizza in the hot skillet. Because I can't eat cheese, I will usually line the shaped dough with some quality extra virgin olive oil, then some homemade heirloom tomato sauce (that's a blog for another day) and a medley of vegetables, depending upon what's in season. I find that chicken sausage works great on these non-dairy pizzas. So do olives and mushrooms. If I'm feeling ambitious, I'll slice some potatoes on a mandolin and line the bottom of a pie with them (no sauce on those) and build from there. Here are a few variations: 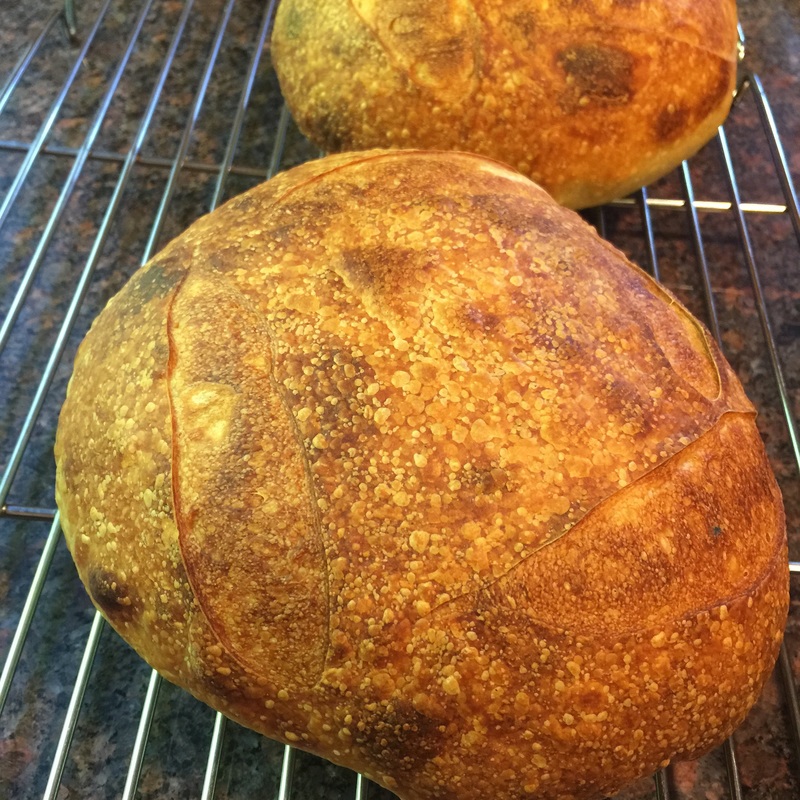 3-day Sourdough Bread I've been baking from Peter Reinhardt's Bread Baker's Apprentice for a few months now. I've been getting fairly consistent results. This week, I took the dough from the fridge about 3 hours earlier (3:30AM) and baked it around 6:30am. And the results are spectacular. By giving the dough a slightly shorter cold proof and longer time to warm up before hitting the oven - I achieved those beautiful air pockets. The crumb is super soft. Even three days later, it's soft and incredibly delicious. I added a metal bowl with water to the bottom while it was preheating (as always) but I also poured about 1/4 cup of water onto the bottom of the oven after putting the loaves onto the baking stone. so I got a huge pop of steam. About 5 minutes later, I sprayed the side walls of the oven with a mister. I took out the bowl at 12 minutes, turned down the heat and rotated the loaves, which resulted in a blistery, flaky, delicious crust. I feed my starter once a week. Usually 1:1. This particular feed - I gave it 100gms starter, 160gms bread flour, and 140 grams water. It was so vigorous and happy! It still gave me a strong sour flavor in the final product that made for an absolutely delicious crumb. It's my best loaf yet! 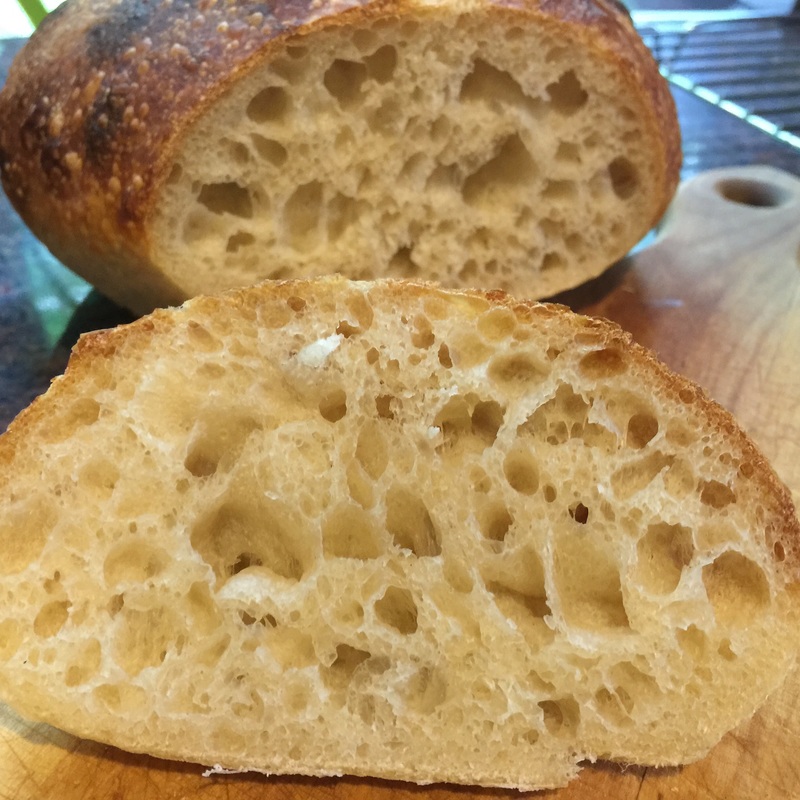 Crumb from 3-day Sourdough Bread 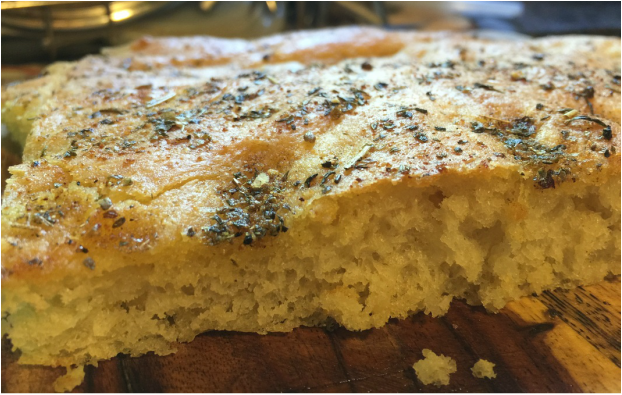 Sourdough Foccacia Bread  Sourdough Foccacia Sourdough Foccacia I had a really healthy sourdough starter going. It was bubbling so beautifully, and I had plenty of it. I decided to make a sourdough Foccacia bread. Now, with most new bread baking adventures, I turned to my books first. I had plenty of options. However, they were all yeasted foccacia breads and I really wanted to use my healthy, bubbling sourdough starter. So, my next resource was Google. Of course, I found a few compelling sourdough Foccacia options, but they were all one-day bakes.
If I have learned anything at all from baking with natural yeast, it's that the best flavors come from cold, overnight proofs. So I modified two different recipes to create this one. This recipe produces a moist, flaky and tender foccacia bread. Sponge:
Final Dough
Method 1. Create the sponge and let it rest until it begins to really bubble (approx. 1-3 hours) 2. Combine ingredients together and mix on slow speed with a dough hook until it forms a ball and you get a gluten widow. Depending on the hydration of your starter, you may end up adding ¼ – 1 cup more of flour while kneading. The dough will be soft and slightly moist from the oil and the kneading. 3. Form into a ball and place in an oiled bowl. Cover with plastic wrap and allow to rise until doubled, about 1-1/2 to 2 hours. Once dough has risen, place dough into a ½ sheet pan and begin to dimple until it reaches its elasticity point. Then cover with plastic wrap and stick it into the fridge overnight. 4. Take the dough out at least 4 hours hours before you plan to bake it and coat with Herb oil (optional). When the chill is gone, use your fingers to press dough into the bottom of the pan until it fills the pan. If your dough is very elastic and pulling away, allow it to rest for about five minutes and then continue. 5. Cover with a kitchen towel and allow it to rise until roughly doubled in size, about an hour. 6. Preheat oven to 500 degrees Fahrenheit. 7. Once dough is ready, lightly dock dough with your fingers all over, leaving little impressions. If the dough is a little dry on top, brush on a bit more extra virgin olive oil and then sprinkle with coarse sea salt. 8. Bake for 20 minutes or until golden brown. Remove from oven and allow it to cool in its pan on a rack. 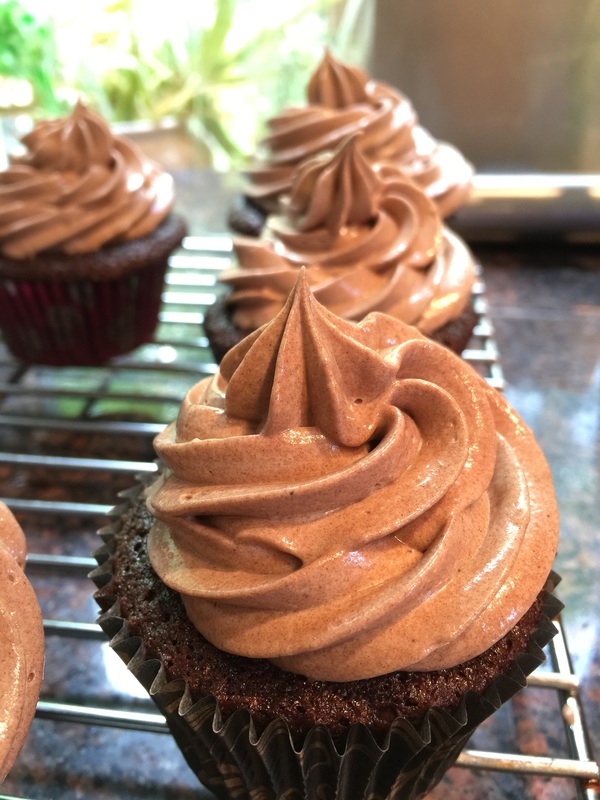 Chocolate Cupcakes with Chocolate (full egg) Meringue Buttercream Frosting  Chocolate Cupcakes Chocolate Cupcakes I wanted to bake my boyfriend's mother something special for Mother's Day. When I asked him what his mother liked, he said "double chocolate." I started thinking about the type of dual-chocolate confection I wanted to make and decided upon cup cakes.
Because everything I make must be dairy free - I needed to review a lot of different recipes and create one that would create a delicious dairy free cupcake. I also wanted to experiment by modifying meringue-based buttercream recipe that I found on Epicurious that combined the double-boiler method of a swiss meringue frosting, but with whole eggs and the addition of butter - like an Italian meringue buttercream. However, I needed to make it both dairy free and chocolate. Here's what I did... Cupcakes:
Method:
Frosting:
Method
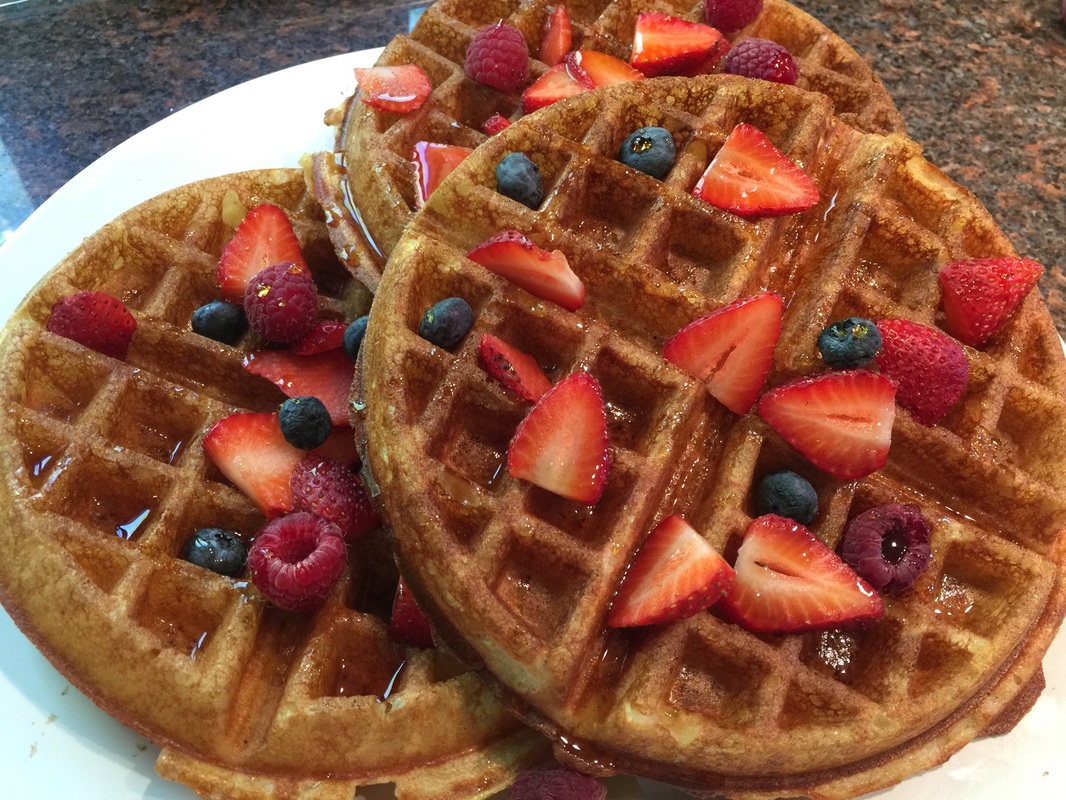 Lemon Sourdough Waffles Topped with Fresh Berries and Real New York State Maple Syrup This recipe began as an adaptation of the King Arthur Flour Classic Sourdough Waffles recipe on their site. However, because of my dairy allergy, I needed to find a work around for the buttermilk. So I used lemon juice... then lemon zest and lemon juice... I started separating the eggs and whisking the whites...
This is the delicious end result... Overnight sponge
Waffle or pancake batter
To make the overnight sponge,
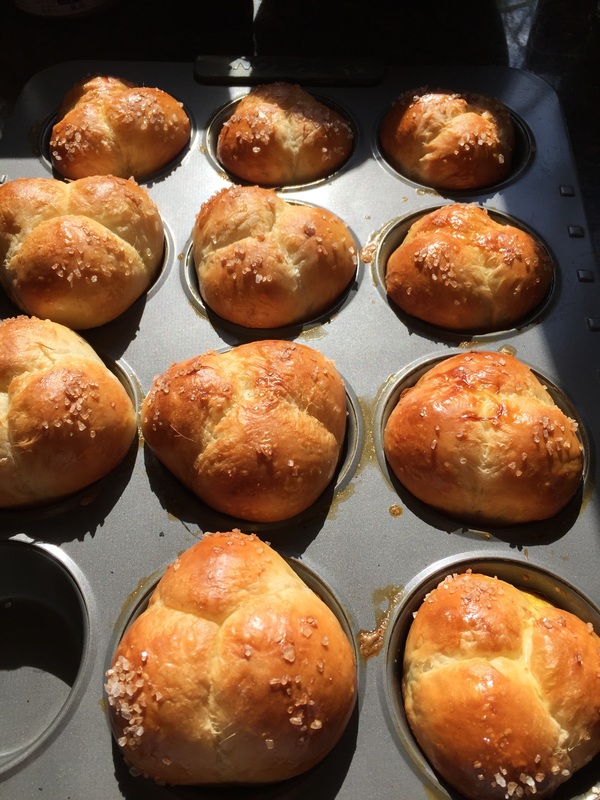
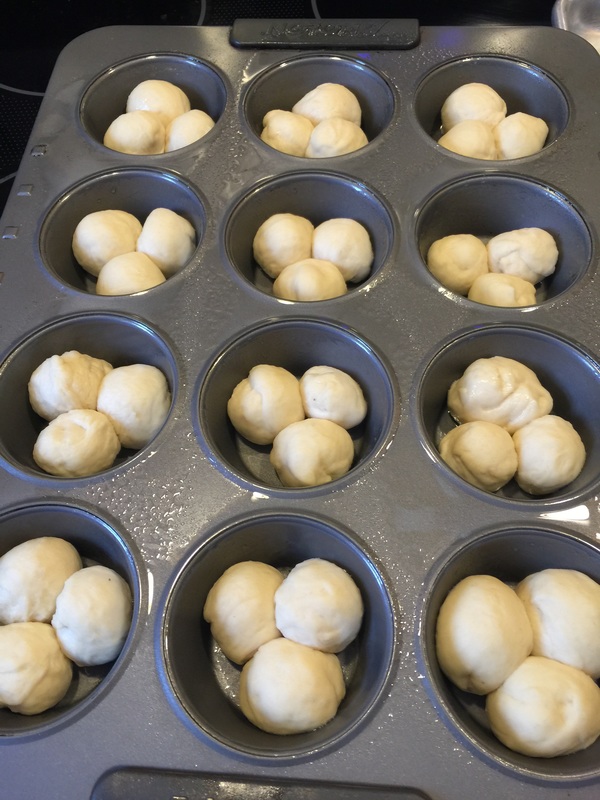
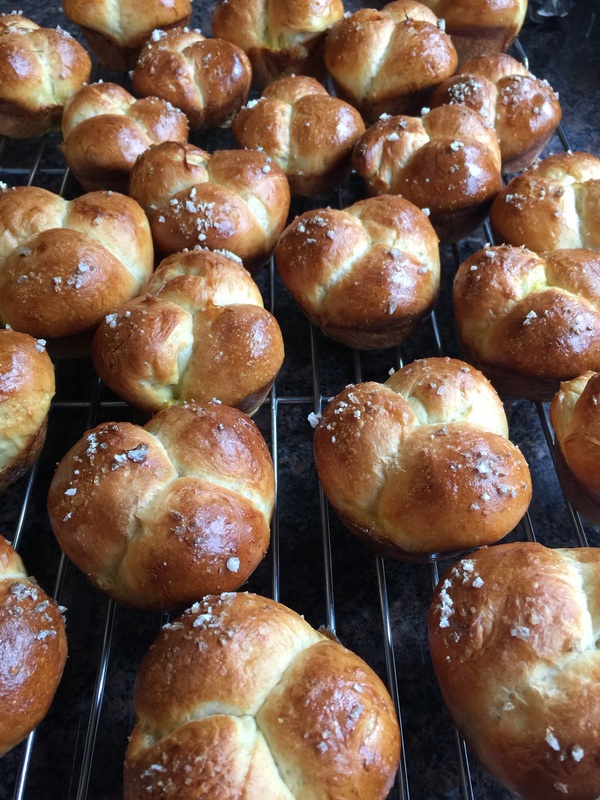
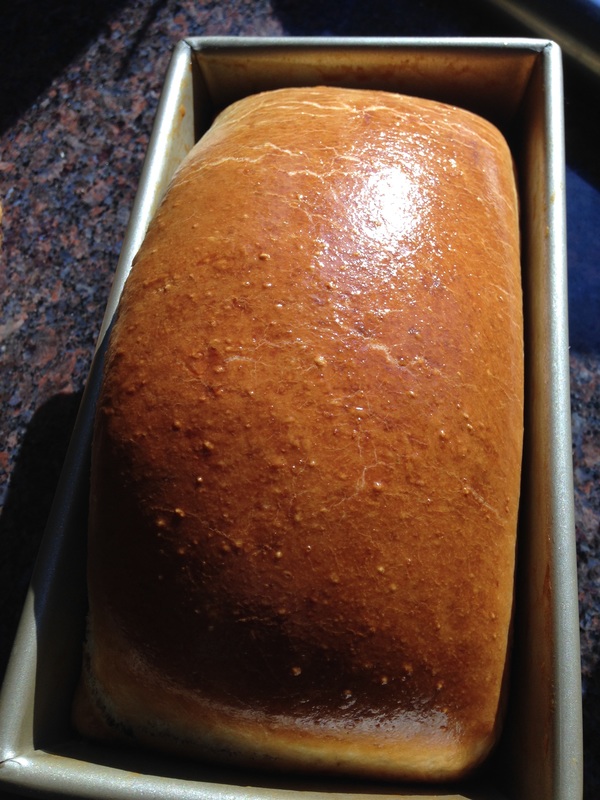
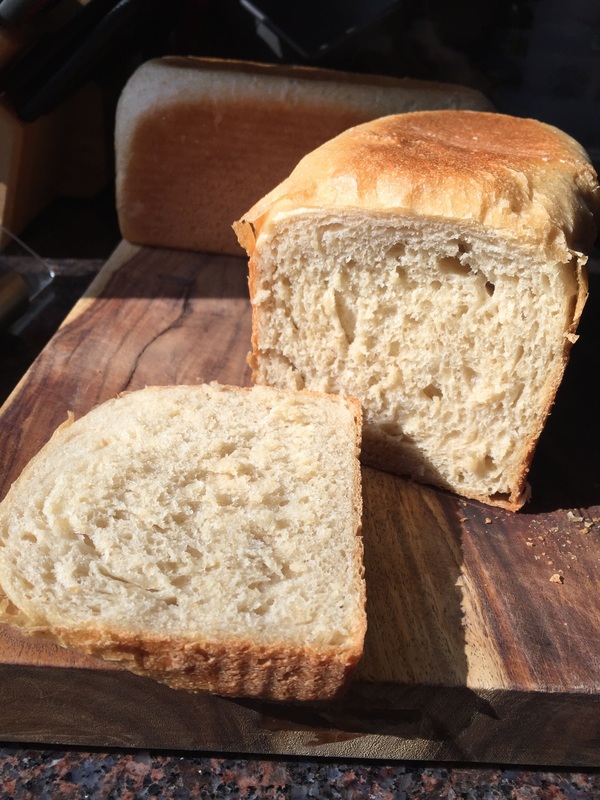
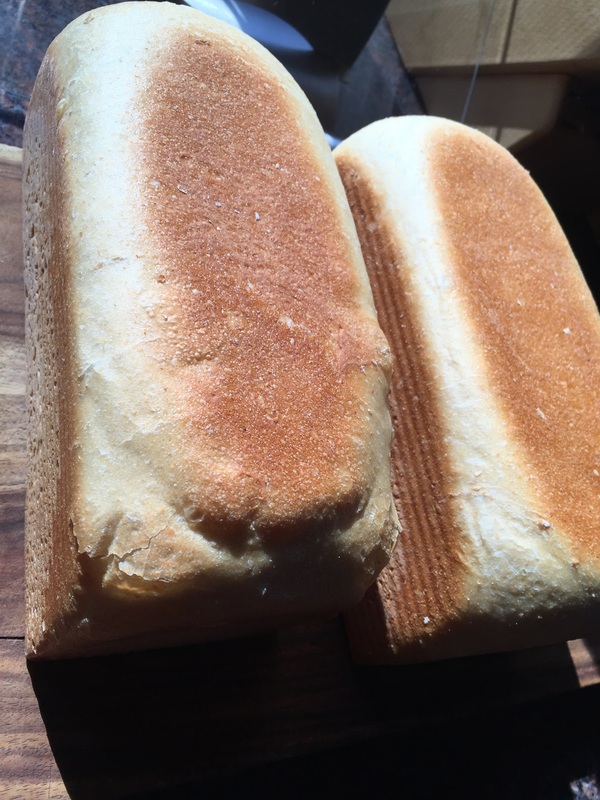
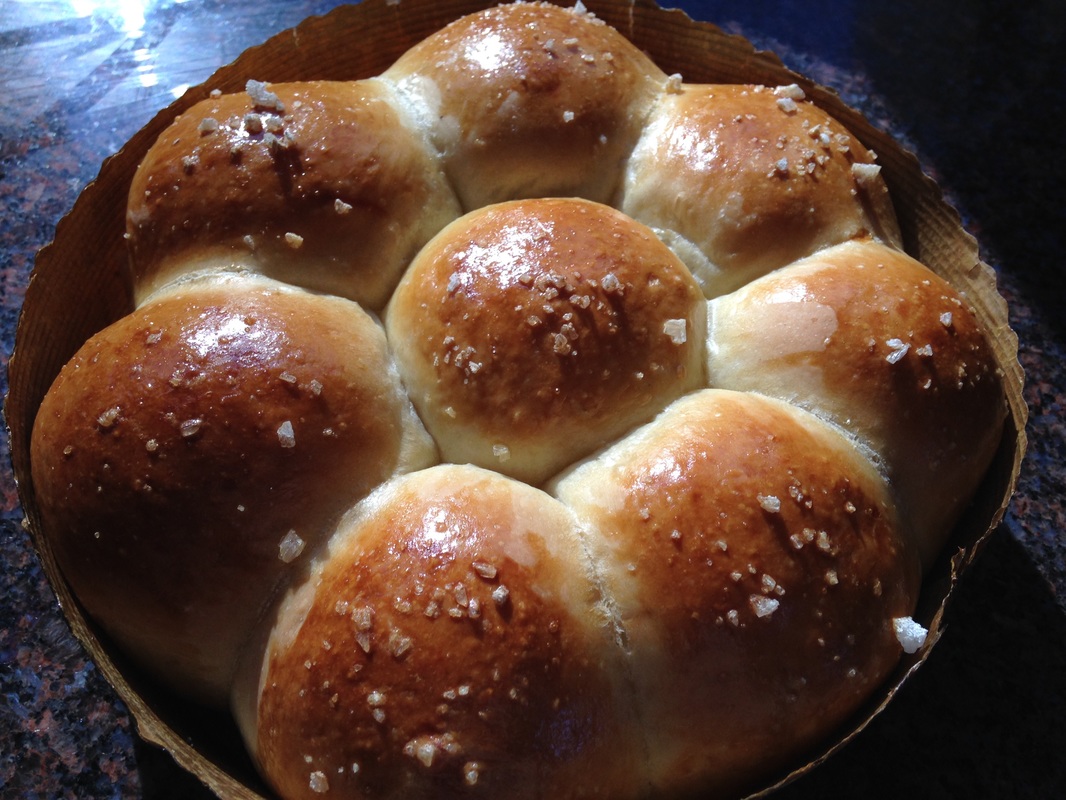
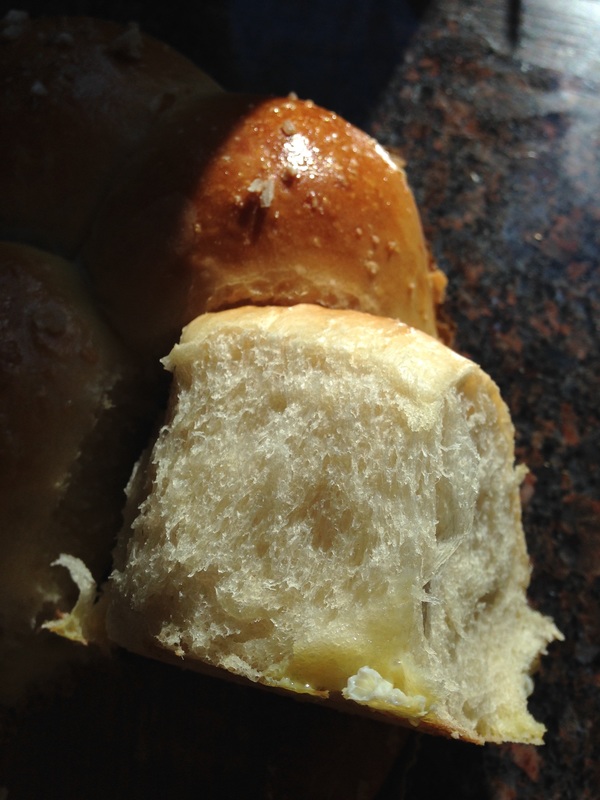
To make the waffles Separate the eggs. In a small bowl or mixing cup, beat together the egg yokes, and oil. Add to the overnight sponge. Add the salt and baking soda, (and optional sugar) stirring to combine. The batter will bubble. Whisk the egg whites into soft peaks and gently fold into the batter. Pour batter onto your preheated, greased waffle iron, and bake according to the manufacturer's instructions. Serve waffles immediately, to ensure crispness. You can keep them warm, but it's hard to keep them crisp if you wait too long. I like to eat them covered in real Grade C New York State unblended Maple Syrup and fresh berries. If I'm feeling decadent, I'll hit it with some powdered sugar to finish . 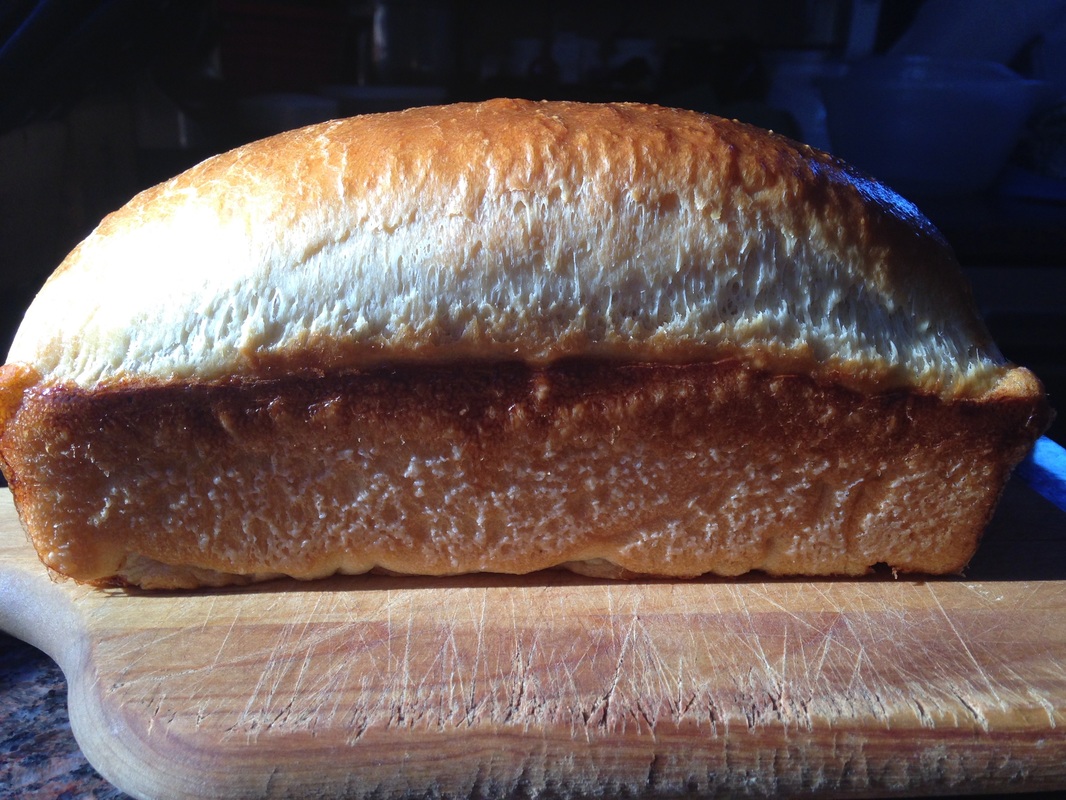 Homemade Pullman Loaf, Uncovered At the onset of winter, I began baking a lot more bread at home. I wanted to take a class with Peter Reinhardt, and when I searched online for something, I found his Craftsy course called Artisan Breads at Home. So, I signed up. First, I would like to extole the virtues on the Craftsy platform. I have taken many, many weekend or one-day cooking and baking courses in my life. They are great. You immerse yourself in the experience, ask questions of the instructor in front of you, and learn a lot. Craftsy is like all of those benefits, but rolled into my own kitchen. I can rewind, watch again, go back as many times as I want - and I can still ask the instructor questions. Now, I will say that Peter Reinhardt is a wonderful person. He has answered every single question I asked (and I asked a bunch). He's encouraged me, advised me and reviewed my results (through photos). He responds quickly and always has a positive attitude. That said, I learned a lot of technique - particularly his stretch and fold techniques, the proper way to form a baguette or batard, and shaping of so many other types of breads. In this course, he shares his sandwich bread recipe. I don't have permission to reprint it. So, my advise is either take his class or use the version in The Bread Baker's Apprentice (as it's very similar). This sandwich bread recipe is the most versatile dough I have ever worked with-- I use to to bake sandwich loaves that deliver a moist & delicious crumb. I use it to make dinner rolls, hamburger and slider buns, clover leaf rolls (a technique Peter explains the class) and so much more. I chose to blog about this-- even though I cannot share the recipe-- because each time I bake something using this recipe and post pictures of it - at least three to five people ask me for the recipe. So, instead, I will tell you where I got it from and share photos of my results. |
DebI'm a home cook with a lifelong passion for learning, exploring and experimenting in my kitchen. You can find me at @Debs1 on Twitter and @Debs121212 on Instagram. Categories
All
Archives
July 2020
|


 RSS Feed
